



On a multilingual site the language switcher belongs in the header, where it is reachable from every page. WPML renders one of its own, but styling it to match a custom Elementor header usually means writing CSS against WPML’s markup.
The Header Meta Content widget in The Plus Addons for Elementor puts the switcher in the same row as your other header extras, and on one of its two styles it builds the markup itself so the Elementor Style tab controls it.
To check the complete feature overview documentation of The Plus Addons for Elementor Header Meta Content widget, click here.
Requirement – This part of the widget needs the PRO version of The Plus Addons for Elementor, installed and activated.
Before You Start
- Edition: Pro — the Language Switcher item needs the Pro version. In the free plugin the Select Options dropdown labels it (Pro), and turning its Display switch on renders nothing.
- Widget to enable: Header Meta Content, switched on under The Plus Addons > Widgets.
- WPML installed, activated and already configured with the languages you want. The switcher lists whatever WPML reports, and shows nothing if WPML has no languages set up.
- Where to add it: your header template, so the row shows on every page. The widget’s own Use with Theme Builder section links to a Create Header Template button.
- Two steps, always: adding an item in Meta Content is only half of it. Nothing appears until you also turn on that item’s own Display switch in its section further down the Content tab.
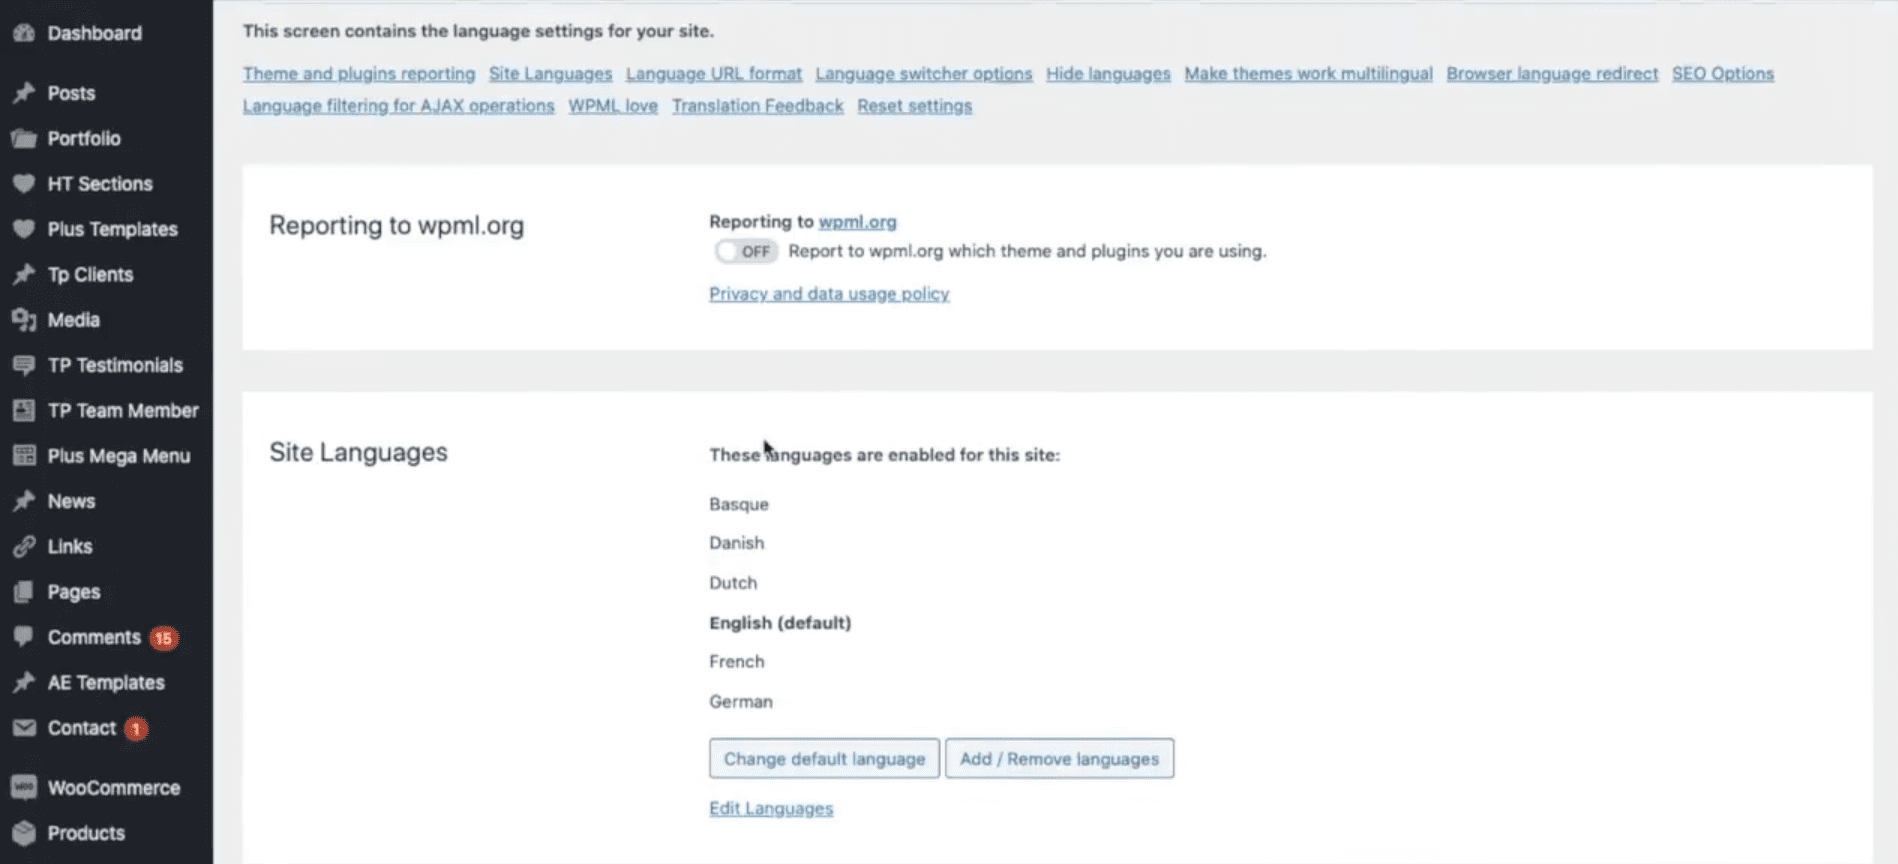
Set Up the Languages in WPML First
Add your languages in WPML before you touch the widget.
Add the Language Switcher Item
- Add the Header Meta Content widget to your header template.
- In Meta Content, open the item and set Select Options to Language Switcher.
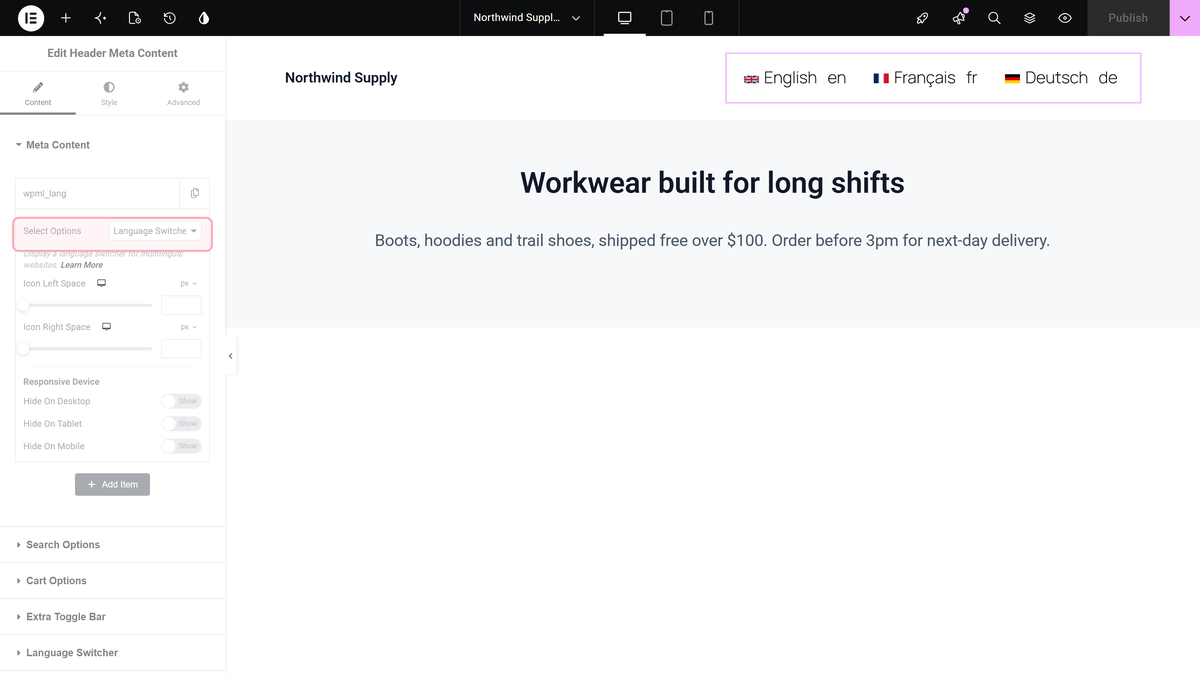
- Turn on Display Language Switcher in the Language Switcher section and leave Select on WPML.
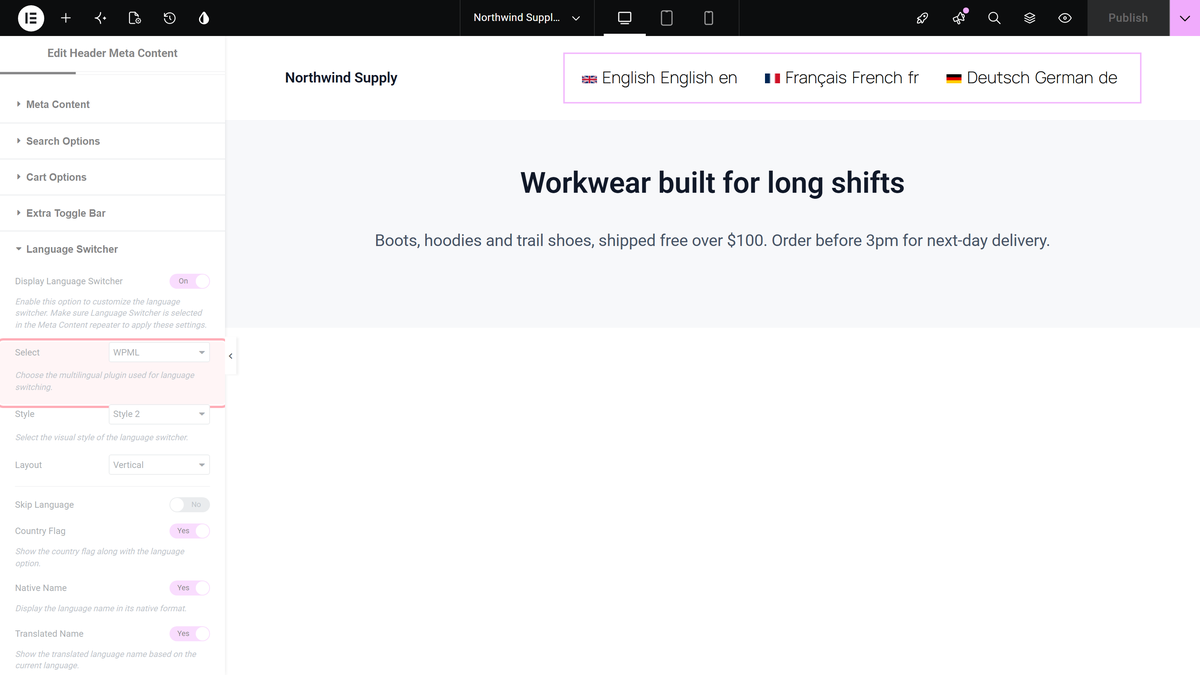
- Choose a Style, then set the toggles below it.
Language Switcher Settings
| Setting | What it does | Default |
|---|---|---|
| Display Language Switcher | Turns the item on. Nothing renders without it | Off |
| Select | WPML or Translatepress | WPML |
| Style | Style 1 hands the switcher to WPML. Style 2 builds the list here | Style 1 |
| Layout | Vertical or Horizontal. Style 2 only | Vertical |
| Skip Language | Leaves out the language being viewed. Style 2 only | Off |
| Country Flag | Shows each language’s flag | On |
| Native Name | Shows the language in its own spelling, such as Français | On |
| Translated Name | Shows the language’s name in the current language, such as French | Off |
| Language Code | Shows the two-letter code, such as fr. Style 2 only | On |
| Before Text / After Text | Text around each language | Empty |
How the Two Styles Differ
Style 1, the default, passes the job to WPML: the widget outputs WPML’s own language switcher shortcode and WPML draws it. Country Flag, Native Name and Translated Name are handed over with it; the rest of the settings do not reach it.
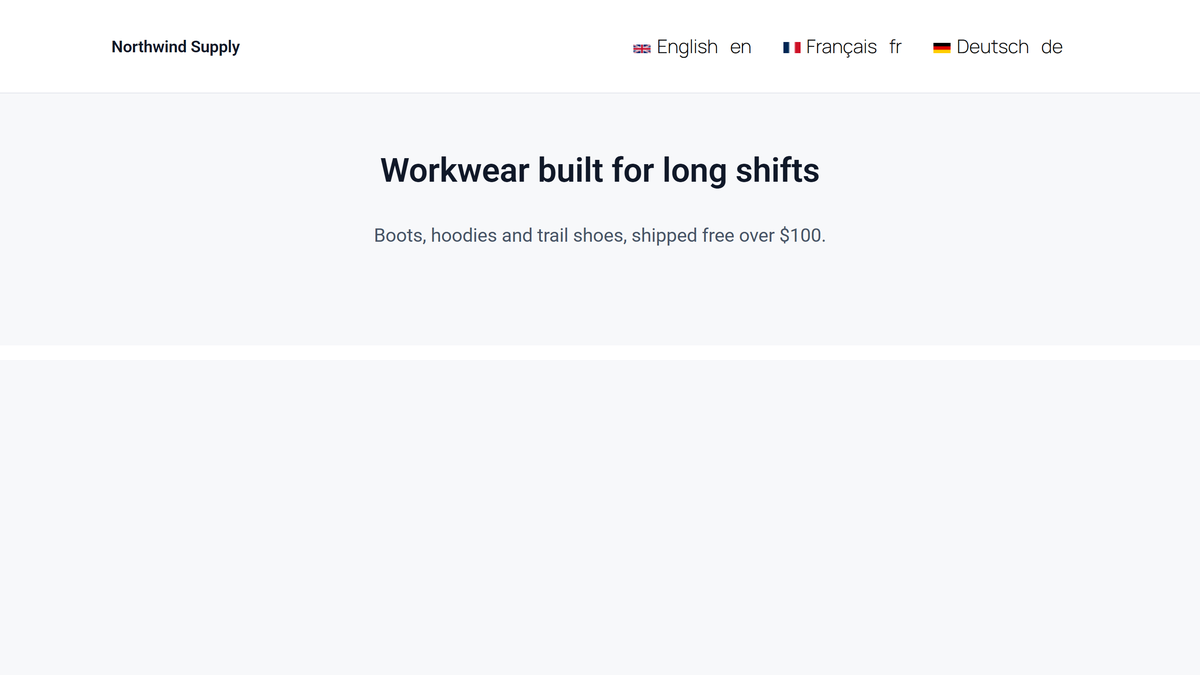
Style 2 builds the list itself, one link per language, and marks the current one. That is the style where Layout, Language Code, Skip Language and the WPML Language Switcher section on the Style tab have any effect.

How It Behaves
- On Style 2, each language is a link to that language’s version of the page you are on, using the URL WPML reports for it.
- The language being viewed gets its own class on Style 2, so you can style it differently in Style > WPML Language Switcher.
- On Style 2, Before Text and After Text are printed around every language, not once around the whole list. A label like Language: therefore repeats on each entry.
- Skip Language removes the current language from the list, leaving only the ones you can switch to.
Limitations
- Layout is the wrong way round. Horizontal stacks the languages one under the other, and Vertical lays them out in a row. Pick whichever gives you the layout you want and ignore the names.
- Layout, Language Code and Skip Language do nothing on Style 1, because that style is rendered by WPML.
- One language plugin per item. Select is either WPML or Translatepress, never both.
- If WPML has no languages configured, the item renders nothing at all — not an empty box, no markup.
- The whole item needs Pro. In the free plugin the dropdown shows Language Switcher (Pro) and nothing is drawn.
Troubleshooting
The switcher does not appear
Check all three: a Meta Content item set to Language Switcher, Display Language Switcher switched on, and WPML with at least one language configured.
Horizontal still stacks the languages vertically
That is the control being inverted, not a cache. Choose Vertical to get a row.
My Style tab changes do nothing
You are probably on Style 1, where WPML renders the switcher and the plugin’s own markup is not used. Switch to Style 2.
Language Code and Skip Language are missing from the panel
Both only appear on Style 2. Change Style first.
My label repeats on every language
That is how Before Text and After Text work on Style 2 — they wrap each language. Leave them empty and put a label next to the switcher instead.
