






Shoppers comparing similar products – two pairs of boots, two hoodies – want to see specs side by side rather than opening tabs back and forth.
The Woo Compare widget adds an “Add to Compare” control to your products, building a comparison feature WooCommerce doesn’t include out of the box.
For the full settings tour of every Woo Builder widget, see Woo Builder Settings Overview.
Requirement – This widget is a part of The Plus Addons for Elementor Pro, make sure it’s installed & activated to enjoy all its powers.
Before You Start
- Prerequisite: Elementor (free) installed and active.
- Prerequisite: WooCommerce installed and active, with at least one published product.
- Edition: all Woo Builder widgets are part of The Plus Addons for Elementor Pro – a Pro licence is required.
- Widget to enable: go to The Plus Addons > Widgets, search for Woo Compare and turn its toggle on.
- At least two published products to compare – for example “Suede Chelsea Boot” and “Trail Running Shoe” on this site.
Steps
- Add the Woo Compare widget to your product archive, single product template, or wherever you want the compare control to appear.
- From Type, choose Button (the default – an “Add to Compare” button per product), Count (a running total of items added to compare) or List (see the linked Comparison Page doc).
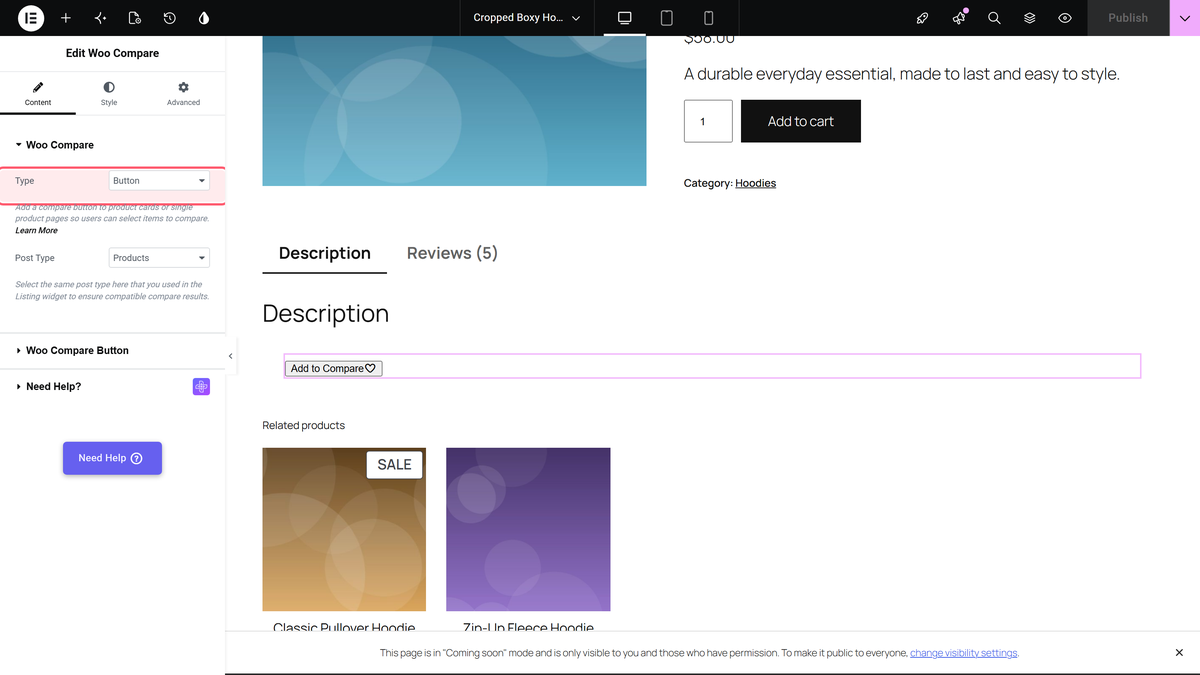
With Type set to Button, sub-controls appear for the button’s icon/text style – covered in detail in the linked “Custom WooCommerce Product Skin” doc below.

Settings Overview
| Setting | What it does | Default |
|---|---|---|
| Type | Button, Count or List presentation. | Button |
