





The Quick View widget’s built-in preview layout is a sensible default, but it won’t always match a heavily customized product or post design.
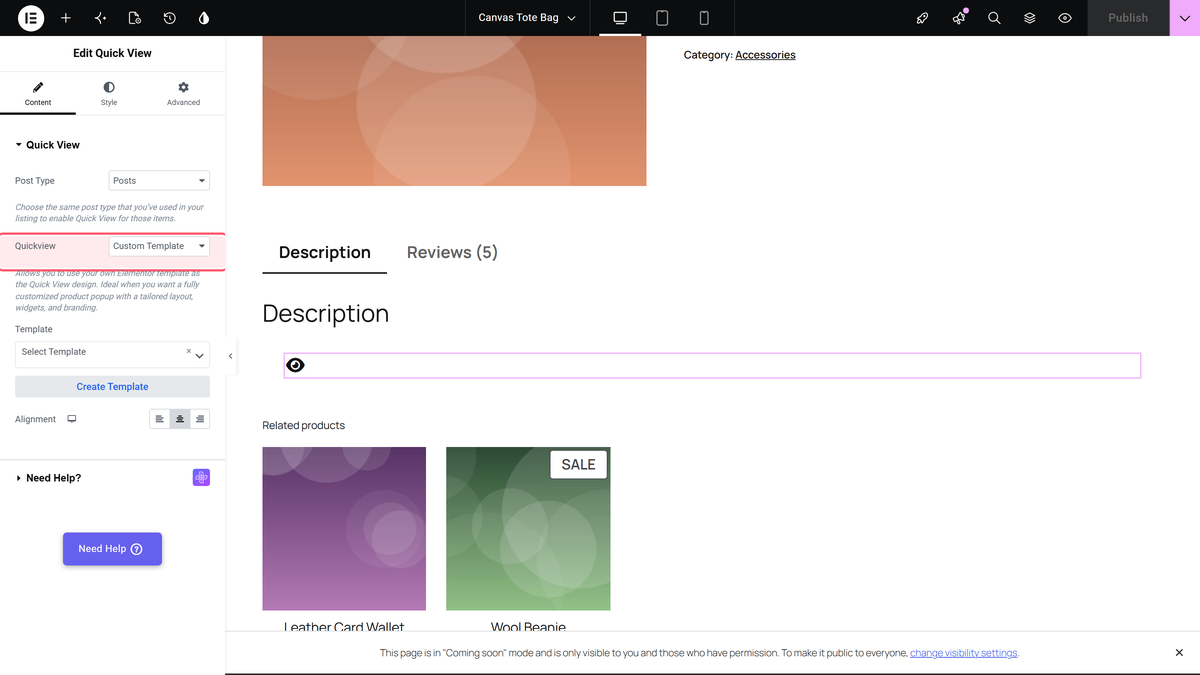
Setting Quickview to Custom Template lets you design the entire popup content yourself as an Elementor template, then have Quick View render that template with the clicked post/product’s own data.
For the full settings tour of every Woo Builder widget, see Woo Builder Settings Overview.
Requirement – This widget is a part of The Plus Addons for Elementor Pro, make sure it’s installed & activated to enjoy all its powers.
Before You Start
- Prerequisite: Elementor (free) installed and active.
- Prerequisite: WooCommerce installed and active, with at least one published product.
- Edition: all Woo Builder widgets are part of The Plus Addons for Elementor Pro – a Pro licence is required.
- Widget to enable: go to The Plus Addons > Widgets, search for Quick View and turn its toggle on.
- An Elementor template (built with Elementor Pro’s Theme Builder or a similar single-post template) ready to use as the Quick View content.
Steps
- Add the Quick View widget to your listing template.
- From Quickview, choose Custom Template.
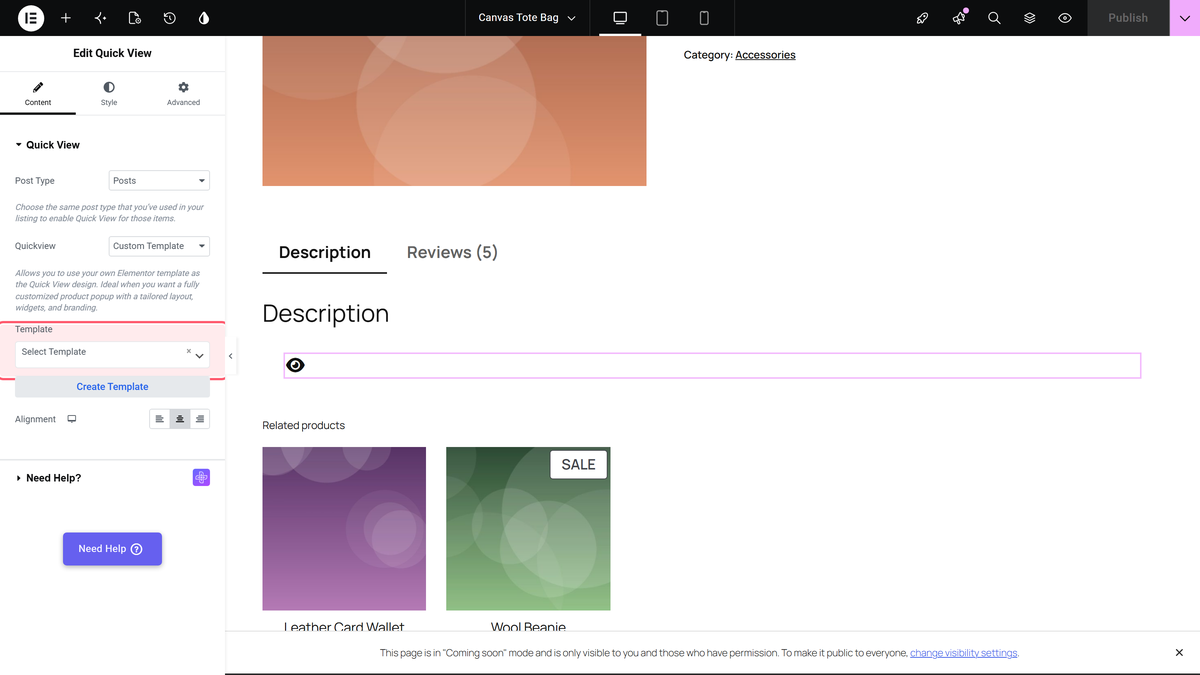
- From the Template dropdown that appears, pick the Elementor template to render inside the popup – or use the on-screen Edit Template / Create Template shortcuts to build one without leaving the panel.
Settings Overview
| Setting | What it does | Default |
|---|---|---|
| Quickview | Must be Custom Template for this doc’s controls to apply. | Default (change to Custom Template) |
| Template | Which Elementor template renders inside the popup. | None selected |
Not verified
So you know exactly what has and has not been checked:
- Live rendering of a real custom template inside the popup, including whether dynamic tags inside that template correctly resolve to the clicked post’s own data – not yet tested against a real fixture template.
