





A custom-built product card needs its wishlist button placed and styled to match the rest of the card, not stuck in a fixed default position.
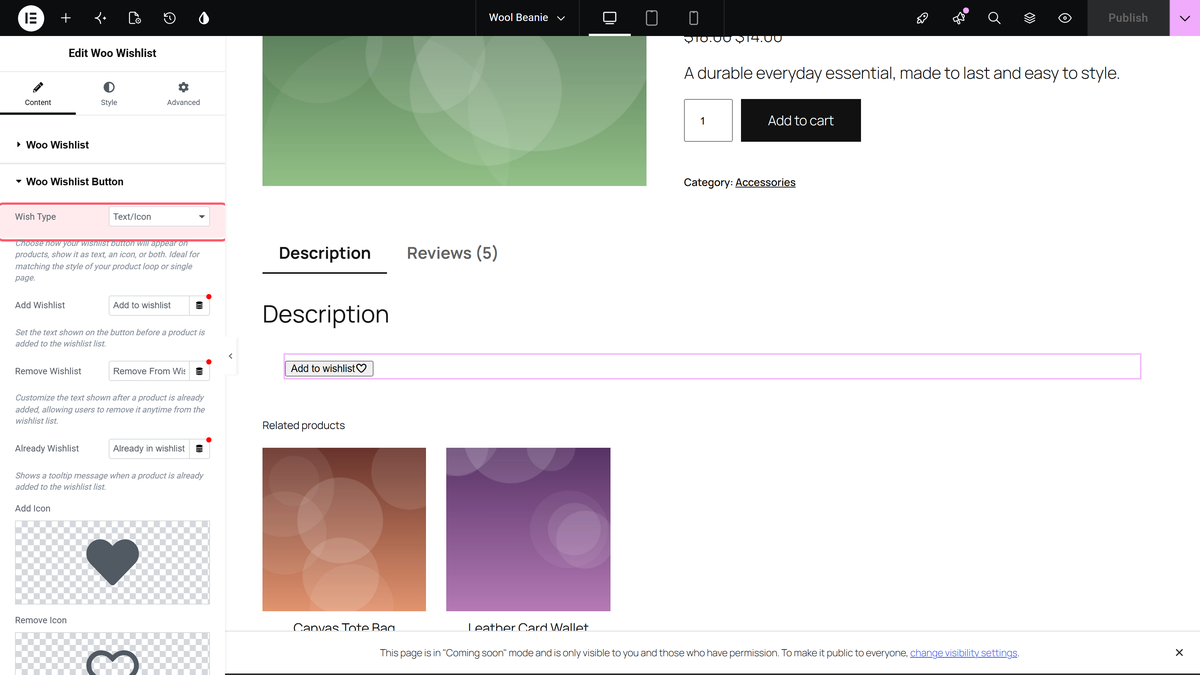
With Woo Wishlist’s Type set to Button, the Wish Type control matches that button’s content to your card’s own style.
For the full settings tour of every Woo Builder widget, see Woo Builder Settings Overview.
Requirement – This widget is a part of The Plus Addons for Elementor Pro, make sure it’s installed & activated to enjoy all its powers.
Before You Start
- Prerequisite: Elementor (free) installed and active.
- Prerequisite: WooCommerce installed and active, with at least one published product.
- Edition: all Woo Builder widgets are part of The Plus Addons for Elementor Pro – a Pro licence is required.
- Widget to enable: go to The Plus Addons > Widgets, search for Woo Wishlist and turn its toggle on.
Steps
- Add the Woo Wishlist widget inside your custom Product Listing skin template, with Type set to Button.
- From Wish Type, choose Icon (icon only), Text (text only) or Text/Icon (the default – both together).
Settings Overview
| Setting | What it does | Default |
|---|---|---|
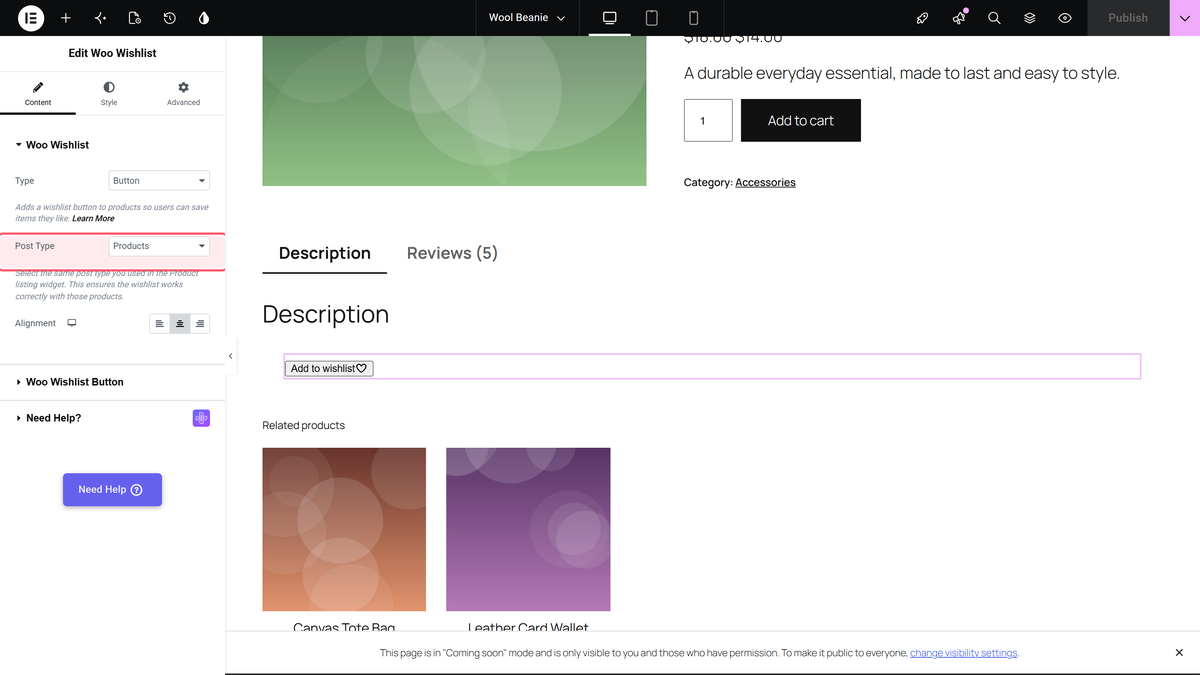
| Type | Must be Button for Wish Type to apply. | Button |
| Wish Type | Icon, Text or Text/Icon button content. | Text/Icon |
Not verified
So you know exactly what has and has not been checked:
- Live rendering of the Wishlist button actually nested inside a built custom Product Listing skin template (as opposed to the widget’s own Post Type control, which is what this doc’s second screenshot shows) – needs a dedicated Product Listing skin-template fixture, not built in this pass.
