






A custom-built product card (via Product Listing’s skin editor) needs its Quick View trigger placed and styled to match the rest of the card, not left in a fixed default position.
The Quick View widget can be dropped directly inside a custom Product Listing skin template, exactly like the Woo Compare and Woo Wishlist buttons.
For the full settings tour of every Woo Builder widget, see Woo Builder Settings Overview.
Requirement – This widget is a part of The Plus Addons for Elementor Pro, make sure it’s installed & activated to enjoy all its powers.
Before You Start
- Prerequisite: Elementor (free) installed and active.
- Prerequisite: WooCommerce installed and active, with at least one published product.
- Edition: all Woo Builder widgets are part of The Plus Addons for Elementor Pro – a Pro licence is required.
- Widget to enable: go to The Plus Addons > Widgets, search for Quick View and turn its toggle on.
- A custom Product Listing skin template already built, and a product to preview – for example “Leather Card Wallet” on this site.
Steps
- Open your custom Product Listing skin template for editing.
- Add the Quick View widget at the position within the card where you want the trigger (for example an icon in the corner of the product image).
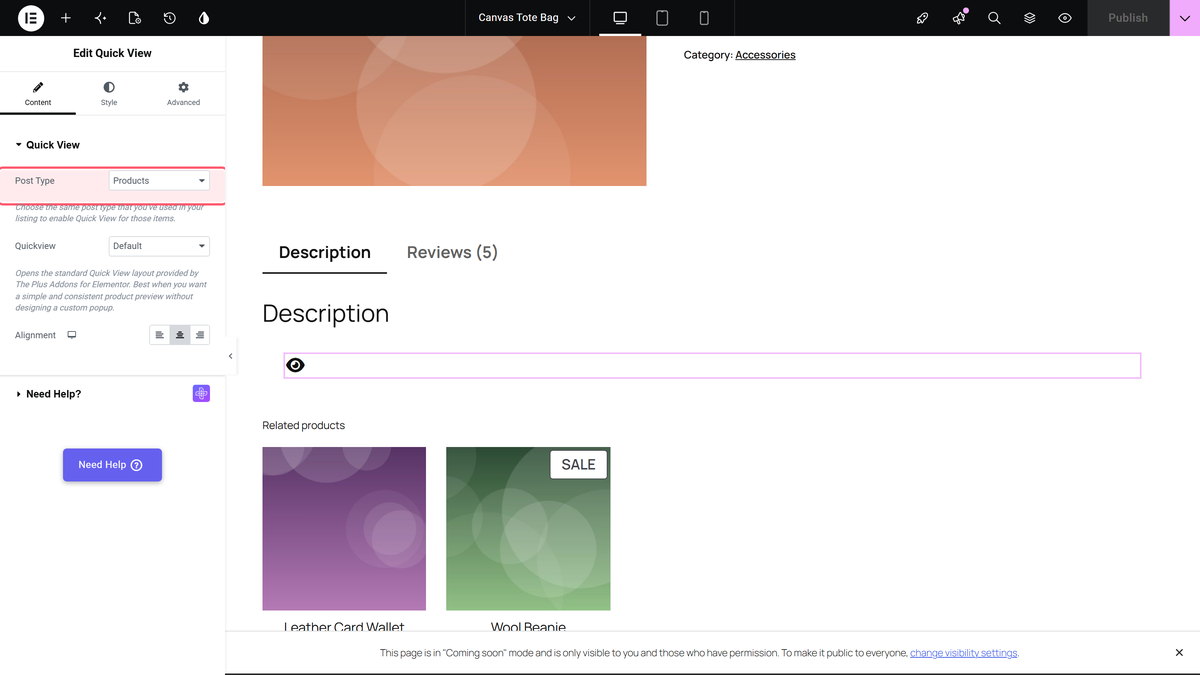
- Set Post Type to Product.
- Style the trigger’s icon/button to match the rest of the card using the widget’s Style tab.
Settings Overview
| Setting | What it does | Default |
|---|---|---|
| Post Type | Set to Product for a WooCommerce product skin. | Post (change to Product) |
Not verified
So you know exactly what has and has not been checked:
- Live rendering of the Quick View trigger actually nested inside a built custom Product Listing skin template (as opposed to the widget’s Post Type control alone, which is what this doc’s screenshot shows) – needs a dedicated Product Listing skin-template fixture, not built in this pass.
