






A page with a long listing loads and renders every card up front, which can slow down the initial page load – especially with a lot of featured images.
Setting Dynamic Listing’s More Post Loading Options to Lazy Load means only the first batch renders immediately; the rest loads only once the visitor scrolls toward them, reducing initial page weight.
For the full settings tour of the Dynamic Listing widget, see Dynamic Listing Widget Settings Overview.
Requirement – This widget is a part of The Plus Addons for Elementor Pro, make sure it’s installed & activated to enjoy all its powers.
Before You Start
- Prerequisite: Elementor (free) installed and active.
- Edition: Dynamic Listing is a Pro widget – it needs The Plus Addons for Elementor Pro installed and its license activated. It will not appear in the free plugin.
- Widget to enable: go to The Plus Addons > Widgets, search for Dynamic Listing and turn its toggle on.
Steps
- Add the Dynamic Listing widget to the page.
- Under More Post Options, set More Post Loading Options to Lazy Load.
- Lower Maximum Posts Display under Content Source so the first batch itself is small, deferring more of the total content to later scroll triggers.
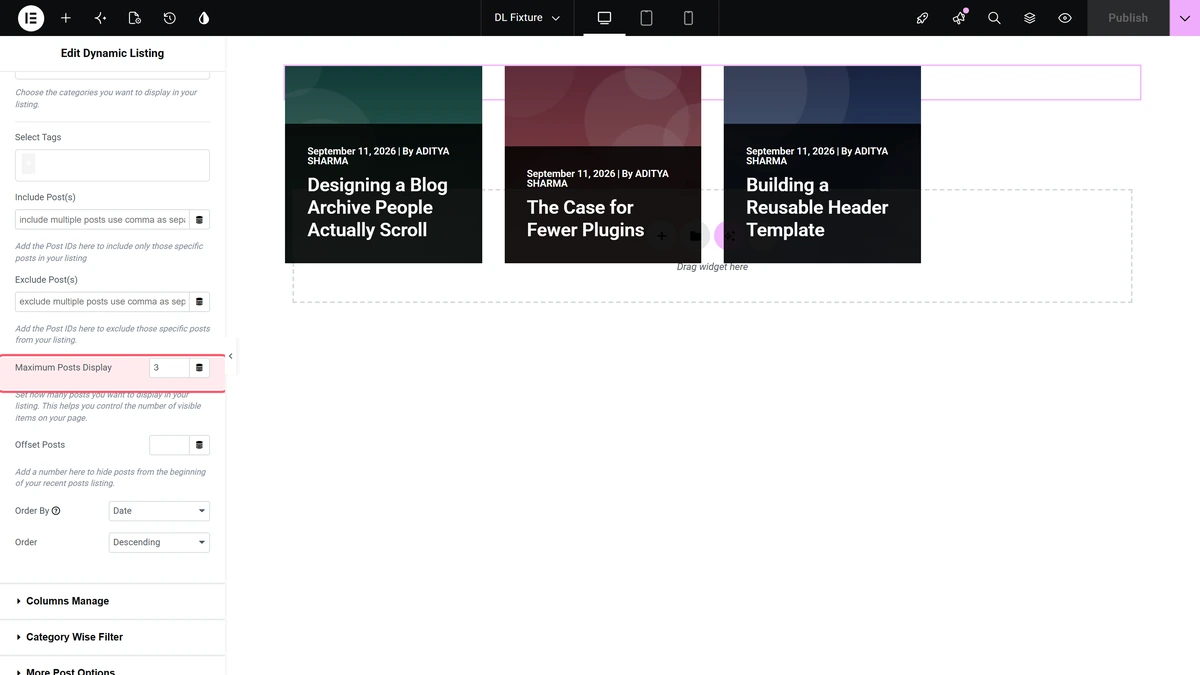
Settings Overview
| Setting | What it does | Default |
|---|---|---|
| More Post Loading Options | Lazy Load defers rendering later cards until scrolled to. | None |
| Maximum Posts Display | How many posts load in the first batch. | 8 |
Limitations
- This defers rendering of extra cards; it does not lazy-load the featured images inside the first batch itself – that is handled separately by the theme/browser’s own image lazy-loading, not by this control.
Related Docs
- How to Add Infinite Scroll for Custom Post Types in Elementor?
- Dynamic Listing Widget Settings Overview
Not verified
So you know exactly what has and has not been checked:
- An actual before/after page-speed measurement (e.g. Lighthouse score) was not run in this pass – the performance claim reflects the mechanism (fewer cards rendered up front), not a measured benchmark.
