Typography plays a crucial role in the success of any website design. It not only affects the overall appearance of the website but also contributes to the readability and user experience. Adding different effects to texts can add a touch of creativity to your design.
With the Advanced Typography widget from The Plus Addons for Elementor, you can add different types of effects to text.
Check the Live Widget Demo
Required Setup
- Elementor FREE Plugin installed & activated.
- You need to have The Plus Addons for Elementor plugin installed and activated.
- This is a Premium widget, and you need the PRO version of The Plus Addons for Elementor.
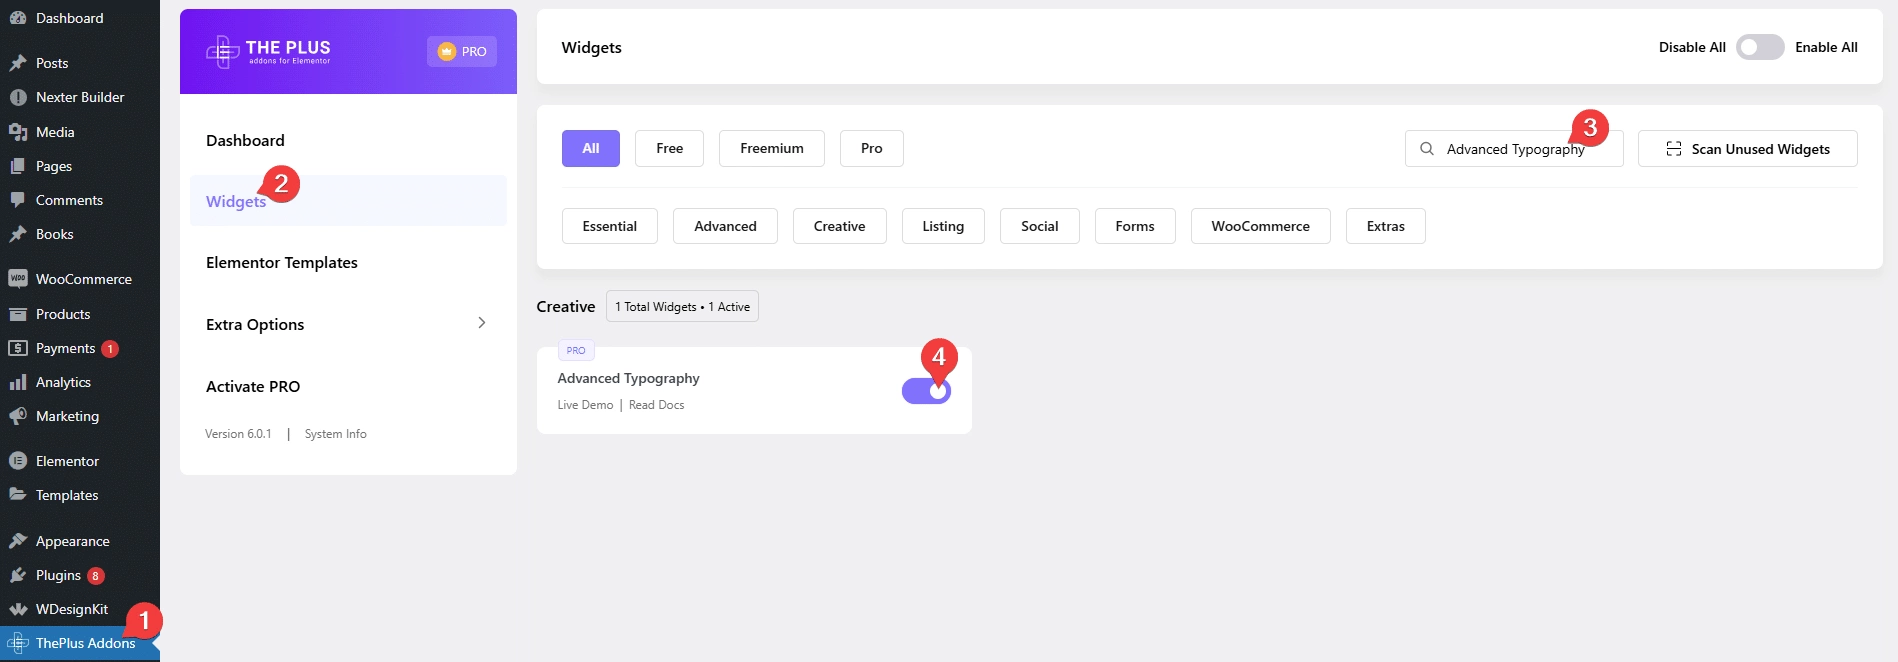
- Make sure the Advanced Typography widget is activated, to verify this visit The Plus Addons → Widgets → and Search for Advanced Typography and activate.
Learn via Video Tutorial:
How to Activate the Advanced Typography Widget?
Go to
- The Plus Addons → Widgets
- Search the widget name and turn on the toggle.
Key Features
- Single/Multiple Text – You can add unique text effects to single or multiple texts.
- Vertical Text – You can add a vertical text.
- Text Stroke – You can add a text stroke outline effect.
- Circle Text – You can easily create a circle text effect.
- Text Blend – You can add a text blend effect on a background.
- Marquee Text – You can easily add a marquee text effect.
- Text Mask – You can add a text mask over a background color or image.
- Image Reveal on Hover – You can add an image reveal effect on hover in text.
How to Use the Advanced Typography in Elementor?
Add the Advanced Typography widget to the page.
Advanced Typography
From the Select Option dropdown, you have to select the text type. Here you’ll find two options –
- Normal – For adding effect on a single text.
- Multiple – For adding different effects on multiple texts. Using this option, you can create an impression of having multiple effects on a single text or paragraph.
Select the option as per your requirements, let’s select Normal here.
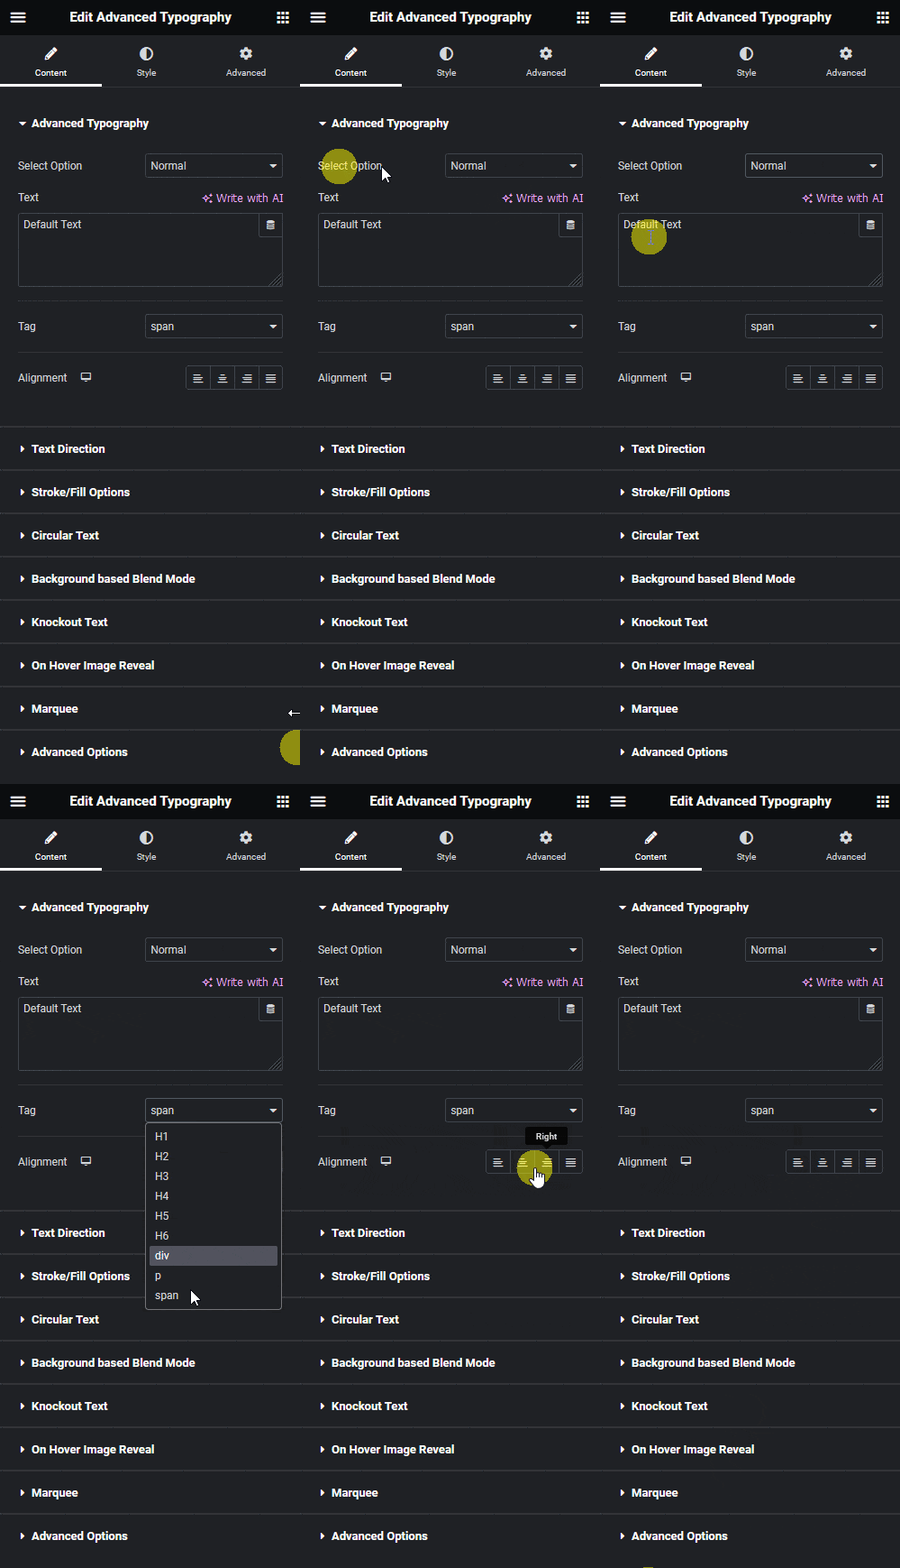
Note: For the Multiple text option, you’ll only see one tab and all the options are included inside the repeater item.
In the Text field, you have to add your text.
From the Tag dropdown, you can change the HTML tag of the text.
Then from the Alignment section, you can align the text for different devices.
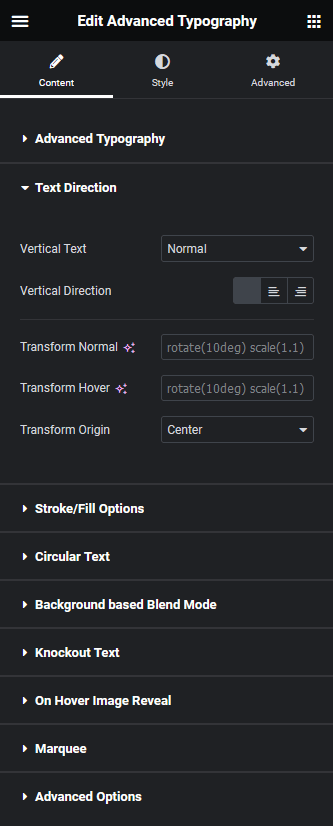
Text Direction
From this tab, you can create vertical text.
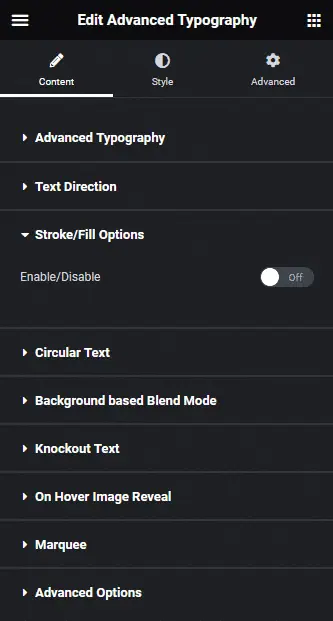
Stroke/Fill Options
From this tab, you can create an outline text effect.
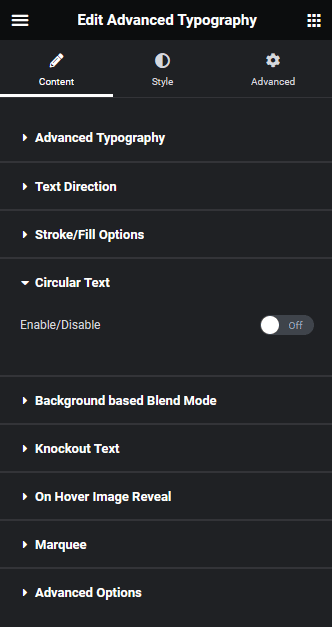
Circular Text
From this tab, you can create a circle text effect.
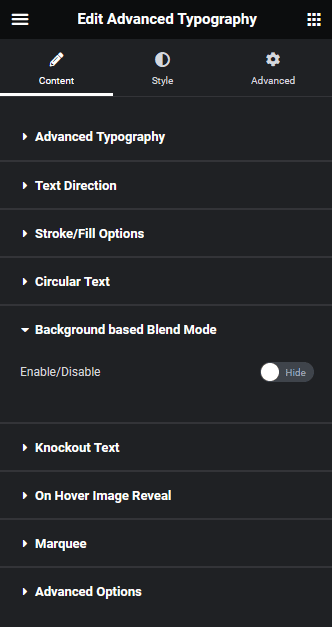
Background based Blend Mode
From this tab, you can add a text blend effect on a background.
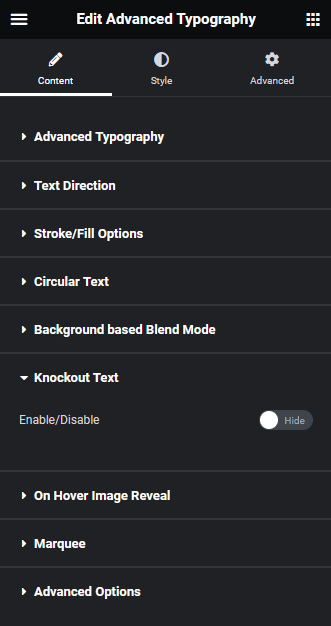
Knockout Text
From this tab, you can create a text mask on a background color or image.
On Hover Image Reveal
From this tab, you can add an image reveal effect on hover.

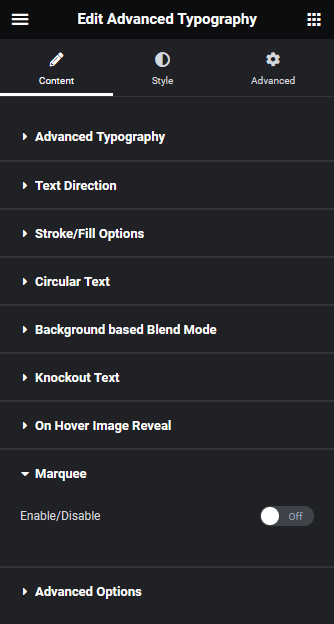
Marquee
From this tab, you can add a marquee text effect.
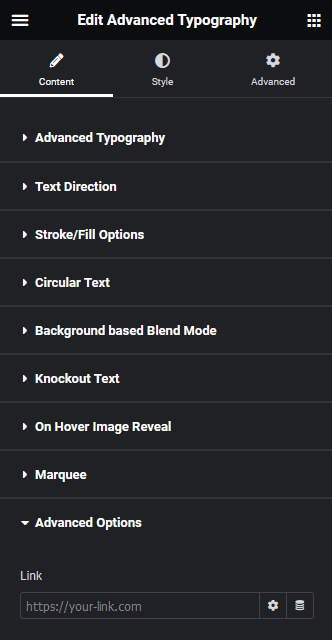
Advanced Options
In the Link field, you can add a link to the text.
How to Style the Advanced Typography Widget?
You’ll find all the styling options in the Style tab to style the Advanced Typography widget.
Advanced Typography – From here, you can manage the text typography and padding. You can also add different text colors, text shadows and CSS filters to the text for normal and hover states.
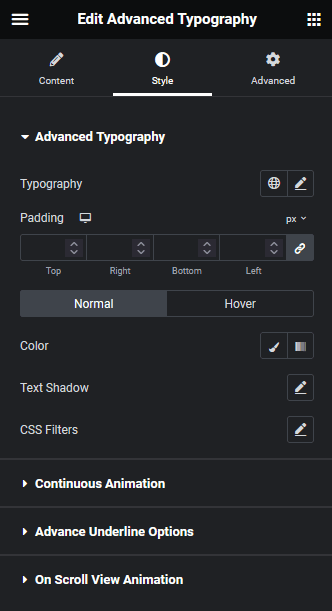
Continuous Animation – You’ll see this tab only for the Normal text. From here, you can add different continuous animations to the text. You can also set the animation to hover only as well.
Also Read: How to Create an Animated Rotating Circle Text in Elementor?
Advance Underline Options – You’ll see this tab only for the Normal text. From here, you can add unique underline effects to the text.
On Scroll View Animation – This is our global extension available for all our widget, this adds scrolling animation as the widget comes in viewport. You can learn more about this from here.
Learn more about On Scroll View Animation
Advanced options remain common for all our widget, you can explore all it options from here.
