Elementor’s own Price Table widget is part of Elementor Pro, which is why its help page lives under a “pro” address. On a free Elementor install you either build a pricing section by hand out of columns and dividers, or you add a widget from an addon. The Plus Addons for Elementor includes a Pricing Table widget in its free version, and it is a genuinely usable one, but most guides skip a detail that decides whether it fits your project: the free widget gives you a single card style, and the more eye-catching layouts, tooltips, Show More lists and Lottie buttons belong to Pro.
This guide builds a real three-plan pricing section with the widget, shows exactly which controls are free and which need Pro, and covers the two things people ask about most: highlighting a recommended plan and adding a monthly/yearly toggle. The toggle needs one extra widget, and the way it works is not obvious from the widget panel alone.
What’s Included in the Pricing Table Widget (Free vs Pro)
One Pricing Table widget renders one plan card. A three-column pricing section is therefore three widgets placed side by side in a container, and each card is styled and edited independently. That design keeps every plan flexible, and it is also why a few tips later in this guide, such as matching card heights, matter.
The Pricing Table widget page advertises five demo layouts. Those demos are built from the widget’s styles and presets, and several of them use Pro options. According to the plugin’s documentation for the widget, here is how the controls split between the free plugin and Pro:
| Control | Free | Pro |
|---|---|---|
| Card layout (Layout > Style) | Style 1 | Styles 2 and 3 |
| Price layout (Price Style) | Style 1 | Styles 2 and 3 |
| Icon above the title | Icon or Image | Adds SVG |
| Icon fonts | Font Awesome and Font Awesome 5 | Adds Icons Mind |
| Previous (struck-through) price | Included | Included |
| Feature list | Stylish List with an icon per row, or a WYSIWYG box | Adds a tooltip per row and a Show More list |
| Button style | Style 2 only | Styles 1 and 3 |
| Lottie animation on the button | Not available | Included (Icon Type) |
| Call To Action text under the button | Upgrade notice only | Included |
| Ribbon | Style 1, a bar above the card | Style 2 (corner badge) and Style 3 (pin) |
| Scale Zoom for one featured card | Included | Included |
| Hover animations on the card background | Not available | Included |
The plugin’s Free vs Pro comparison labels the Pricing Table as “Limited” in the free version, which matches the table above: you get a working, good-looking card, but not every variation you may have seen in the demos. If a design you like uses a corner ribbon, a Show More link or an animated button, plan on Pro.
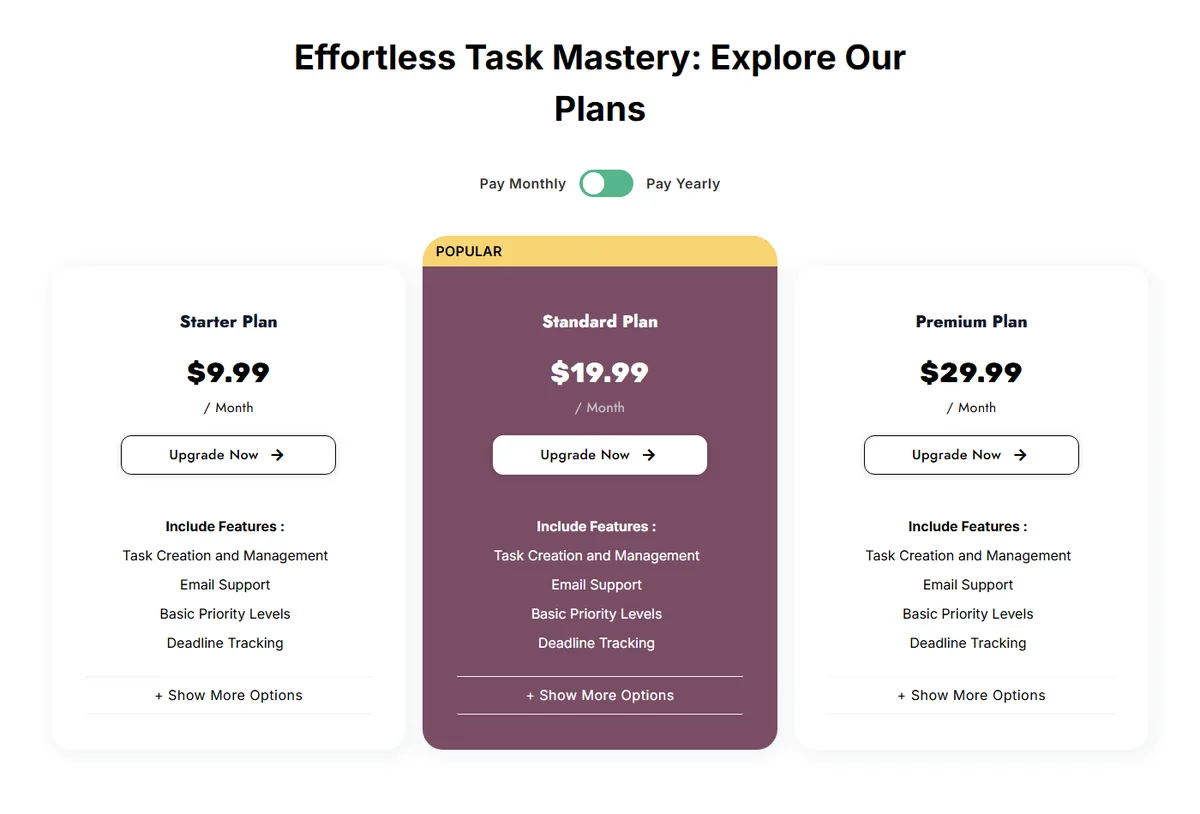
Step-by-Step: Building a Three-Plan Pricing Section
These steps use only free controls, so you can follow them without Pro and add Pro options later. The setting names below are the ones you will see in the widget panel.
- In the WordPress admin, open The Plus Addons > Widgets, search for Pricing Table, switch its toggle on and save. The widget then appears in the Elementor panel.
- In the Elementor editor, add a container with three columns of space, then drag the Pricing Table widget into the first slot. Remember that one widget is one plan.
- Open the Layout section and leave Style on Style 1. The Import Presets button opens the preset picker if you want a ready-made starting point.
- In Content, set the Title (for example Professional) and a short Sub Title such as “For growing teams”. Choose an icon or image above the title, or leave Select Icon empty for none.
- In Price, fill in the Prefix Text (the currency symbol), the Value Of Price and the Postfix Text (for example “Per Month”). Switch on Display Previous Price if you want a struck-through old price shown before the current one.
- In Description, keep Stylish List and add one repeater row per feature. For each row set Icon Font to Font Awesome 5 so the tick always renders (see the fixes section below).
- In Button, set the Button Text and Button Link. The default text is “Free Trial”, so change it before you publish. Button Style 2 is the free style.
- On the plan you want to recommend, switch on Display Ribbon and type the Ribbon/Pin Text, for example “Most Popular”. Ribbon Style 1 is free.
- Duplicate the widget twice using Elementor’s duplicate option, then edit the title, price, features and button for the other two plans.
- Select the parent container and set Align Items to stretch so the three cards share the same height even when their feature lists differ in length.
For the screen-by-screen version of these settings, including every field in the panel, see the step-by-step doc How to Add a Pricing Table in Elementor.
Writing the Feature List: Stylish List or WYSIWYG
The Style option under Description decides how the features are written. Stylish List gives you one repeater row per feature, each with its own icon, which suits comparison-style cards where every row is a short phrase. WYSIWYG swaps the repeater for a single rich-text box, which is easier when your features are really a short paragraph or a mix of bold and plain text.
With Stylish List selected you also get a List Style choice between Style 1 and Style 2. Each repeater row has a List Description for the text and an Icon Font plus Icon Library for the tick or bullet. Two extras sit on top of this in Pro. Each row can carry a tooltip, which is useful for short explanations of jargon such as “API calls” or “seats”, and List Open Default hides everything beyond the first few rows (three by default) behind a Show More link so a long feature list does not stretch the card. The docs cover both in detail: adding a tooltip and adding a Show More button for features.
Highlighting the Recommended Plan: Ribbon and Scale Zoom
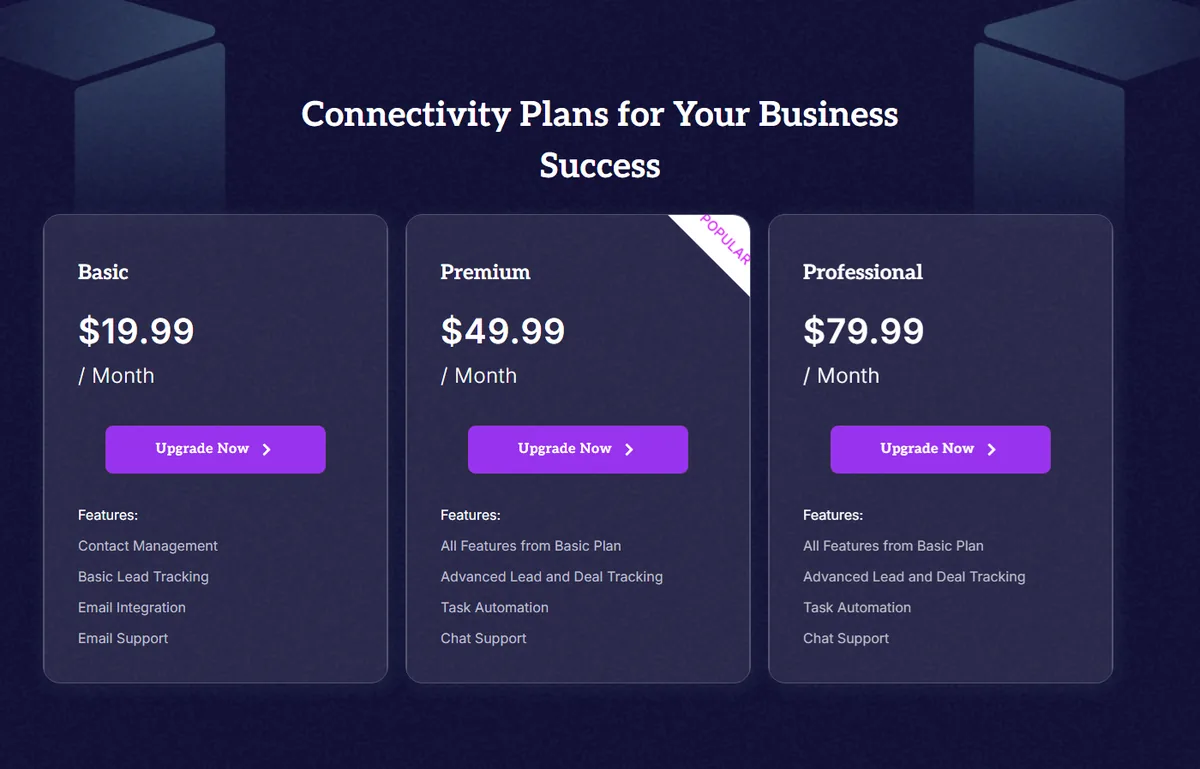
Most pricing sections push one plan. The widget gives you two ways to do it, and they work well together. The first is the ribbon. Switch on Display Ribbon to flag a plan with a short label. Style 1, the free style, draws a bar in the space directly above the card. Styles 2 and 3 are Pro: a square badge over the top-right corner and a small pin. The label is a rich-text field, and the styling prints it in capitals, so write it in normal case and let the widget handle the rest. The ribbon does not push the card content down, so your three cards stay aligned.
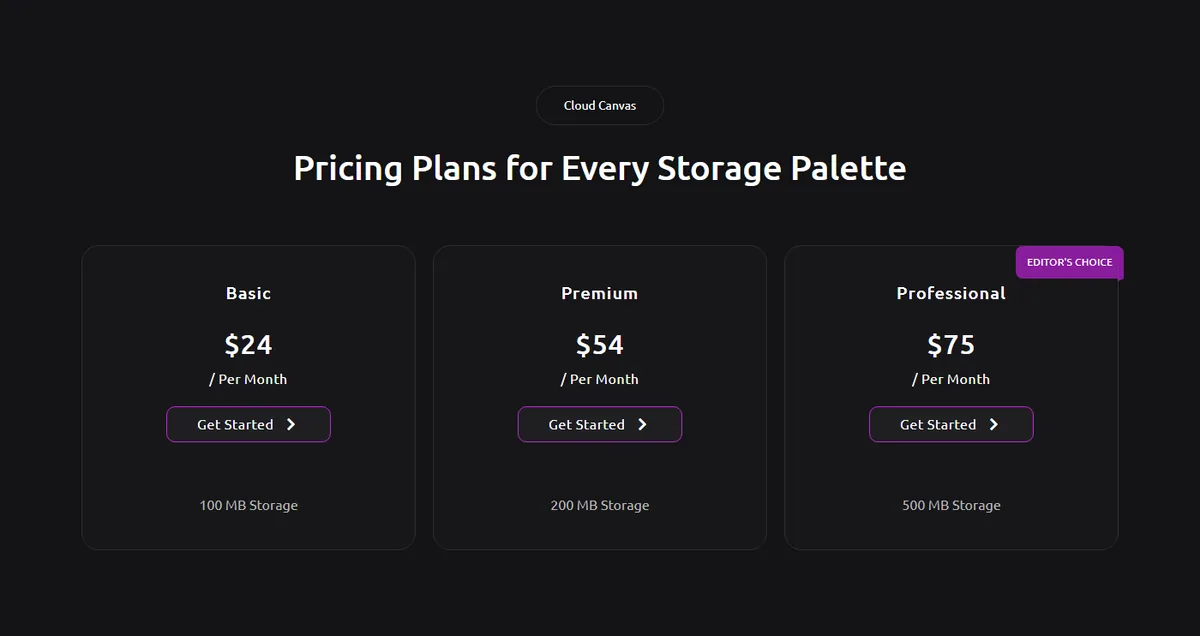
The second tool is Scale Zoom, found under Extra Effects in the Style tab. It enlarges a single card, with a range from 0.6 to 1.8 and a default of 1, so the featured plan stands taller than its neighbours. A value around 1.1 to 1.15 is usually enough to read as “this one” without looking out of place. Combine a ribbon with a modest zoom on the same card and the recommended plan is obvious before a visitor reads a single number. The related how-to guides are adding a ribbon to a pricing table and highlighting a plan with the scale effect.
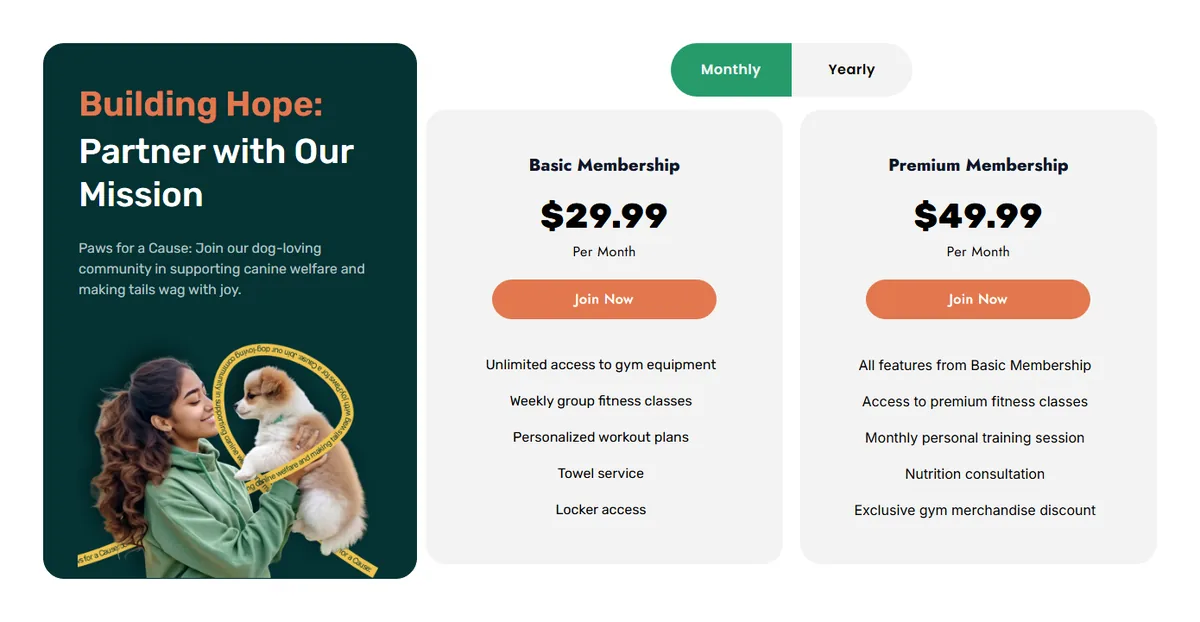
Adding a Monthly/Yearly Toggle With the Switcher Widget
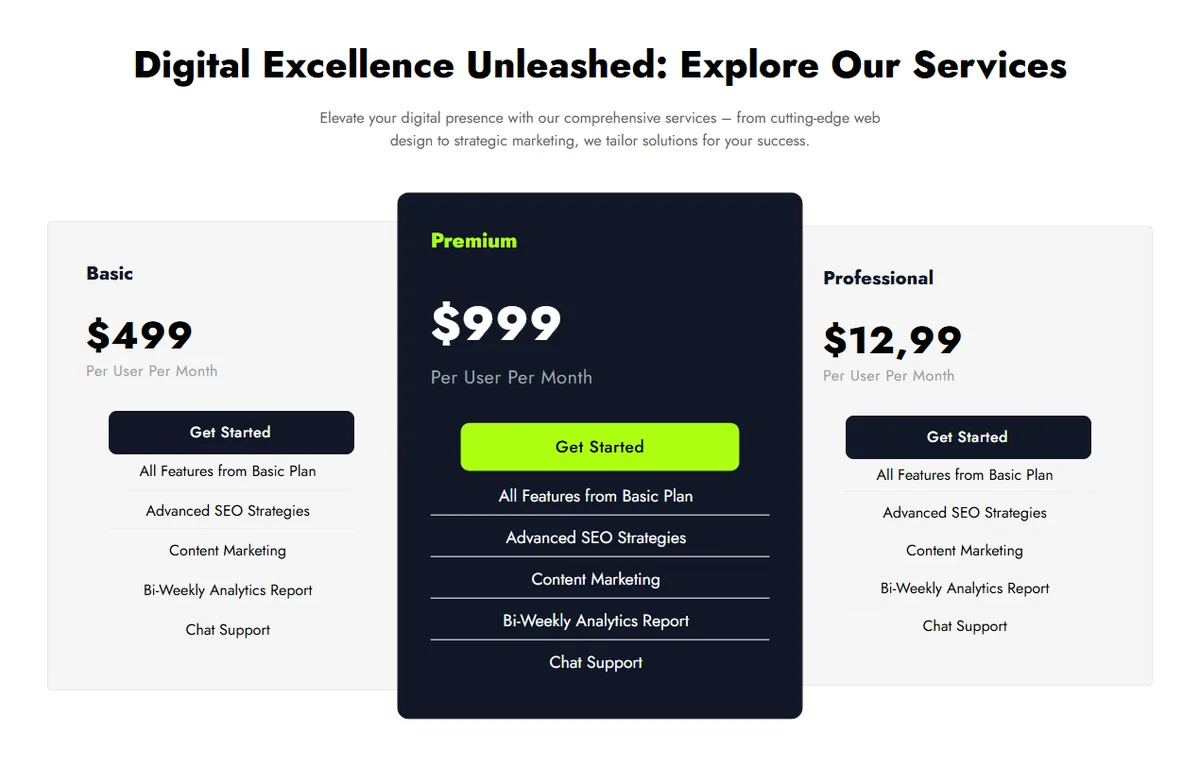
This is the part most tutorials get wrong. The Pricing Table widget has no built-in monthly/yearly switch, and it cannot build several plans from one widget. The toggle you see in the demos comes from a second widget, the Switcher, which swaps between two blocks of content. You use it to swap between two whole pricing sections.
- Build the monthly pricing section with three Pricing Table widgets, then save it as an Elementor template.
- Build the yearly section the same way, with the yearly prices, and save that as a second template.
- Add the Switcher widget to the page. Under Content 1, set Select Source to Elementor Templates and pick the monthly template.
- Repeat for Content 2 with the yearly template. Label the two sides “Monthly” and “Yearly”.
The Switcher has two content slots, so a three-way choice such as Monthly, Yearly and Lifetime needs an extra mechanism: a second Switcher or the Carousel Remote widget. The full walkthrough is in the doc showing yearly, lifetime and monthly pricing with a switcher. Because the toggle swaps two templates, you keep the logic simple and each pricing section stays editable on its own, which is easier to maintain than hacking prices into a single card. Always click through the toggle on the front end before you publish, because the template source is the setting most worth checking on your own theme.
Pro Extras Worth Knowing About
If you move to Pro, five additions change how the cards look and behave. The first is the extra layouts: Layout Style 2 and Style 3, plus matching Price Style 2 and 3, restructure the whole card rather than just recolouring it. The second is the button, where Styles 1 and 3 join Style 2 and an Icon Type option swaps the icon for a Lottie animation. The third is the Call To Action text, a rich-text line printed directly under the button, which is the right place for reassurance such as “No credit card required” or a refund note. The fourth is the tooltip and Show More behaviour covered above. The fifth is the extra ribbon styles. The Lottie button doc shows the animated-button setup step by step.
One caution if you build with Pro and later run without it: a card saved with a Pro style does not fall back to Style 1. It renders as an empty box. If you are designing on a staging site that has Pro and shipping to a site that does not, stay on the free styles.
Common Problems and Fixes
The Icons Next to My Features Are Missing
The widget’s built-in Font Awesome 4 icons can render as blank space, because no Font Awesome stylesheet is loaded for them. This affects the default tick on each feature row and the default arrow on the button. Set Icon Font to Font Awesome 5 and pick the icon again, since those icons are drawn as inline SVG and always show.
Style 2 or Style 3 Gives Me an Empty Card
Those card layouts are Pro. Without the Pro plugin the widget prints an empty wrapper. Switch Style back to Style 1.
My Button Has No Text
Button Style 1 and Style 3 are Pro, and in the free version they render an empty link. Use Style 2.
The Ribbon or Call To Action Section Is Not in the Panel
Both sit at the bottom of the Content tab. In the free version, the Call To Action section holds only an upgrade notice, because the CTA text is a Pro control.
My Three Cards Are Different Heights
Each widget sizes itself to its own content. Set the parent container’s Align Items to stretch, or give every plan the same number of feature rows.
Custom CSS or Anchor Links Only Hit the First Card
Every Pricing Table on a page renders with the same HTML id, so an anchor link or a CSS rule written against that id reaches only the first card. Add your own class from the widget’s Advanced tab and target that class instead.
Responsive Behavior
Because the three plans live in an Elementor container, the column count, gap and stacking order are controlled per device from Elementor’s own responsive tabs for desktop, tablet and mobile. Check the mobile view before you publish: a three-column pricing section needs to stack into a single column rather than squeezing three cards into a phone-width screen, and the order matters, since most visitors on a phone should meet your recommended plan before they scroll past the cheapest one. If you used Scale Zoom, look at the tablet breakpoint too, because an enlarged card can overlap its neighbours when the columns get narrow.
How It Compares With Elementor’s Own Price Table
Which widget you pick mostly depends on what you already own, not on which has more settings. The choices break down like this:
| Option | Needs | Best when |
|---|---|---|
| Elementor’s native Price Table | Elementor Pro | You already pay for Elementor Pro and want the built-in widget |
| The Plus Addons Pricing Table, free | Free plugin only | You need clean pricing cards with a ribbon, a previous price and a feature list on a free Elementor site |
| The Plus Addons Pricing Table, Pro | The Plus Addons Pro | You want the extra card layouts, tooltips, Show More lists, Lottie buttons and CTA text |
If you are still choosing between addons, the roundup of the best Elementor pricing table plugins compares the field. If your real question is what Elementor itself costs rather than how to build a pricing table, the guide to Elementor Pro pricing lists every plan and renewal cost.