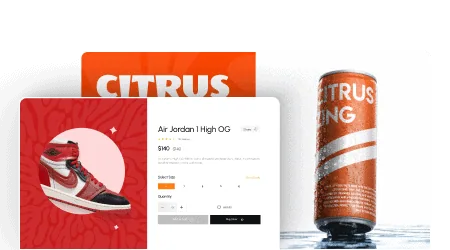
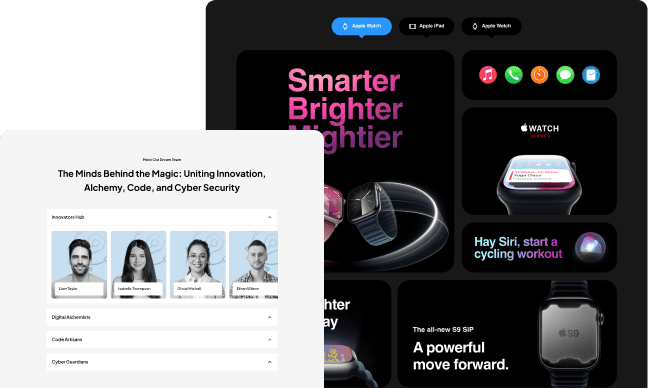
Creating a strong online presence is an essential part of any successful business. Creating an attractive and effective portfolio can make a huge difference in the success of your business. It’s an opportunity to showcase your work, demonstrate your skills and create a positive first impression for potential employers and clients.
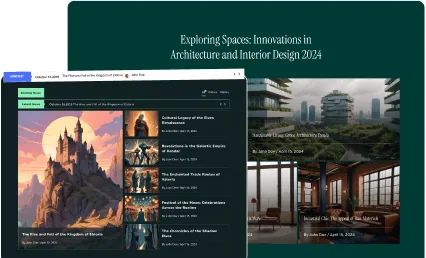
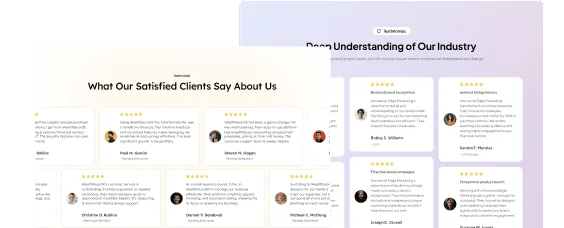
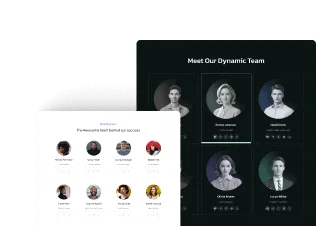
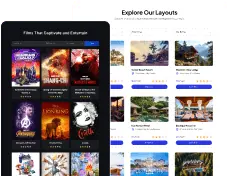
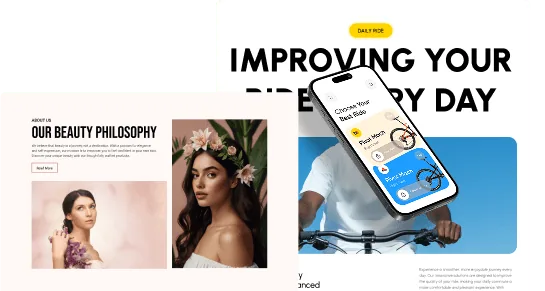
Showing your work inside a device mockup can be a great way to showcase your work. If you are creating a website or an app, showing people how it would actually look inside a device rather than just letting them guess can be a difference maker.
The Dynamic Device widget from The Plus Addons for Elementor is a highly versatile widget that lets you easily show different elements like images, videos or an entire webpage inside various device mockups.
Required Setup
- Elementor FREE Plugin installed & activated.
- You need to have The Plus Addons for Elementor plugin installed and activated.
- This is a Premium widget, and you need the PRO version of The Plus Addons for Elementor.
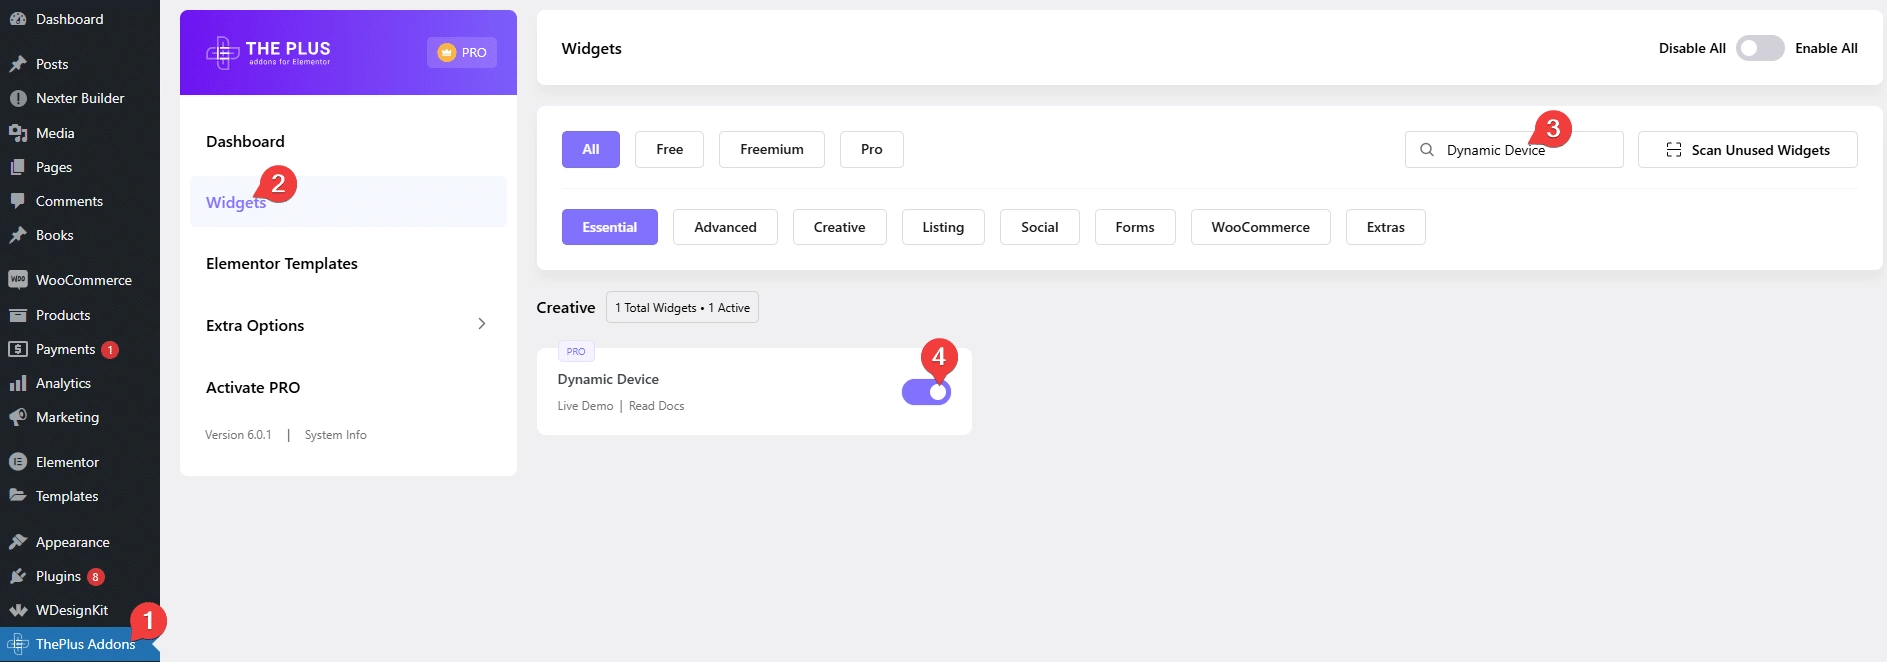
- Make sure the Dynamic Device widget is activated, to verify this, visit The Plus Addons → Widgets → and Search for Dynamic Device and activate.
How to Activate the Dynamic Device Widget?
Go to
- The Plus Addons → Widgets
- Search the widget name and turn on the toggle.
Key Features
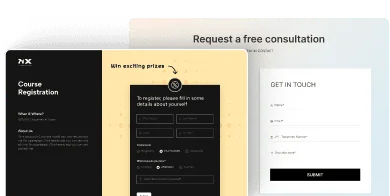
- Different types of content – You can show different types of content like Image, Elementor Template and iFrame.
- Multiple layouts – You can either show your content in a static mockup or a slider.
- Multiple device options – You can choose from multiple device options or you can add your custom mockup as well.
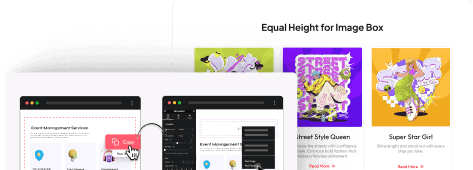
- Image scrolling effect – Easily create an image scrolling effect inside a device mockup.
- Manual scrolling – You can also add a manual scrolling effect to your image.
- Dynamic Device Connection ID – You can connect multiple Dynamic Device widgets to create a simultaneous scrolling effect.
How to add content in the Dynamic Device Widget in Elementor?
Once you add the Dynamic Device widget on the page, you’ll see a mockup device.
In the Layout dropdown, you’ll find two options –
Normal – For creating a normal mockup layout.
Special Carousel – This option lets you create a slider inside the mockup. Learn more about the process.
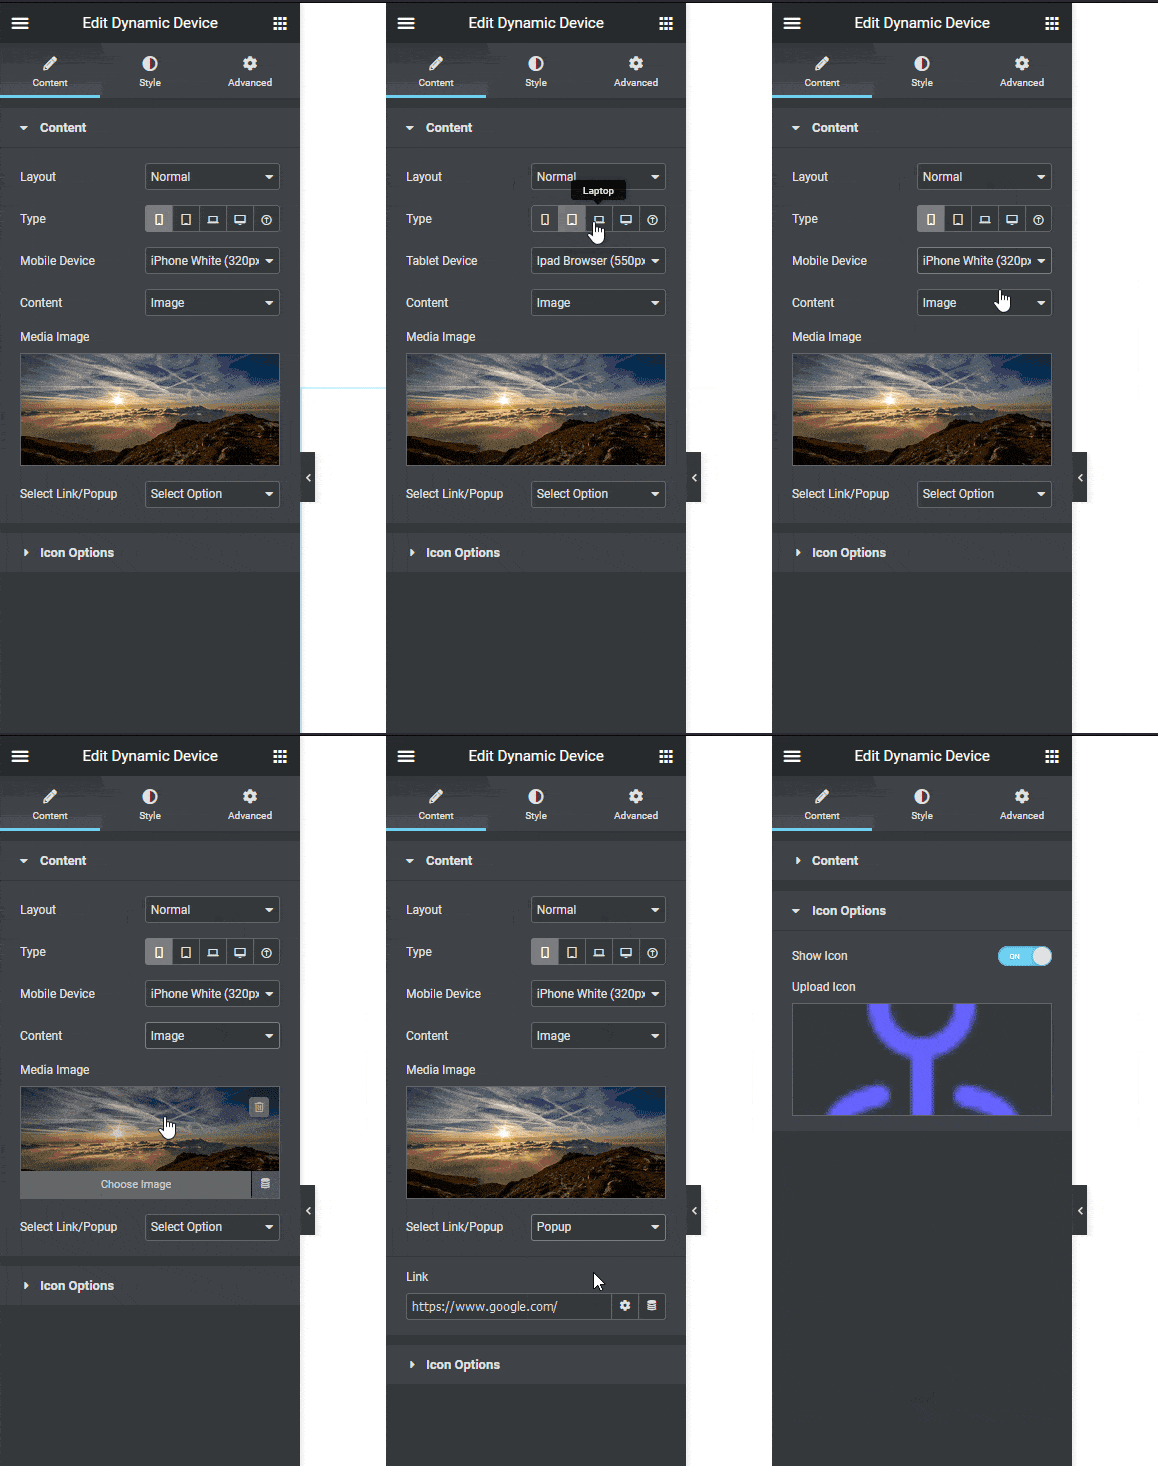
When you set the layout to Normal, from the Type section, you can choose different device types like Mobile, Tablet, Laptop, Desktop or you can even upload a custom mockup.
Depending on the device type, you’ll get to choose relevant device mockups from the Device dropdown.
Then from the Content dropdown, you’ll have to choose the content type, here you’ll find three options –
Image – With this option, you can directly add an image as the content of your mockup. You can add a link to your image that can be opened in a normal browser or in a popup. Using this method, you can even create a scrolling image effect inside the mockup. Learn more about the process.
Template – This is a very powerful option, using this method, you can add different types of content like video, products or even an entire layout inside the mockup. Learn more about it.
IFrame – If you want to show a third party website inside your mockup, you can use this option. Learn the process.
With the Image and Elementor Template content type, you can add an icon to your mockup from the Icon Options tab.
How to style Dynamic Device in Elementor?
If you want to adjust the styling of your mockup content, you can do that from the Style tab. Depending on the choice of the Layout and Content type, styling options will vary.
Layout Type – Normal
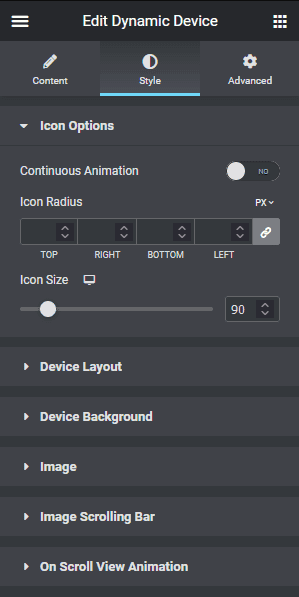
Icon Options – If you have added an icon to your mockup, you’ll get this option. From here, you can adjust the icon size, add animation to the icon etc.
Device Layout – From this tab, you can adjust the mockup layout width, alignment, padding and margin.
Device Background – From this tab, you can add a drop shadow effect to your content, but for the Image content type only, you can add a scrolling effect, set transition duration, add manual scrolling, adjust image width etc.
You can also connect multiple Dynamic Device widgets from this section. Learn more about the process.
Image – If you have set an image as the content type, then you’ll see this option. From here, you can adjust the image border radius.
Image Scrolling Bar – If you’ve turned on the Manual Scroll option from the Device Background tab, then you’ll see this option. From here, you can adjust different parts of the scroll bar style.
Template – This option is only visible if you’ve set Template as the content type. From here, you can adjust the content position within the mockup and add a scrolling effect on mouse hover.
Layout Type – Special Carousel

Carousel Options – From this tab, you can choose the carousel columns to be Single Slide or Multiple, make the carousel autoplay, turn it into an infinite loop slider, adjust the carousel speed and add carousel navigation dots and arrows.
Carousel Slide – From here, you can adjust slide gap, space, margin, carousel width, mockup width, mockup height, mockup offset, mockup Z-Index and adjust the slide opacity and scale for both normal and hover states.
Carousel Dots – If you’ve turned on the Dots navigation option from the Carousel Options tab, then you’ll get this option. From here, you can adjust the dot navigation size, colour, gap and position for both normal and active states.
Carousel Arrows – If the Arrows navigation option is enabled from the Carousel Options tab, then you’ll see this option. From here, you can manage the arrow navigation colour, background, border, gap, position, icon size etc.
Device Layout – From this tab, you can adjust the mockup layout width, alignment, padding and margin.
Device Background – From here, you can add a box shadow to your content.
Image – From this tab, you can adjust the image border radius, height, width, position, Z-Index etc.
On Scroll View Animation – This is our global extension available for all our widget, this adds scrolling animation as the widget comes in viewport.
Learn more about On Scroll View Animation
Advanced options remain common for all our widget, you can explore all it options from here.
