






Do you want each image in your Elementor gallery to link somewhere different? A gallery where every photo opens the same lightbox is fine for a photo wall, but a portfolio, a shop or a team page usually needs each tile to go to its own page.
The Gallery Listing widget in The Plus Addons for Elementor gives every image its own Custom URL, once the source is set to Repeater.
To check the complete feature overview documentation of The Plus Addons for Elementor Gallery Listing widget, click here.
Requirement – This widget is a part of The Plus Addons for Elementor, make sure it’s installed & activated to enjoy all its powers.
Before You Start
- Edition: Pro — the Repeater source and Box Link is part of The Plus Addons for Elementor Pro. In the free plugin the option is visible but shows an upgrade notice instead of its settings.
- Widget to enable: Gallery Listing, switched on under ThePlus Settings > Widgets.
Per-image links only work with the Repeater source. The plain Normal picker has no place to store a link, because it holds images and nothing else. If you have not used the repeater before, start with create an image gallery with repeater in Elementor.
Step 1: Add the widget and switch the source to Repeater
Drag the Gallery Listing widget onto the page, choose a layout in Content > Layout, then open Content > Content and set Select Option to Repeater. The image picker is replaced by a list of rows.
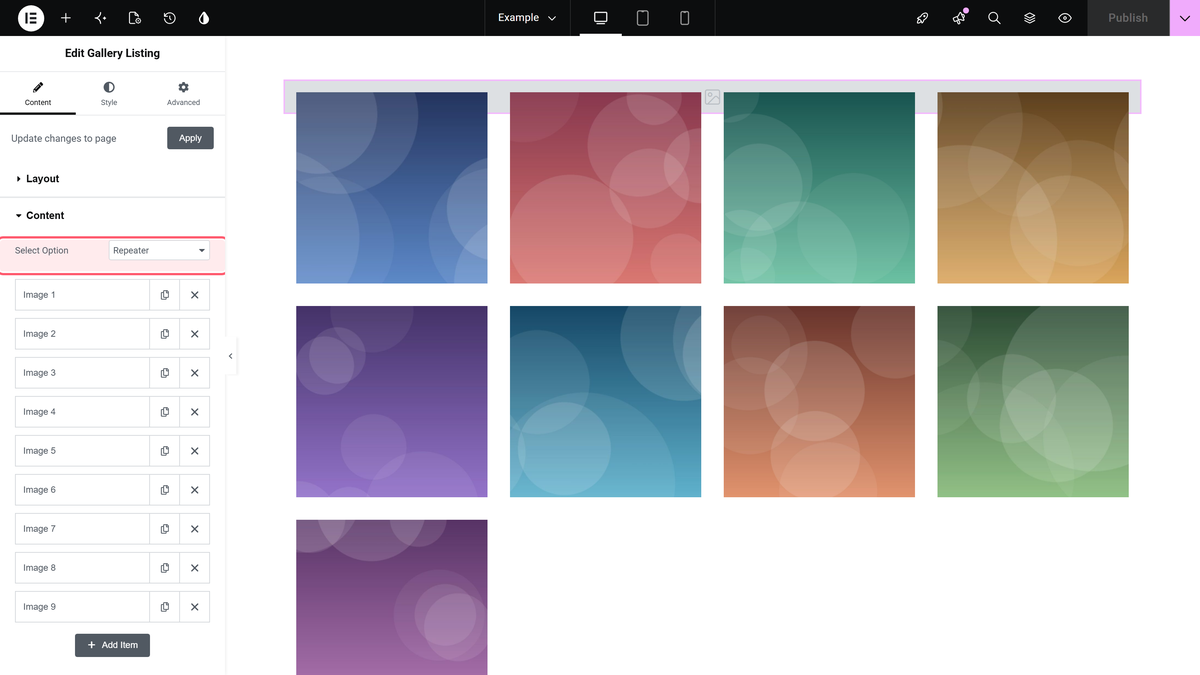
Step 2: Give each row an image and a URL
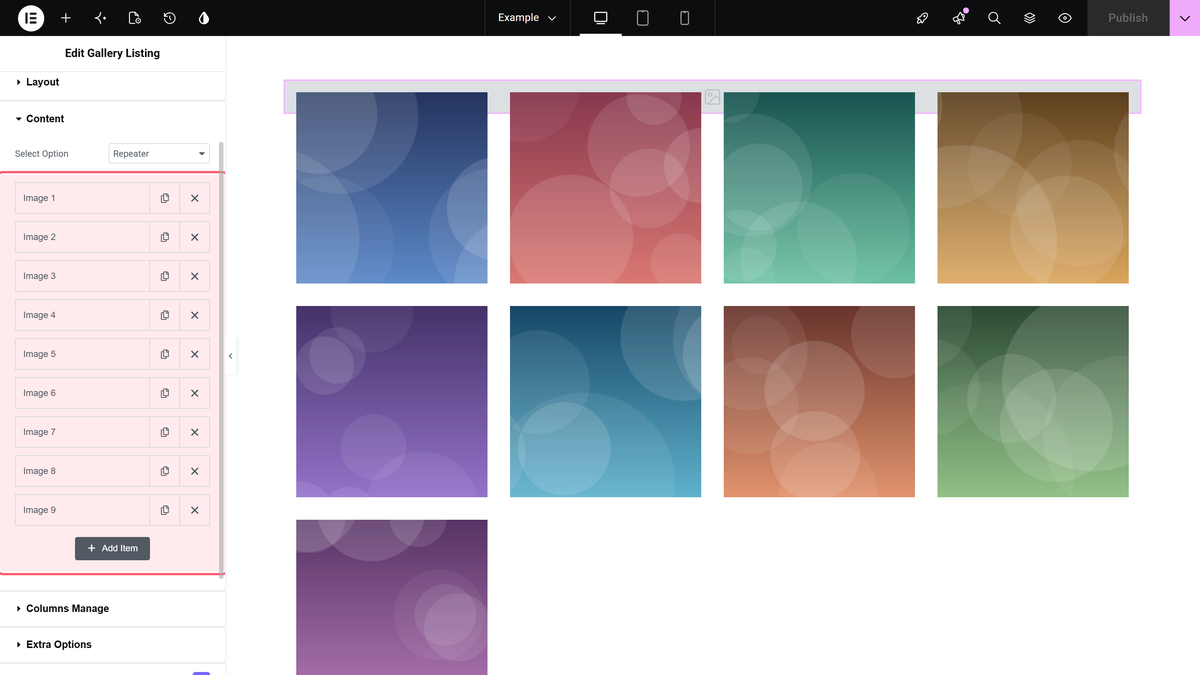
Open a row. Set Choose Image, then put the destination into Custom URL. Repeat for every image — each row carries its own link. The field also has the usual external-link and nofollow switches.
Step 3: Turn on Box Link
This is the step people miss. Open Content > Extra Options and turn on Box Link. It is off by default, and until it is on the URLs are stored but nothing on the page is clickable.
If a click still opens the lightbox instead of following your link, turn on Force Custom URL, which sits just below Box Link. That tells the widget to prefer the row’s URL over the popup.
What It Looks Like
Settings Reference
| Setting | Where | Type | Default |
|---|---|---|---|
| Select Option | Content > Content | Normal, Repeater (Pro), ACF Gallery (Pro) | Normal |
| Custom URL | Repeater row | URL, with external and nofollow options | Empty |
| Box Link | Content > Extra Options | Show / Hide | Hide |
| Force Custom URL | Content > Extra Options | Show / Hide — needs Box Link on | Hide |
| Popup Layout | Content > Layout | Default Light-box, No | Default Light-box |
Two sections are named Extra Options, one on Content and one on Style. Box Link and Force Custom URL are on the Content one.
Limitations
- Repeater and Box Link are Pro. The free plugin shows both and then an upgrade notice.
- Box Link is all or nothing. It makes every tile clickable. A row left without a URL becomes a clickable tile that goes nowhere, so fill in every row or leave the feature off.
- Links and the lightbox compete. With both active a click follows the link, so visitors lose the zoom. Set Popup Layout to No if the links are the point.
- Each image gets one URL. There is no separate link for a title versus the image.
Troubleshooting
My images are not clickable
Box Link is still off. It is off by default and lives in Content > Extra Options — not the Style tab’s section of the same name.
Clicking opens the lightbox instead of my link
Turn on Force Custom URL, or set Popup Layout to No so the lightbox is out of the way entirely.
There is no Custom URL field
Select Option is still on Normal. Per-image links exist only on the Repeater source.
One tile links nowhere
That row has an empty Custom URL. Box Link makes every tile clickable regardless, so an empty row still looks like a link.
