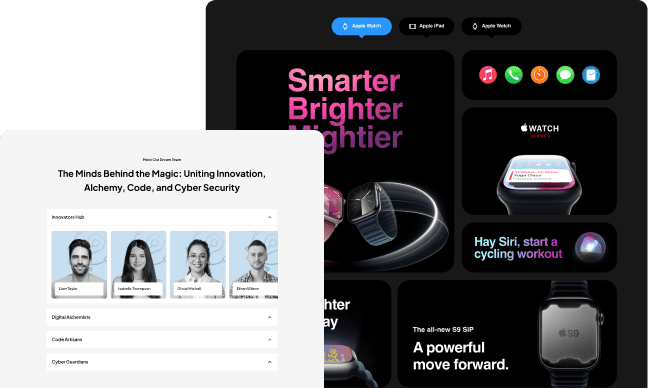
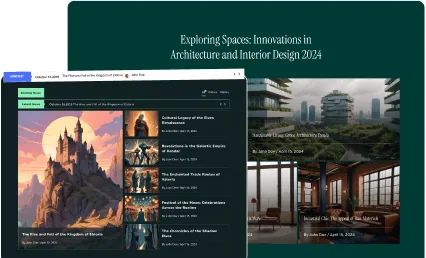
Adding a multi-layer background can add depth and dimension to your site, making it more visually dynamic and engaging.
With the Row Background widget from The Plus Addons for Elementor, you can easily create different types of multi-layer backgrounds in Elementor.
Required Setup
- Elementor FREE Plugin installed & activated.
- You need to have The Plus Addons for Elementor plugin installed and activated.
- This is a Premium widget, and you need the PRO version of The Plus Addons for Elementor.
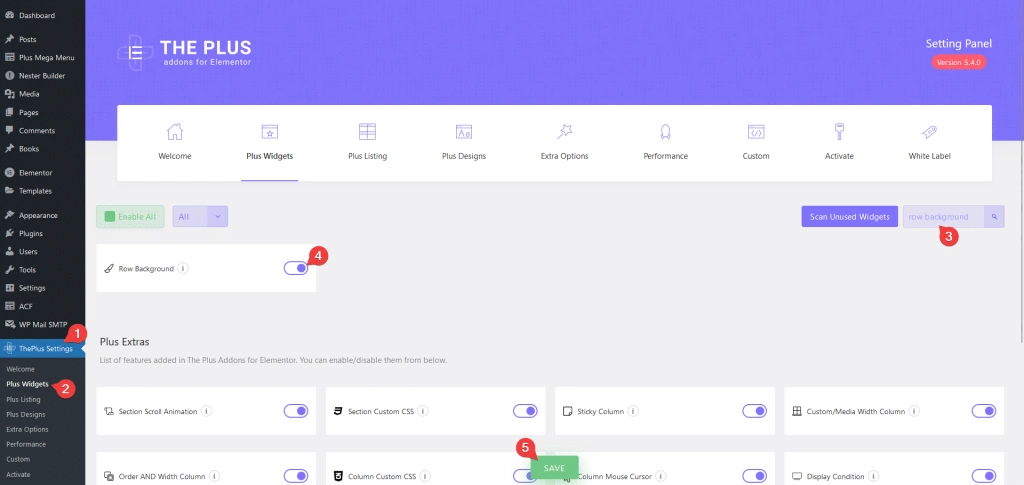
- Make sure the Row Background widget is activated, to verify this visit The Plus Addons → Widgets → and Search for Row Background and activate.
Learn via Video Tutorial
How to Activate the Row Background Widget?
Go to
- The Plus Addons → Widgets
- Search the widget name and turn on the toggle.
Key Features
- Multi Layer – You can easily create a multi-layer background.
- Gradient Background – You can easily create a gradient background.
- Animated Color Background – You can create an animated color background.
- Video Background – You can create a video background.
- Background Slideshow – You can easily create a background slideshow.
- Image Segmentation Background – You can add an image segmentation background.
- Animated Gradient Background – You can easily create an animated gradient background.
- Change Background On Scroll – You can easily change the background on scroll.
- Carousel Background – You can easily change the carousel background with slide change.
- Parallax Background – You can add a parallax background.
- Particle Background – You can easily create a particle background.
- Moving Image Background – You can create a moving image background.
- Background Overlay – You can easily create a background overlay with different elements.
How to Use the Row Background Widget in Elementor?
Add the Row Background widget from The Plus Addons for Elementor to the container you want to add the background.
Deep Layer
The Row Background widget has three layers, this is the deep or last layer.
From the Select Option dropdown, you have to select a background type for the last layer. Here you’ll find 10 options –
- Carousel Background – To change the carousel background with slide change.
- Solid Color – To create a solid background color.
- Gradient Color – To create a gradient background color.
- Animated Background Color – To create an animated color background.
- Creative Background Image – To create a parallax background.
- Creative Background Video – To create a video background.
- Creative Background Gallery – To create a background image slideshow.
- Image Segmentation – To create an image segmentation background.
- Gradient Animate Color – To create an animated gradient background.
- On Scroll Background Animation – To change the background on scroll.
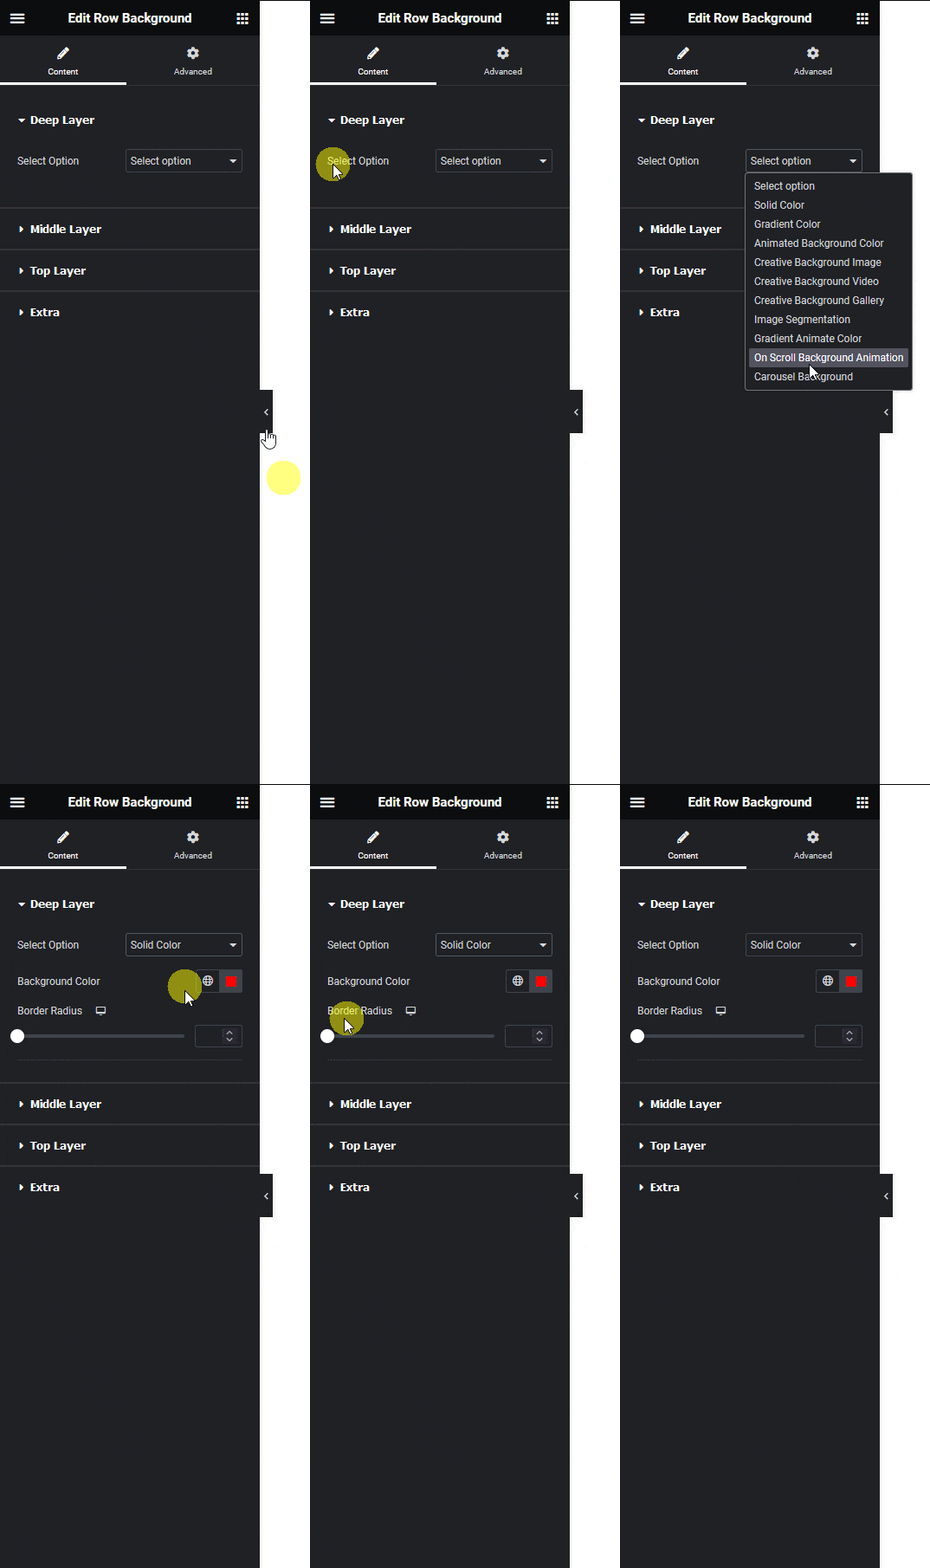
Select the option as per your requirements, let’s select Solid Color here.
In the Background Color section, you have to set the background color.
Then from the Border Radius slider, you can set a different border radius for the background for different devices.
From the Layout dropdown, you can select different layout types for your taxonomy. Here you’ll find four options –
Middle Layer
This is the middle or second layer.
From the Select Option dropdown, you have to select a background type for the middle layer. Here you’ll find 5 options –
- Canvas Effect – To create a particle background.
- Modern Mouse Hover Parallax – To create an image mouse hover parallax effect on the background. This will keep the image as an object over the background and the images will have a parallax effect on mouse hover.
- Auto Moving Layer – To create a moving image background.
- Modern Image Effect – To add different effects on images over the background.
- Multi Layer Parallax – To create a multi-layer parallax background.
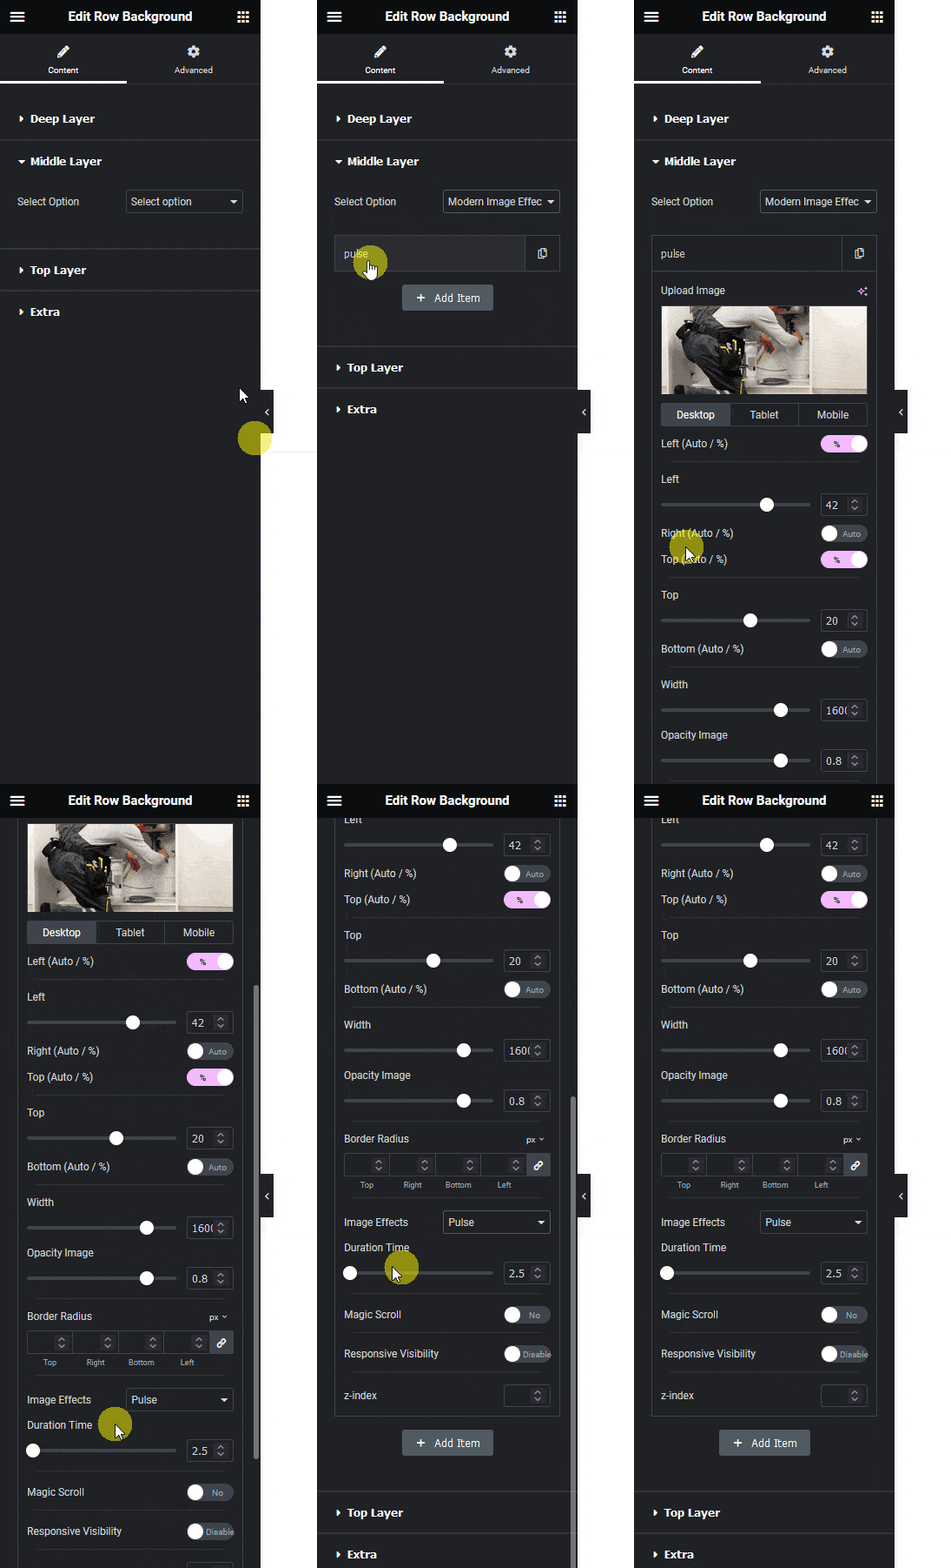
Select the option as per your requirements, let’s select Modern Image Effect here.
By default, you’ll see one repeater item open it –
In the Upload Image section, you have to add your image.
You can adjust the image position from the Left (Auto / %), Right (Auto / %), Top (Auto / %), Bottom (Auto / %) toggles for desktop, tablet and mobile separately.
From the Width field, you can set the image width.
Then from the Opacity Image section, you can set the opacity of the image.
From the Border Radius section, you can set the image border-radius.
Then from the Image Effects dropdown, you can add different effects.
From the Duration Time section, you can manage the animation speed.
By enabling the Magic Scroll toggle, you can add a scrolling effect to the image.
From the Responsive Visibility toggle, you can select to show or hide the image for responsive devices.
In the z-index field, you can set the z-index of the image.
You can click on the + Add Item button to add more images.
Top Layer
This is the top layer which can act as an overlay background.
From the Select Option dropdown, you have to select a background type for the top layer. Here you’ll find 3 options –
- Solid Color – To add a solid color overlay background.
- Gradient Color – To add a gradient color overlay background.
- Texture Image – To add an image overlay background.
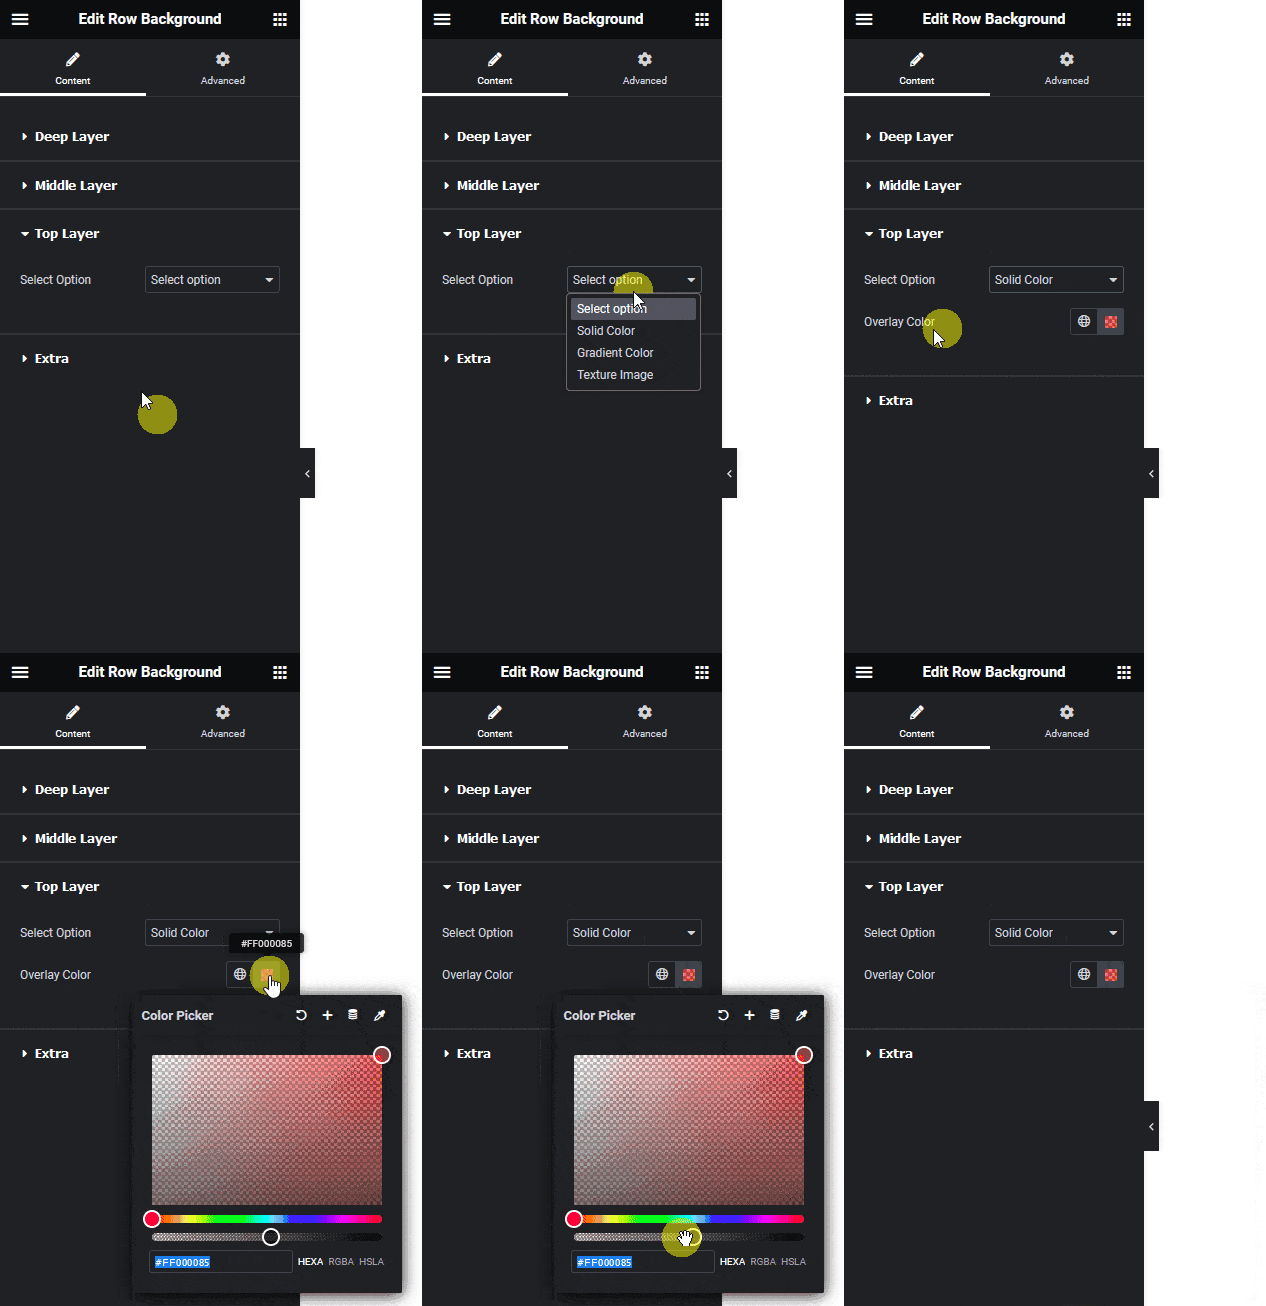
Select the option as per your requirements, let’s select Solid Color here.
From the Overlay Color section, you can add a solid color but make sure to add some transparency in the color to create an overlay effect.
Extra
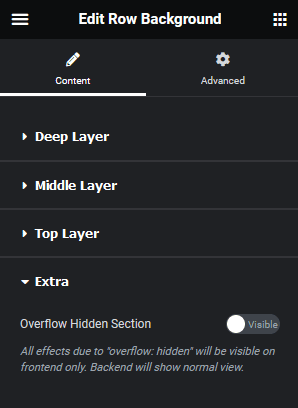
By enabling the Overflow Hidden Section toggle you can hide the section overflow.
Advanced options remain common for all our widget, you can explore all it options from here.
