






An image preloader covers the page with your logo, or any other image, until the page has finished loading. It tells the visitor that something is happening.
The Pre Loader widget from The Plus Addons for Elementor can show an image on its own, or turn that image into a loading bar that fills up as the page arrives.
To check the complete feature overview documentation of The Plus Addons for Elementor Pre Loader widget, click here.
Requirement – This widget is a part of The Plus Addons for Elementor Pro, make sure it’s installed & activated to enjoy all its powers.
Before You Start
- Edition: Pro — the Pre Loader widget ships only in The Plus Addons for Elementor Pro. The free plugin does not contain it.
- Widget to enable: Pre Loader, under The Plus Addons > Widgets. Search for it and turn the toggle on.
- Site-wide switch: go to ThePlus Addons > Extra Options > Settings, open the Design tab, click the gear on the Pre Loader card and set Pre Loader to Entire Site, then Save. Until this is set, the preloader’s CSS and JavaScript are never loaded on the front end and nothing appears.
- Where the settings are: select the Pre Loader widget and use the Content tab’s four sections — Content, Load First, Page Transition and Extra Option — plus the Style tab.
Add an Image Preloader
- Add the Pre Loader widget to the page, or to a header or footer template if you want it everywhere.
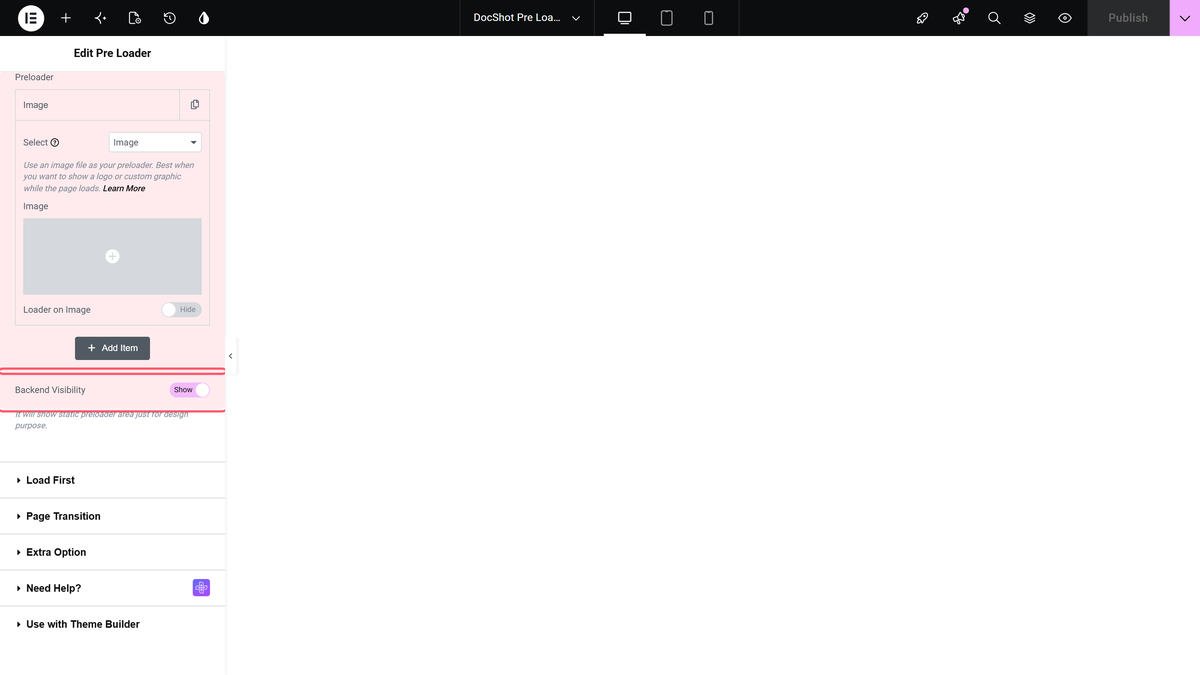
- On the Content tab, open the item in the Preloader list.
- Leave Select on Image — it is the default.
- Choose your file in the Image field.
- Update the page and open it in a new tab.
The image now sits in the middle of a full-screen overlay until the page has loaded.
Fill the Image as the Page Loads
Switch on Loader on Image in the same item. The image is then drawn twice: a faded copy underneath, and a sharp copy that is revealed from left to right as loading progresses.

We measured the reveal on a test page: the sharp part was 15 px wide just after the page opened, 179 px two seconds later and 527 px at four seconds, across a 640 px image.

Style It
| Setting | What it does | Where |
|---|---|---|
| Max Width, Margin, Border, Border Radius | Size and frame the image | Style > Image |
| Image Loader > Normal > Opacity | How faded the un-loaded part looks | Style > Image |
| Image Loader > Fill > Opacity | How solid the loaded part looks | Style > Image |
| Whole Background | Meant to set the colour behind the preloader. It had no effect in our test. | Style > Box |
How It Behaves
- The preloader is a fixed, full-screen overlay at
z-index: 12345. It covers the header too, unless you exclude it — see how to exclude content from a preloader. - The fill is timed from how long the page actually took to load, so it finishes when the page does.
- You can hold the preloader longer with Extra Option > Load Time > Minimum.
- Backend Visibility only shows a static preview inside the editor; it changes nothing on the published page.
Limitations
- Nothing happens on the front end until the site-wide Pre Loader setting is switched on. The preloader’s stylesheet and script are not even loaded before that.
- There is no separate mobile image; the same file is used on every screen size.
- Style > Box > Whole Background had no effect in our test — the loading screen stayed white. The widget’s own stylesheet is loaded after Elementor’s generated CSS, so a few Style controls whose rules are not scoped to the widget are overridden. The correct CSS is generated; the plugin’s own rule simply wins.
Troubleshooting
The page loads with no preloader at all
Check ThePlus Addons > Extra Options > Settings > Design > Pre Loader. If it is on Specific Page/Post and this page’s ID is not in the list, nothing loads.
The image fills instantly
A fast page finishes loading before you can see the fill. Set Extra Option > Load Time to Minimum and a Time (Second) value to hold it on screen.
The image is far too big
Set Max Width under Style > Image.
