






An image cascade is a set of photos that overlap each other in a deliberate, staggered arrangement — the kind of collage you normally build by hand with absolute positioning.
The Image Cascading widget from The Plus Addons for Elementor does it with one widget: each image is a layer, and you place each layer with four percentage sliders.
To check the complete feature overview documentation of The Plus Addons for Elementor Image Cascading widget, click here.
Requirement – This widget is a part of The Plus Addons for Elementor Pro, make sure it’s installed & activated to enjoy all its powers.
Before You Start
- Edition: Pro — Image Cascading ships only in the Pro version of The Plus Addons for Elementor. The widget file is not in the free plugin at all, so it does not appear in the widget list without Pro.
- Widget to enable: Image Cascading, under The Plus Addons > Widgets. Search for it and turn the toggle on, then reload the Elementor editor.
- Where the settings are: drop the Image Cascading widget on the page. The Content tab holds three sections — Image Cascading (the layers), Image Animation and Styling.
- How it is built: each item in the Add Multiple Cascading Sections repeater is one layer. Layers are absolutely positioned inside the widget, so they can overlap.
Build the Cascade
- In Styling, set a Minimum Height for the widget. Every layer position in % is measured against this height, so set it before you place anything.
- Open the Image Cascading section and open the first item under Add Multiple Cascading Sections.
- Leave Layer Type on Image and choose your photo in Image Select. Image Resolution sets which registered size is used.
- Under Layer Position, use Left (Auto / %) and Top (Auto / %) to place the layer. Both start on %, so their sliders are already there. Right (Auto / %) and Bottom (Auto / %) start on Auto — switch one on only if you would rather anchor that edge.
- Set Width to control how much room the layer takes. It is a maximum width, so the image never grows past it.
- Click + Add Item, repeat for the next photo, and give it Left and Top values that push it partly over the first one.
- Add as many items as you need, then update the page and look at it on the front end.
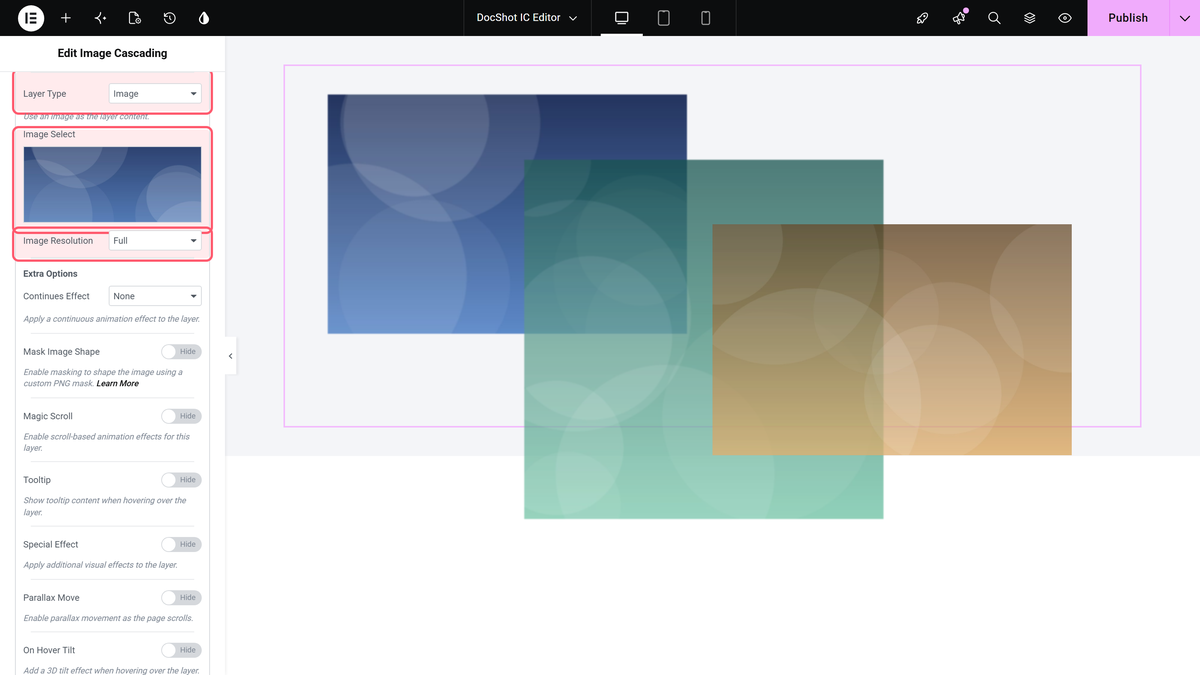
Percentages are measured against the widget box, so the same numbers look different at other screen sizes. Open the Tablet and Mobile tabs, switch on Responsive Values and set the positions for those devices too.
The Result
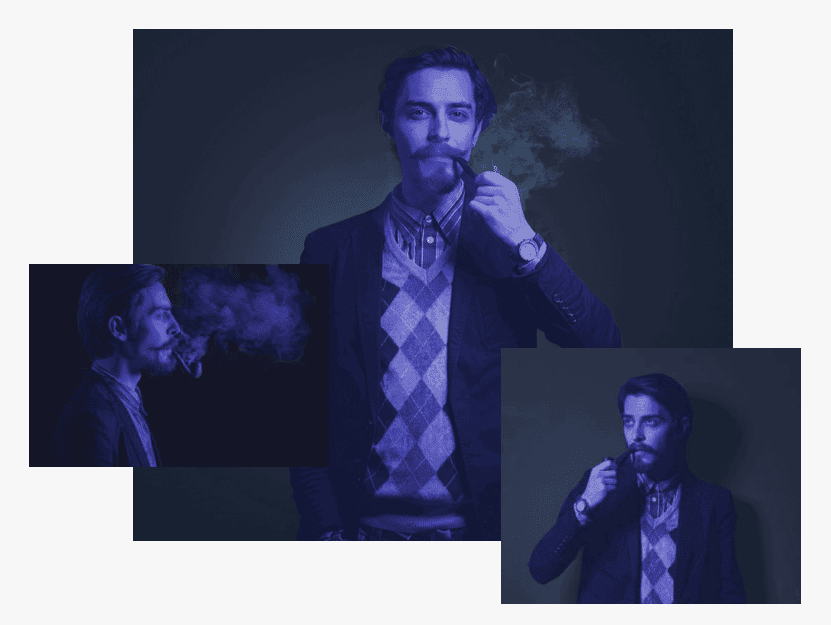
Three layers at Left / Top of 5/8 %, 28/26 % and 50/44 %, each with Width 42 %, gave this cascade on the published page:

How It Behaves
- Layers are drawn in the order they appear in the repeater: the last item is on top.
- Width is a maximum. A narrow image keeps its own size; a wide one is scaled down.
- Switching an edge back to Auto removes that edge from the layer’s CSS, it does not set it to zero.
Limitations
- The widget does not grow to fit its layers, because they are absolutely positioned. A layer that is cut off means Minimum Height is too small.
- There is no z-index control. To move a layer forward or back, drag the item to a different place in the repeater.
Troubleshooting
Nothing shows on the page
Set a Minimum Height under Styling. Without one the widget box has no height for the layers to sit in.
All the images are stacked in the same spot
A new item starts from the default position. Give each item its own Left and Top values.
The layout breaks on a phone
Open the Mobile tab of Layer Position, turn on Responsive Values and set positions and widths for that screen.
