






Want to build a food menu with photos and prices? The Pricing List widget’s Classic style adds an image or Lottie icon alongside each item.
This doc covers the Classic style specifically – see the Settings Overview for every other option.
For the full settings tour of the Pricing List widget, see How to Add a Pricing List in Elementor?.
Requirement – This widget is a part of The Plus Addons for Elementor Pro, make sure it’s installed & activated to enjoy all its powers.
Before You Start
- Prerequisite: Elementor (free) installed and active.
- Edition: Pricing List is a Pro widget – it requires the paid version of The Plus Addons for Elementor. It does not exist in the free plugin.
- Widget to enable: go to The Plus Addons > Widgets, search for Pricing List and turn its toggle on.
Steps
- Add the Pricing List widget to the page.
- From the Style control, select Classic.
- Fill in the Title, tag(s), Price and Description.
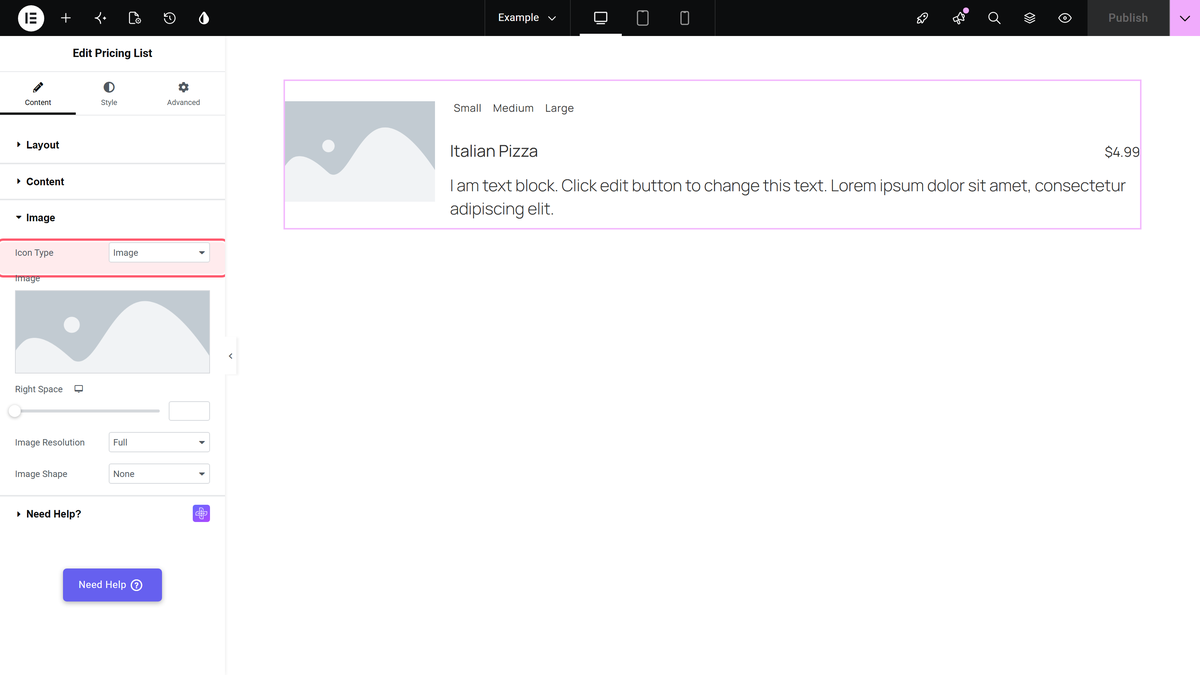
- Under the Image tab, set Icon Type to Image and upload a photo of the dish.
- Repeat the widget for each menu item.
Limitations
- Pricing List is Pro-only.
- Classic style is a static layout – it does not have the Simple style’s hover-flip.
Not verified
So you know exactly what has and has not been checked:
- The food-menu arrangement (multiple Classic-style items stacked or in a grid) was confirmed against the control model and source, not built and screenshotted as a full multi-item page in this pass.
