






The Google Map widget in The Plus Addons for Elementor lets you swap the default map pin for an image of your own, so the marker matches your brand or tells one kind of location apart from another.
Both map types support it, and each has its own field: Pin Icon on the Google Map type, and OSM Custom Image on the Open Street Map (OSM) type.
To check the complete feature overview documentation of The Plus Addons for Elementor Google Map widget, click here.
Requirement – This widget is a part of The Plus Addons for Elementor Pro, make sure it’s installed & activated to enjoy all its powers.
Before You Start
- Edition: Pro — the Google Map widget ships only with The Plus Addons for Elementor Pro. With the free plugin alone it is shown in the Elementor panel as a locked Pro widget and cannot be added to a page.
- Widget to enable: Google Map, switched on under The Plus Addons > Widgets (search for it under Essential).
- Two map types: Google Map needs a Google Maps API key, Open Street Map (OSM) needs none. You choose between them in Layout > Map Type.
- API key: the Google Map map type only draws once a Google Maps API key is saved under The Plus Addons > Extra Options > Settings > Google Map API. See How to generate Elementor Google Maps Widget API Key?.
Add a Custom Marker on a Google Map
- Select the widget and open Content > Add Multiple Location Point, then click the location row you want to change.
- Upload or pick your marker image in Pin Icon.
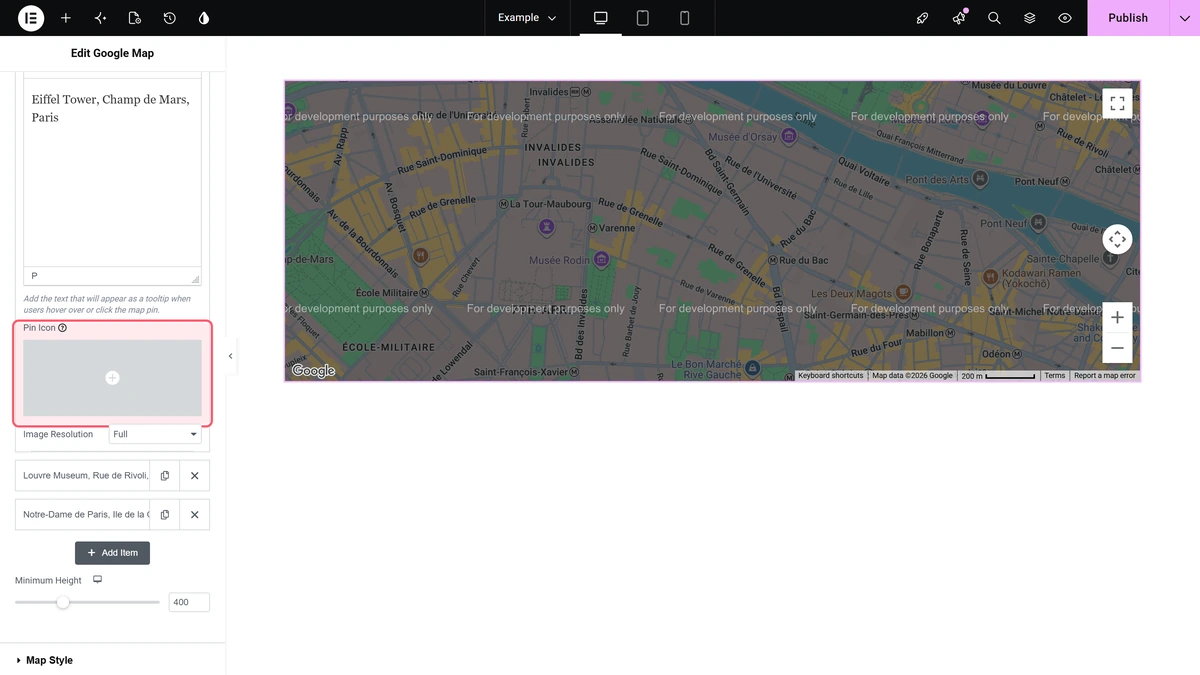
- Set Image Resolution. Full uses the file as it is; the other entries are WordPress image sizes; Custom adds an Image Dimension field where you type a width and a height in pixels for the marker.
- Repeat inside each location row if you want a different marker per pin.
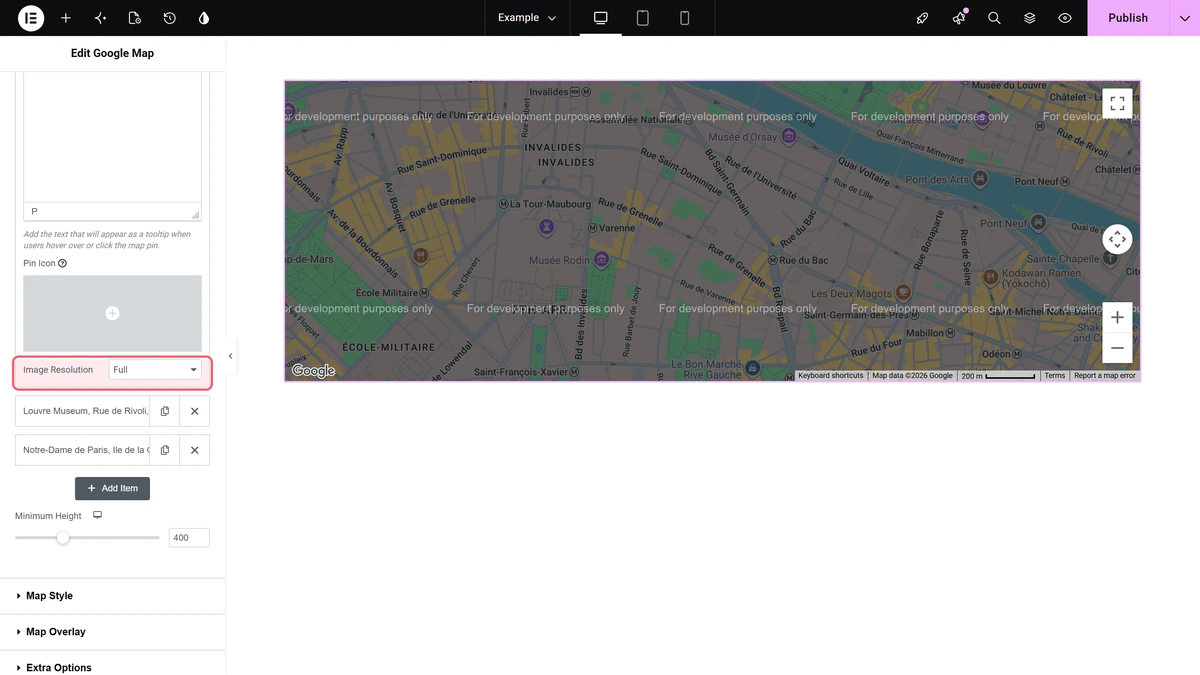
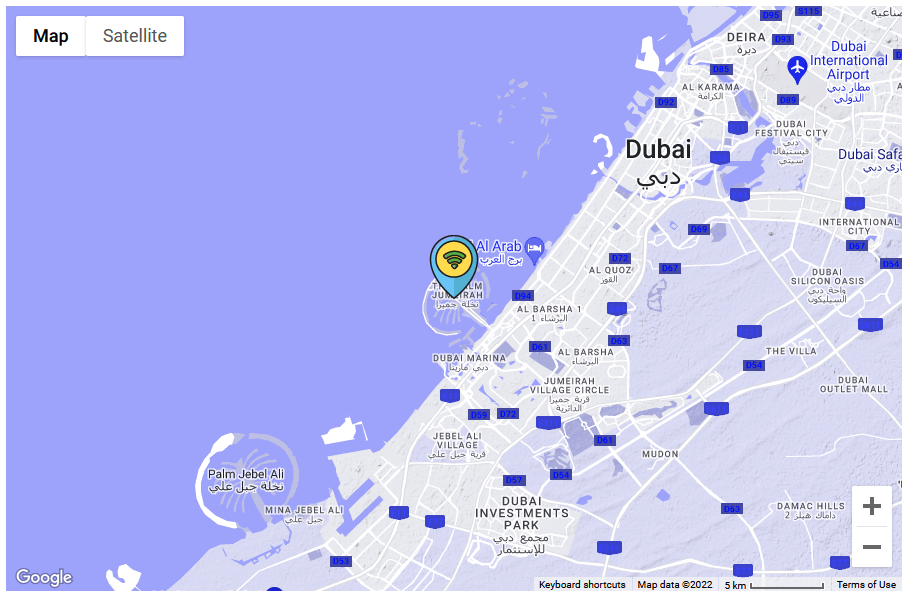
A Google Map with a custom marker looks like this.
Add a Custom Marker on an Open Street Map
- Set Layout > Map Type to Open Street Map (OSM).
- Open Content Source > Add Location Point and click the point you want to change.
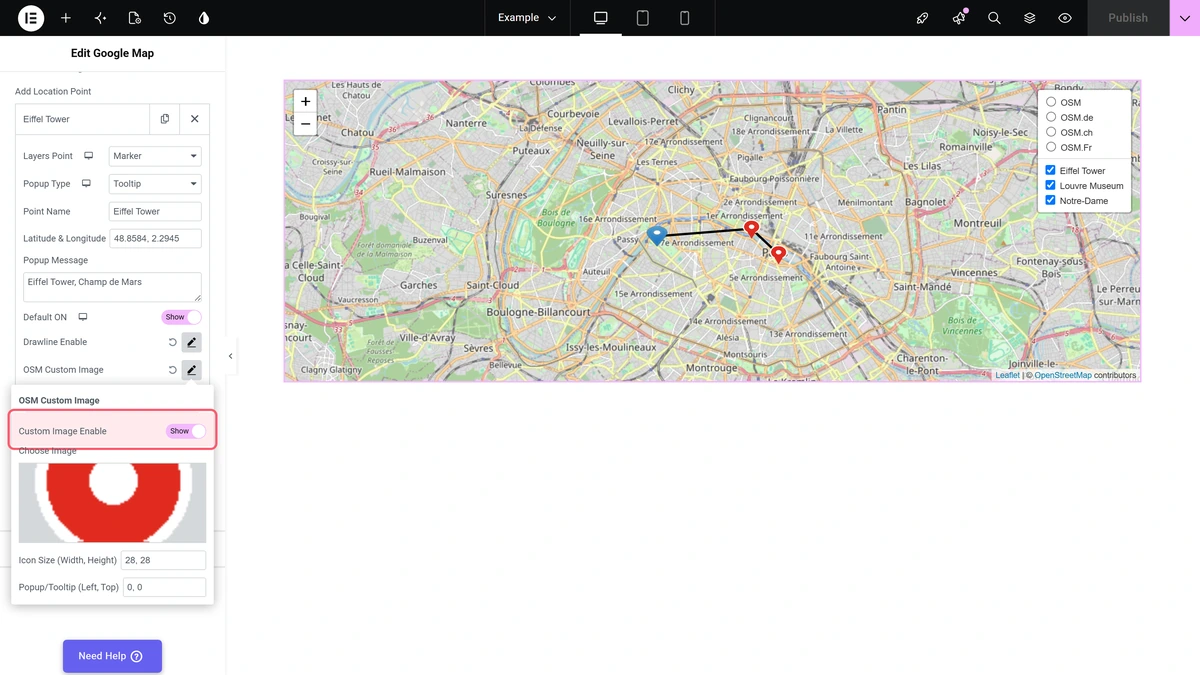
- Click OSM Custom Image to open its popover, switch on Custom Image Enable and pick the image in Choose Image.
- Type the marker size into Icon Size (Width, Height) as two numbers separated by a comma, for example
44, 55. The default is18, 24. - Use Popup/Tooltip (Left, Top) to nudge the tooltip or popup away from the marker if it sits awkwardly.
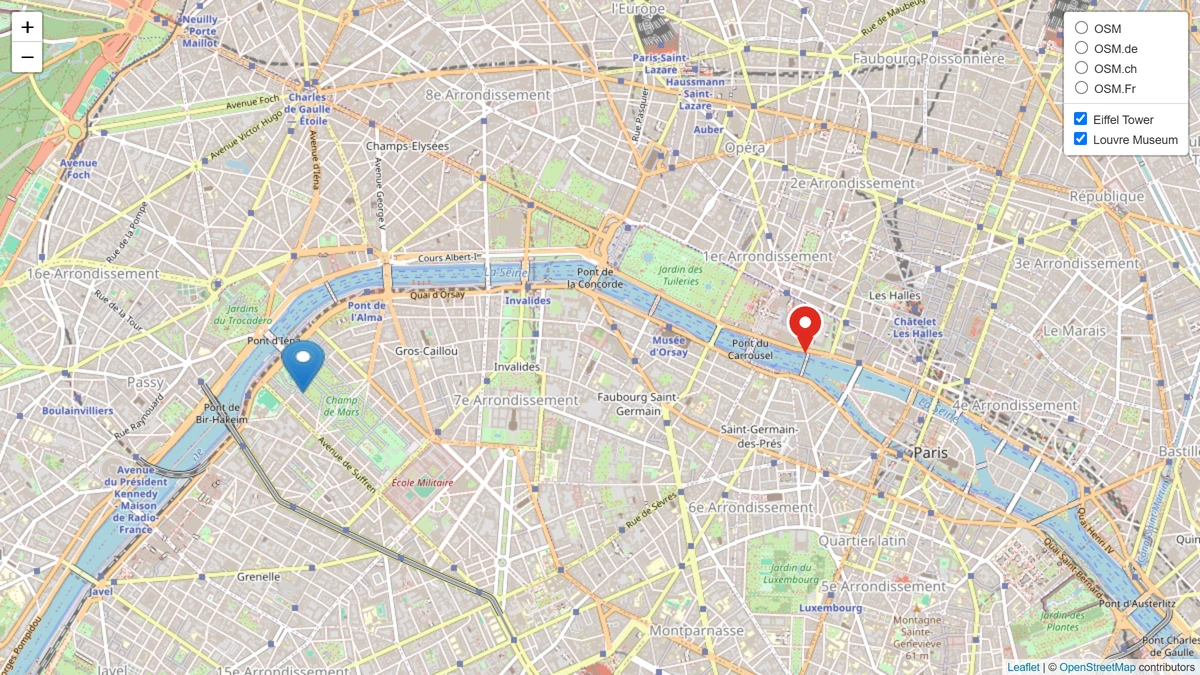
On an Open Street Map, the first location point in the list keeps the default marker even with Custom Image Enable switched on. Put a point you do not mind looking ordinary first, or add a throwaway first point that is switched off with Default ON.
This published map has the same custom image set on both points. The second point uses it; the first one does not.
How It Behaves
- Each row has its own marker. A location row with no image uses the map’s default pin, so you can mix custom and default markers on one map.
- Image Resolution Custom is what resizes a Google Map pin. Choosing Custom and typing a width and a height scales the marker on the map. The other entries pick a different file from the media library instead.
- Icon Size always applies on OSM. Even on the first point, where the image itself is ignored, the default marker is drawn at the size you typed.
Limitations
- Google Map map type, version 6.5.0: a widget set to Map Type > Google Map draws in the Elementor editor but leaves an empty space on the published page, with
tp_map_gmap is not definedin the browser console. This happens with or without a valid API key. Open Street Map (OSM) is not affected. - The first OSM point ignores its custom image. With three points all set to the same image, the first is drawn with the plugin’s default marker and the second and third with the chosen image.
- There is no separate hover or active marker. One image per location, shown at all times.
Troubleshooting
The custom marker does not appear on the published page
If Map Type is Google Map, nothing is drawn on the front end in version 6.5.0 — marker included. Check the map in the Elementor editor to confirm the image itself is fine, and use Open Street Map (OSM) if you need it live now.
The OSM marker is still the default blue pin
Check whether it is the first point in Add Location Point. The first point keeps the default marker. Also confirm Custom Image Enable is switched on inside the OSM Custom Image popover, not just an image chosen.
The marker is far too large or too small
On a Google Map, set Image Resolution to Custom and type the size you want. On an Open Street Map, change Icon Size (Width, Height).
