






Six services will not fit comfortably in one row. A carousel shows two or three at a time and lets the visitor page through the rest, without pushing the page any longer.
The Info Box widget has a Carousel layout that holds all of the boxes in a single widget, so you edit them in one place.
To check the complete feature overview documentation of The Plus Addons for Elementor Info Box widget, click here.
Requirement – This widget is a part of The Plus Addons for Elementor, make sure it’s installed & activated to enjoy all its powers.
Before You Start
- Edition: Pro — the Carousel layout needs The Plus Addons for Elementor Pro. In the free plugin the option is still in the panel but shows an upgrade notice instead of working.
- Widget to enable: Info Box, switched on under The Plus Addons > Widgets. In the Elementor panel it appears under Plus Essential.
- You will need more items than columns. A carousel with four boxes and four columns has nothing to slide — see the note below.
Switch to the Carousel Layout
- Add the Info Box widget to your page.
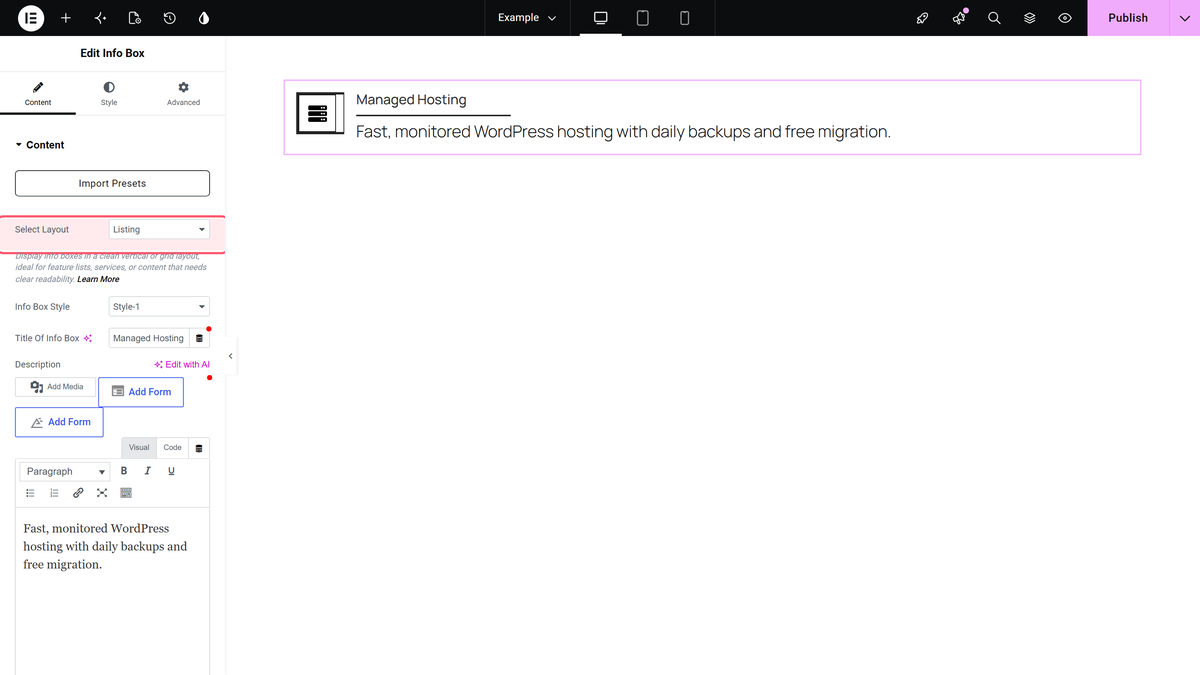
- In the Content tab, set Select Layout to Carousel.
- A repeater called Carousel InfoBox appears, already holding four items.
Fill In Your Items
Open a row in Carousel InfoBox to edit that one box. Each row has its own:
- Title and Description.
- Link for the title.
- Select Icon, with Icon Font and the icon library underneath, or Use Image As icon if you pick Image.
- Button Text and Button Link.
- A Background Image Normal & Hover group for a picture behind the box.
- Full Infobox Link, which makes that one box clickable all over.
Use + Add Item to add more boxes, and the handle on the left of each row to reorder them.
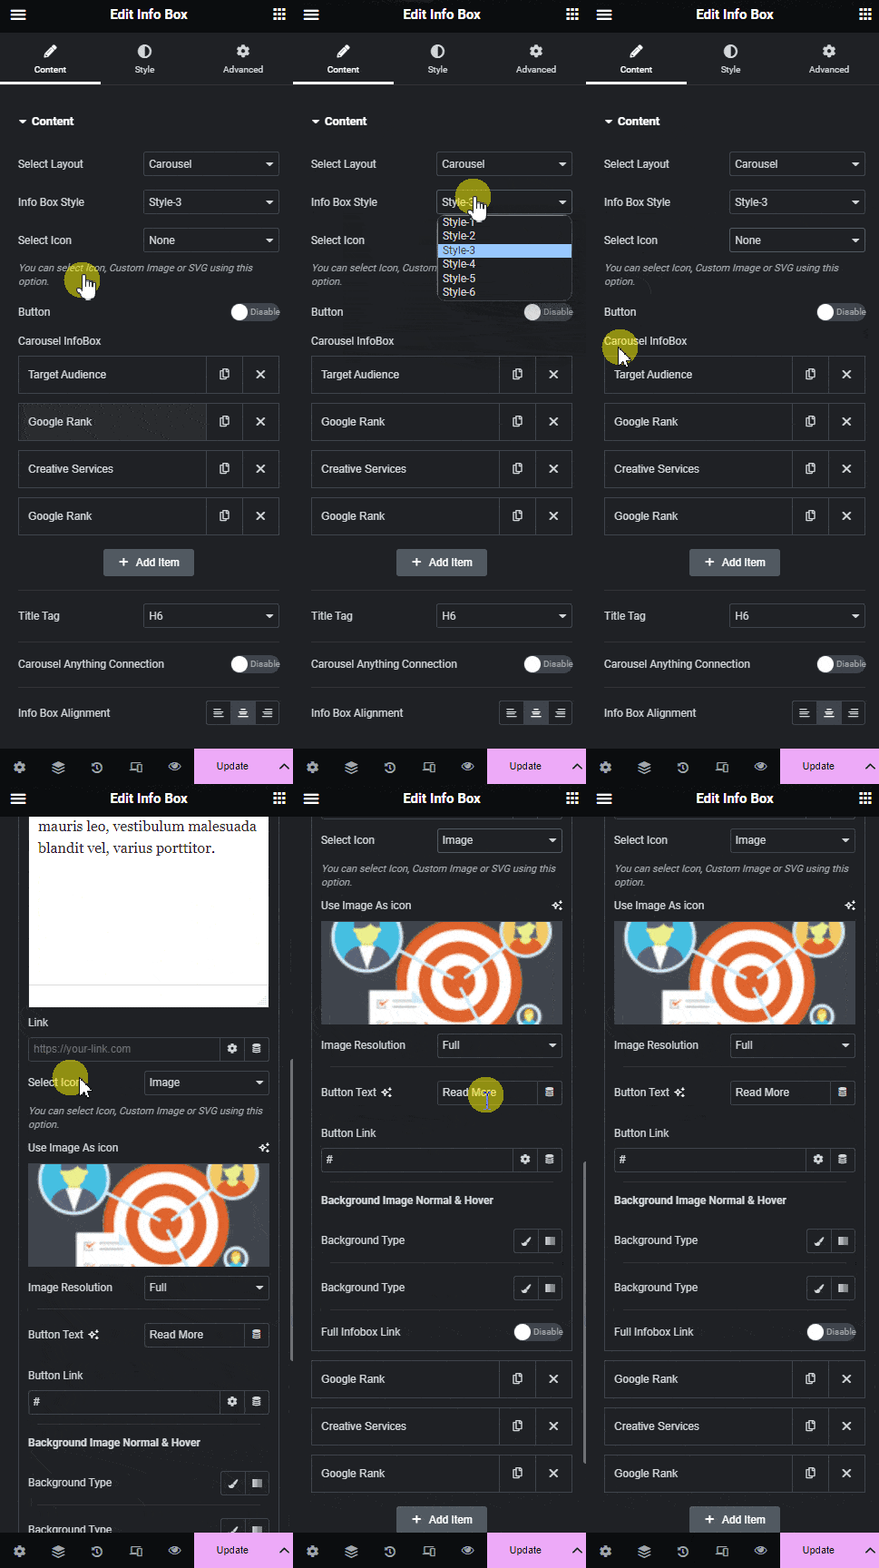
There are two Select Icon dropdowns in this layout. The one in the main Content section sets the icon type for the whole carousel at once; the one inside a repeater row sets it for that box only.
Set Up the Sliding
The slider controls live in the Style tab, under Carousel Options.
| Setting | What it does | Default |
|---|---|---|
| Desktop Columns | How many boxes are visible at once. | 4 |
| Show Dots | The row of dots under the carousel. | On |
| Show Arrows | The previous and next arrows. | Off |
| Autoplay | Advances the carousel on its own. | On |
| Slide Speed | How long each transition takes, in milliseconds. | 1300 |
Start here if nothing slides. With the shipped defaults — four items and Desktop Columns set to 4 — every box is already on screen, so there is nothing to page through. The arrows and dots do not appear either, even with both switched on. Add more items, or lower Desktop Columns, and they appear straight away.
How It Behaves
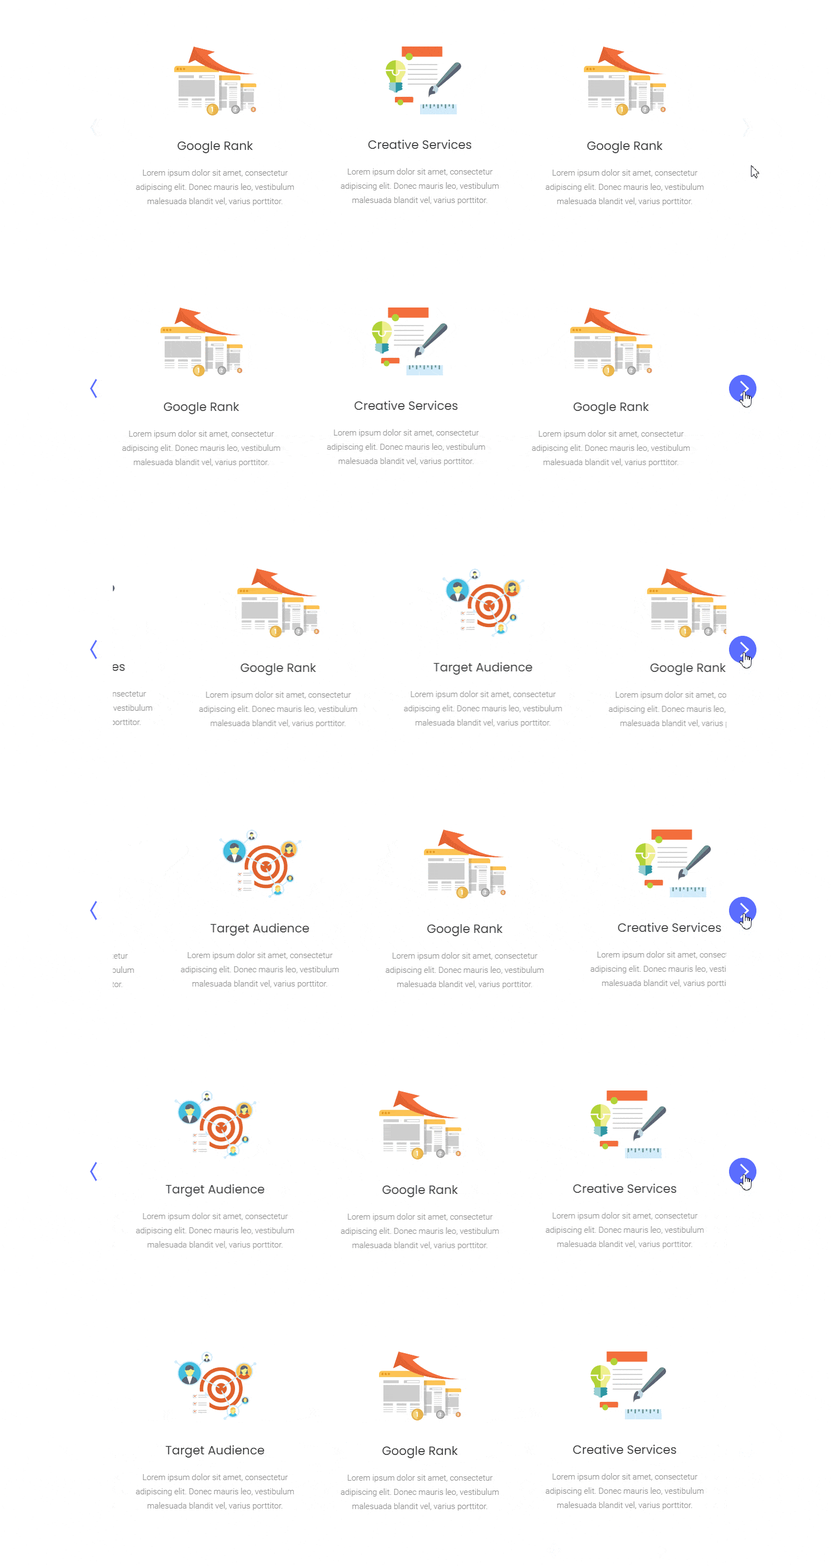
- Autoplay is on out of the box, so a correctly sized carousel starts moving on its own as soon as the page loads.
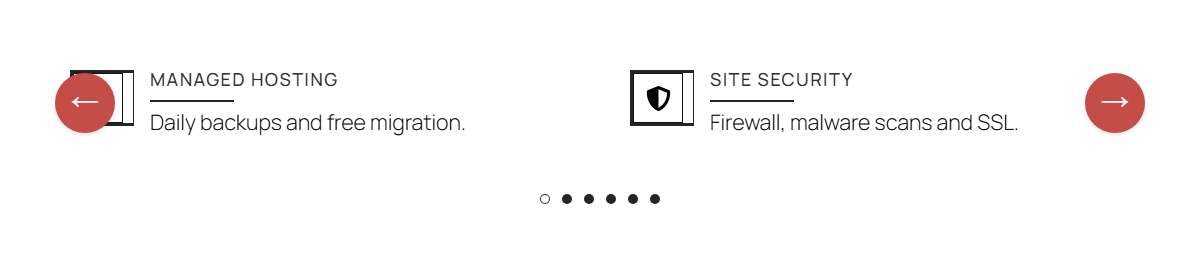
- The dots count positions, not boxes. Six items shown two at a time gives you six dots, each scrolling the pair along by one.
- Desktop Columns has matching Tablet and Mobile settings, so you can show two on a tablet and one on a phone.
- The carousel only slides on the published page. The editor canvas shows a static preview.
Limitations
- The whole layout is Pro. In the free plugin the Carousel option is present but the repeater is not, and a page saved with it renders no slides at all.
- Show Arrows and Show Dots are ignored when there is nothing to scroll. Nothing in the editor tells you why they have not appeared.
- Every box in the carousel shares one Info Box Style. You cannot mix Style-1 and Style-3 items in a single widget.
- Reordering rows changes the slide order but not the dot labels, which you set separately if you drive the carousel from a Carousel Remote.
Troubleshooting
Nothing slides and there are no arrows or dots
You have as many columns as items. Lower Desktop Columns in Style > Carousel Options, or add more rows to Carousel InfoBox.
The Carousel InfoBox repeater is missing
The Carousel layout needs Pro. Without it the dropdown still offers Carousel, but there is no repeater to fill in.
All my boxes look the same and I wanted different icons
You have set the shared Select Icon in the main Content section. Set it per row instead, inside each Carousel InfoBox item.
It slides on the front end but not in the editor
That is expected. Preview or publish the page to see the carousel move.
