Website owners or businesses need to ensure that their content is only accessible to the appropriate audience. This is especially crucial for industries such as alcohol, tobacco, gambling etc. which are legally required to verify the age of their customers.
With the Age Gate widget from The Plus Addons for Elementor, you can easily add an age verification popup to your Elementor website.
Some Common Use Case for Age Gate Verification on Website
- Alcohol or Tobacco Websites: Websites selling alcohol or tobacco products often use age gates to confirm users are of legal age to view or purchase these items.
- Gaming and Gambling Sites: Platforms related to gaming, online casinos, or gambling may implement age gates to restrict access to adults only, complying with legal age restrictions for such activities.
- Adult Content Sites: Websites containing explicit or adult content use age gates to verify users’ age before granting access, ensuring compliance with legal age restrictions.
- Healthcare or Pharmaceuticals: Sites offering medical advice, selling prescription medications, or providing sensitive health-related content may require age verification due to legal and ethical considerations.
- Restricted Products or Services: Websites selling products or services that are age-restricted, such as firearms, fireworks, or certain subscriptions, might use age gates for compliance.
- Parental Controls: Websites catering to children’s content might use age gates to prevent underage users from accessing content that’s not suitable for their age group.
- Legal Compliance: In various regions, there are laws and regulations around certain content or products that mandate age verification before access is granted.
- Event Ticketing: Websites selling tickets for events with age restrictions (e.g., concerts, festivals, or certain shows) might require age verification during the purchasing process.
- Content Ratings and Recommendations: Platforms with diverse content, such as movies, games, or streaming services, might use age gates to filter or recommend content suitable for specific age ranges.
- Education and Training: E-learning platforms or educational resources with content intended for specific age groups might use age verification to ensure appropriate access and learning experiences.
Required Setup
- Elementor FREE Plugin installed & activated.
- You need to have The Plus Addons for Elementor plugin installed and activated.
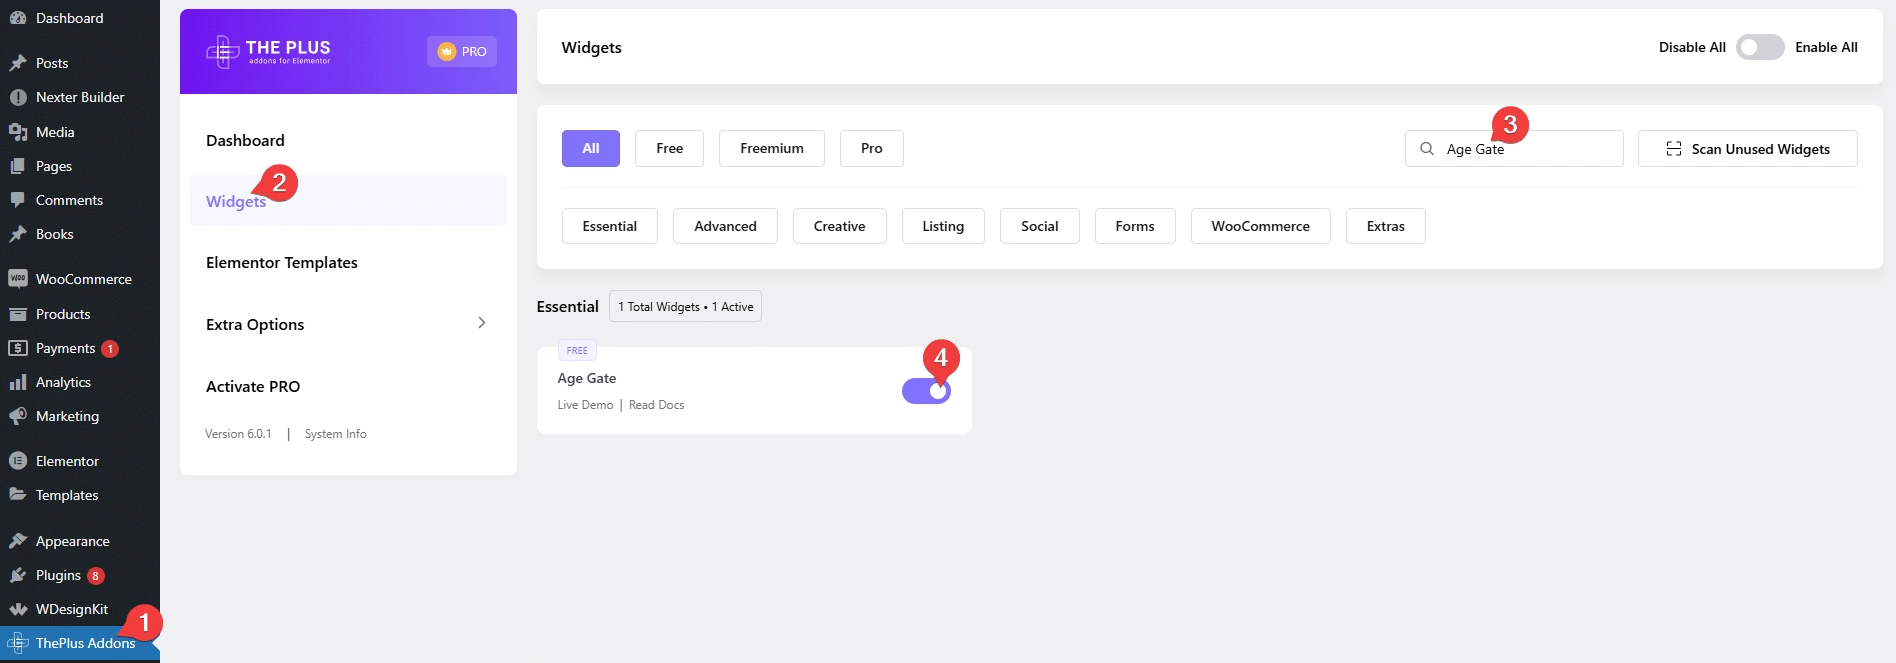
- Make sure the Age Gate widget is activated, to verify this visit The Plus Addons → Widgets → and Search for Age Gate and activate.
Learn via Video Tutorial:
How to Activate the Age Gate Widget?
Go to
- The Plus Addons → Widgets
- Search the widget name and turn on the toggle.
Key Features
- Age verification by birthdate – You can easily add age verification by birthdate.
- Boolean – You can easily add a boolean (yes or no) confirmation button.
- Save Cookies – You can easily save the age consent in cookies.
How to Add Age Verification Popup in Elementor for Free?
To add an age verification popup in Elementor, add the Age Gate widget to the header or footer template so it shows on the entire website.
To create the header or footer template, you can use the free Nexter Builder or you can use Elementor Pro if you are already using it.
Note: If you want to show age verification only on certain pages, you can also add the Age Gate widget on those pages only.
Layout
From the Method dropdown, you can select the age restriction method. Here, you’ll find three options –
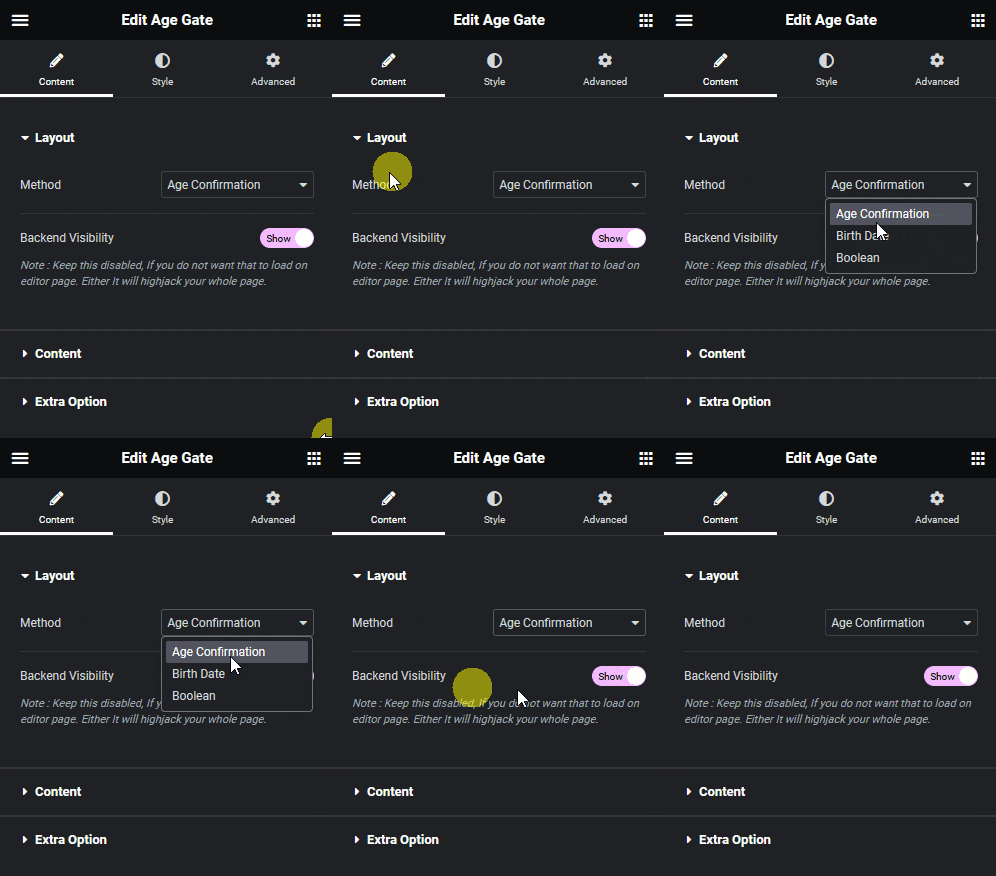
Age Confirmation – To add age verification by simple consent.
Birth Date – To add age verification by birthdate.
Boolean – To add age verification with a boolean (yes or no) confirmation button.
Let’s select Age Confirmation here.
By enabling the Backend Visibility toggle, you’ll be able to see the popup in the backend, this can be used to edit and style the content.
Content
From the Logo toggle, you can add a logo in the popup.
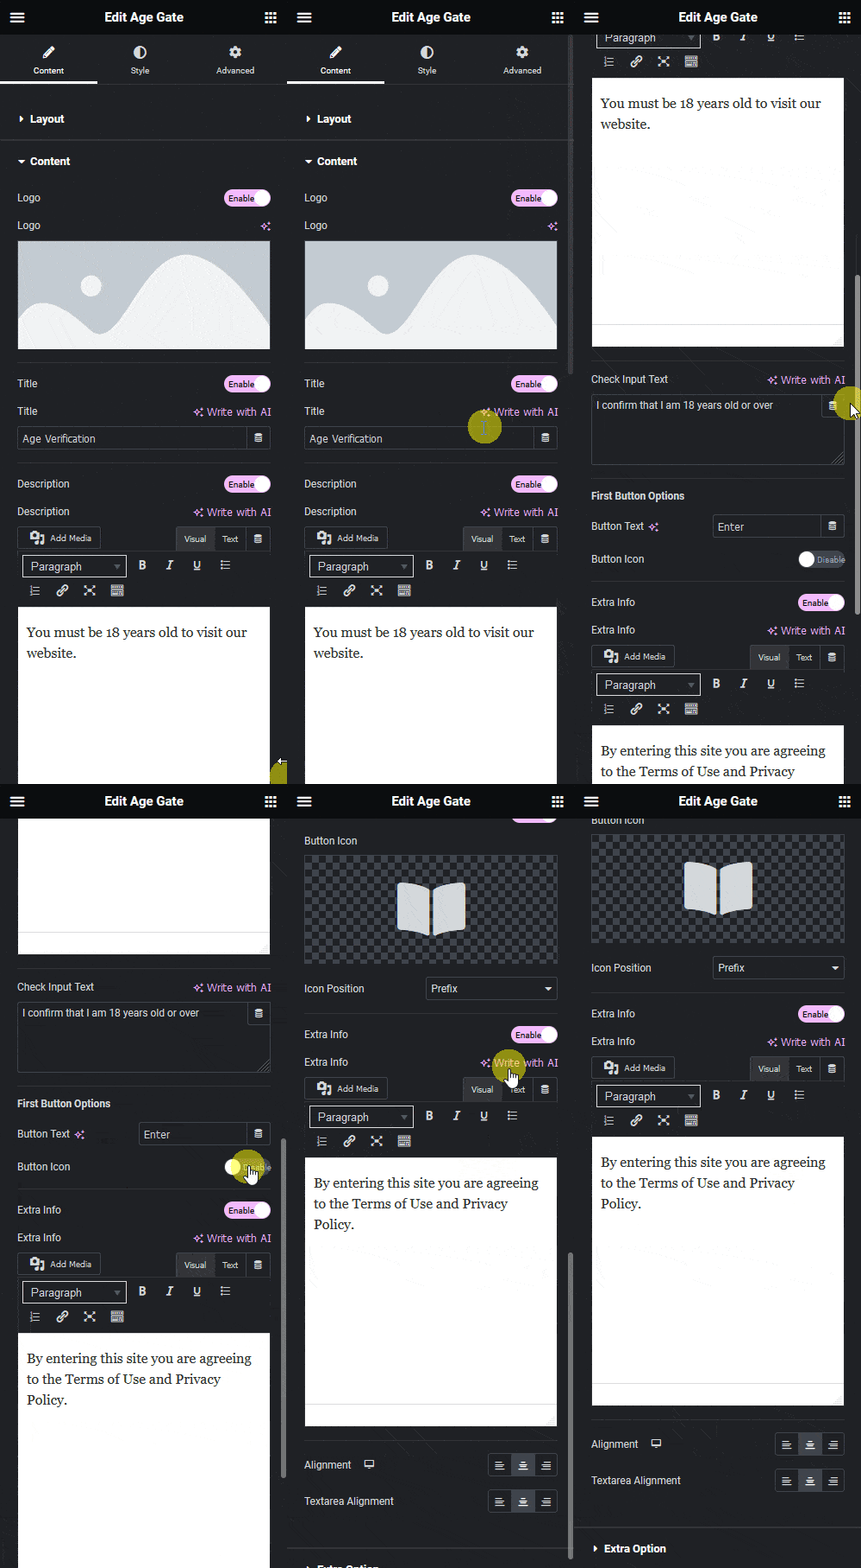
Then from the Title toggle, you can add a title to the popup.
You can add a description from the Description toggle.
In the Check Input Text field, you add the acceptance checkbox content.
From the Button Text field, you can change the button text.
By enabling the Button Icon toggle, you can add an icon to the button.
If you want to add extra info in the popup you can do it by enabling the Extra Info toggle.
From the Alignment section, you can align popup content.
Then from the Textarea Alignment section, you can align the extra info content.
Note: You’ll see some additional options depending on the option selected in the Method dropdown.
Extra Option
By enabling the Background Image toggle, you can add an overlay background image.
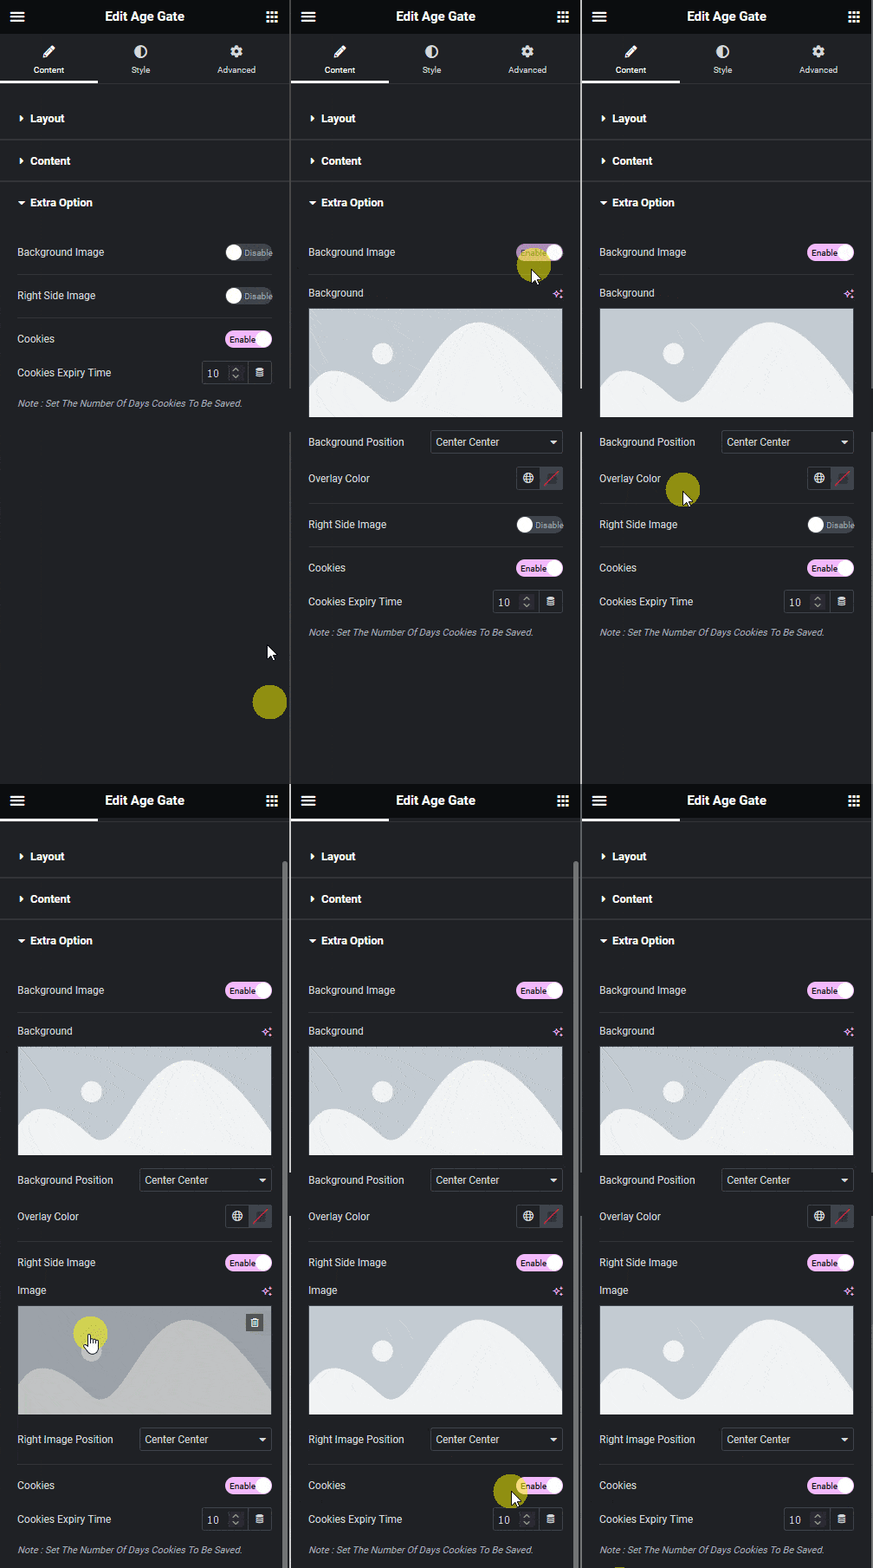
Then from the Right Side Image toggle, you can add a background image to the right side of the popup.
You can save the user consent in their browser cookies by enabling the Cookies toggle, then you can specify the cookies duration (in days) in the Cookies Expiry Time field. So the age verification popup won’t show up during that period.
How to Style the Age Gate Widget in Elementor?
To style the Age Gate, you’ll find all the options in the Style tab.
Note: You’ll see some additional options depending on the option selected in the Method dropdown in the Content tab.
Logo – You’ll see this option when the Logo toggle is enabled in the content tab. From, here you can style the logo in the popup.
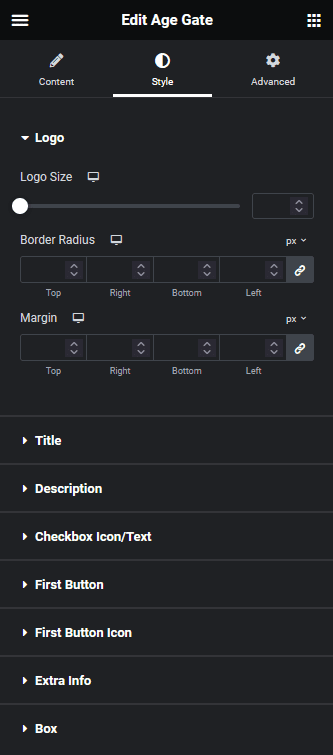
Title – You’ll see this option when the Title toggle is enabled in the content tab. From, here you can style the title.
Description – You’ll see this option when the Description toggle is enabled in the content tab. From, here you can style the popup description.
Checkbox Icon/Text – From here, you can style the consent checkbox and content.
First Button – From here, you can style the popup primary button.
First Button Icon – You’ll see this option when the Button Icon toggle is enabled in the content tab. From, here you can style the button icon.
Extra Option – You’ll see this option when the Extra Info toggle is enabled in the content tab. From, here you can style the extra info content.
Box – From here, you can manage the popup container position, height, width, background, border etc.
Advanced options remain common for all our widget, you can explore all it options from here.


