






Embedding your Calendly calendar on a page lets a visitor pick a free slot and confirm a booking there and then, instead of mailing you to ask when you are free.
The Meeting Scheduler widget in The Plus Addons for Elementor does this with two fields. No separate Calendly plugin is involved – the widget loads Calendly’s own embed script. For the rest of the widget, see the full Meeting Scheduler settings overview.
Requirement – This widget is a part of The Plus Addons for Elementor, make sure it’s installed & activated to enjoy all its powers.
Before You Start
- Edition: Free. Nothing on this page needs Pro.
- Prerequisite: Elementor (free) installed and active.
- Widget to enable: go to The Plus Addons > Widgets, search for Meeting Scheduler and turn its toggle on.
- A Calendly account with at least one event. The embed points at an event, so an account with none has nothing to show.
Steps
- Add the Meeting Scheduler widget to the page.
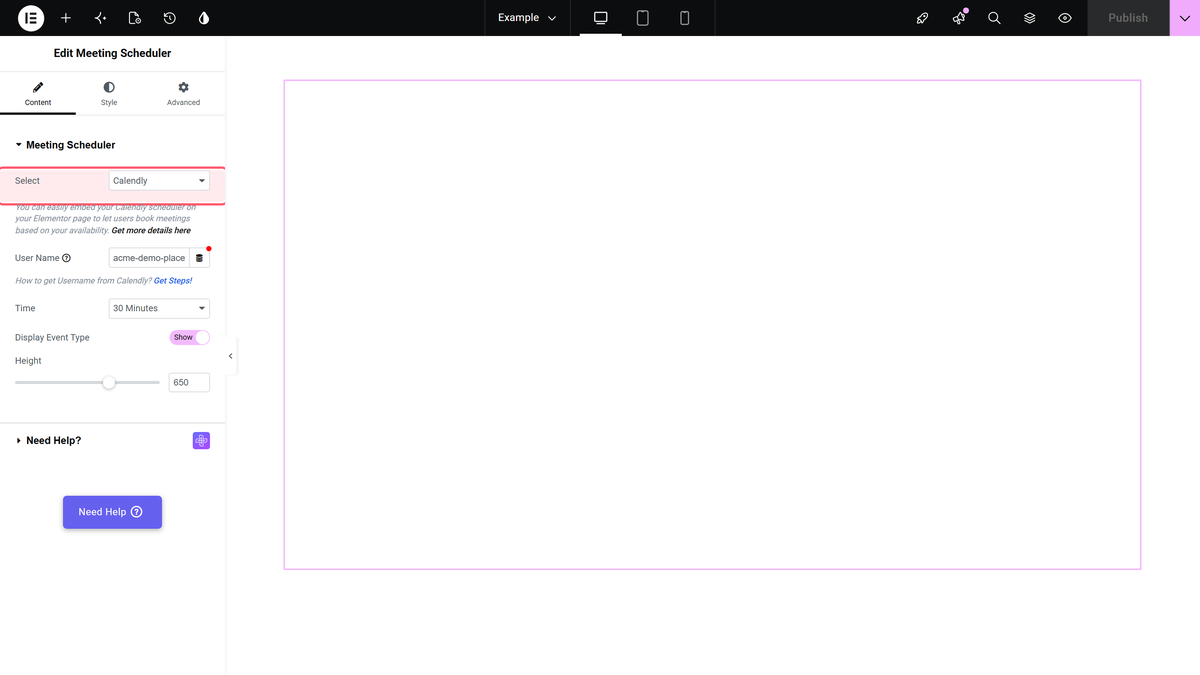
- In the Content tab, open Meeting Scheduler and leave Select on Calendly – that is the shipped default.
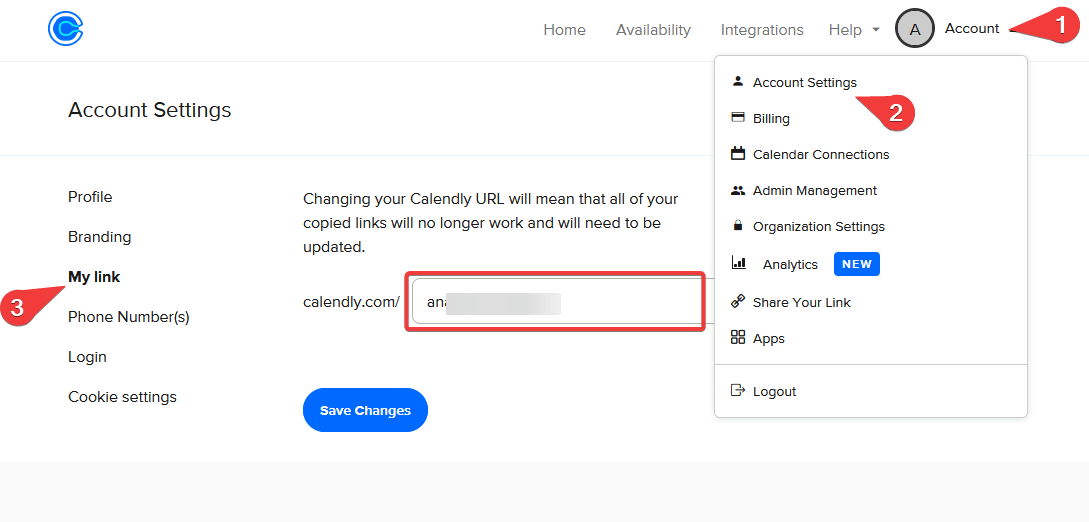
- Put your Calendly user name in the User Name field. It is the part of your booking link after calendly.com/; in Calendly you will find it under Account > Account Settings > My Link.
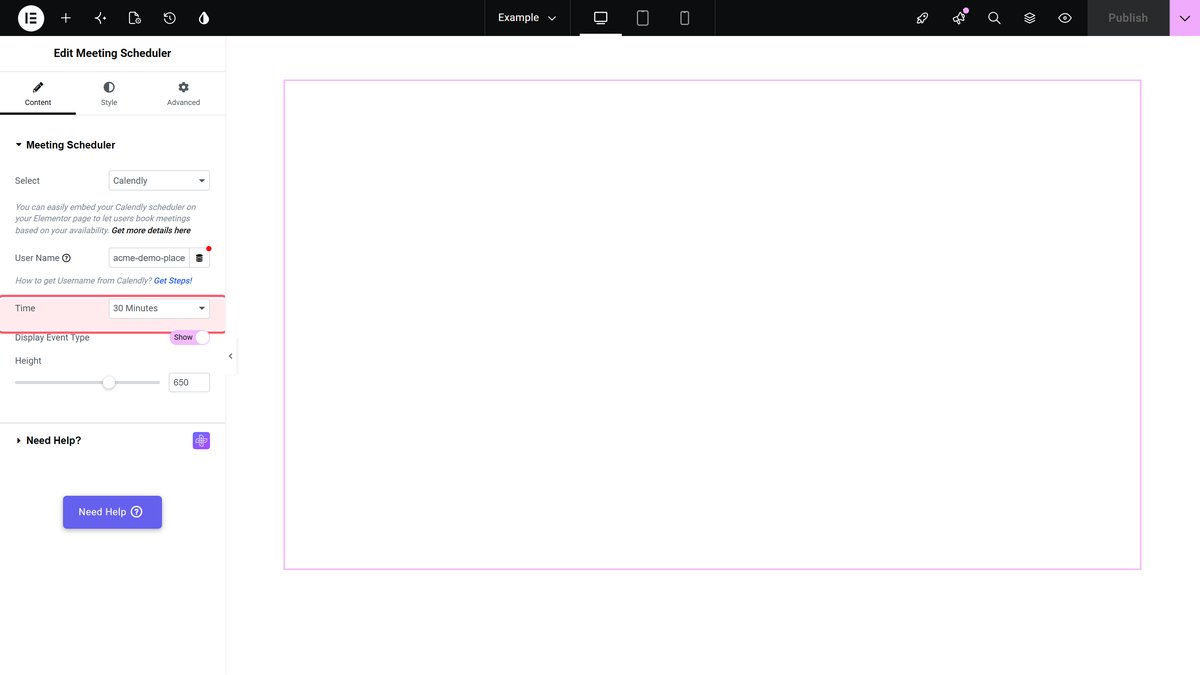
- Pick the length of the event you want to show from the Time dropdown: 15 Minutes, 30 Minutes or 60 Minutes. It must match the event’s length in Calendly.
- Set Height if 650px is not enough room for the calendar.
Calendly shows the user name on its own My Link screen – copy it from there rather than retyping it.
Back in Elementor, pick the matching length in Time.
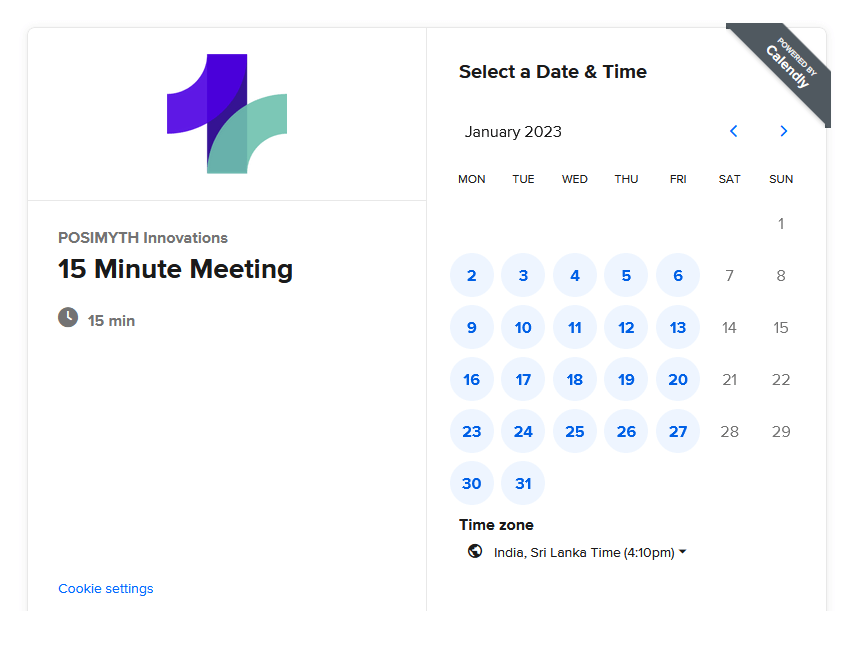
What lands on the page
The widget writes a Calendly placeholder whose address is built from what you typed – calendly.com, then your user name, then the Time value – and loads Calendly’s widget.js. On a published page we watched that script replace the placeholder with a live Calendly iframe at the address the widget had composed. The calendar itself is served by Calendly, so it looks and behaves exactly as it does on your Calendly page.
Settings used here
| Setting | What it does | Default |
|---|---|---|
| Select | Which booking service to embed | Calendly |
| User Name | The part of your Calendly link after calendly.com/ | empty |
| Time | Which event length to open | 15 Minutes |
| Display Event Type | Show or hide the event details Calendly draws above the calendar | Show |
| Height | How tall the embed is, in pixels (0-1000) | 650 |
Colours
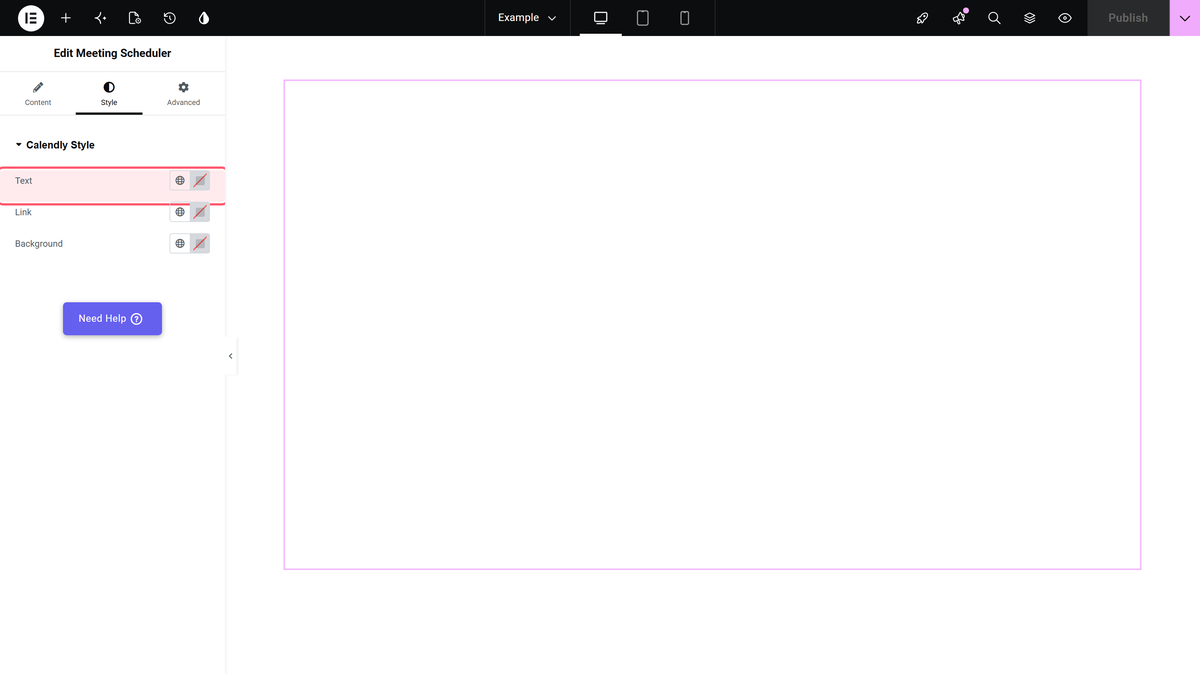
The Style tab has one section, Calendly Style, with Text, Link and Background. These are not CSS: the widget hands the three colours to Calendly as part of the embed address, and Calendly paints them inside its own iframe. Use Background when Calendly’s default white block fights with a dark page.
How It Behaves
- Display Event Type set to Hide tells Calendly to drop the event details it normally draws above the calendar. Set to Show it adds nothing and Calendly’s default applies.
- Height is applied to the embed itself. We measured 650px with the default and 800px after moving the slider.
- An empty User Name renders nothing. Not an error, not a placeholder – the widget outputs no markup at all.
- The Display Event Type switch is hidden while Time is set to All.
Limitations
- The All option in the Time dropdown does not do what it says. Picking All does not list every event type – the widget falls back to your 15 Minutes event, which is what we saw on the page. Pick a specific length, and if you need visitors to choose between several events, link them to your Calendly page instead of embedding one.
- A mismatch between Time here and the event length in Calendly gives you the wrong event or an empty embed – the address is built from this value, and Calendly has to have a matching event.
- The calendar is Calendly’s, inside Calendly’s iframe. Beyond the three colours, your site’s CSS does not reach it.
- We verified the embed the widget builds and that Calendly’s script turned it into a live iframe. We did not complete a booking, because that needs a real Calendly account.
Troubleshooting
The page is blank where the calendar should be
User Name is empty. With nothing in it the widget prints no markup, so there is nothing for Calendly’s script to fill.
A different meeting length appears than the one I chose
Either Time does not match an event in your Calendly account, or you chose All, which quietly loads the 15-minute event.
The calendar is cut off at the bottom
Raise Height. It goes up to 1000px in steps of 10.
The white block clashes with my page
Set Background in the Style tab. Calendly, not your theme, applies it.
