---
title: "How to Add Custom CSS Preloader Animations in Elementor?"
url: https://theplusaddons.com/docs/custom-css-preloader-animations-in-elementor/
date: 2023-04-07
modified: 2026-09-18
lang: en
author: "Aditya Sharma"
description: "The Pre Loader widget ships with thirteen ready-made animations, but you may already have a CSS loader that matches your brand, or have found one on a site such as..."
image: https://theplusaddons.com/wp-content/uploads/2023/04/How-to-Add-Custom-CSS-Preloader-Animations-in-Elementor_-1024x536.jpg
word_count: 689
---
# How to Add Custom CSS Preloader Animations in Elementor?
##
- The Pre Loader widget ships with thirteen ready-made animations, and it also offers a Custom Code type for loading a brand-matched loader from your own markup.
- The Plus Addons for Elementor Pro includes the Pre Loader widget, while the free plugin does not contain it, so the widget must be installed and activated in Pro.
- The Code field accepts only HTML markup such as ``, and `` or `` tags are stripped from the field.
- The site-wide Pre Loader setting must be set to Entire Site before the preloader CSS and JavaScript load on the front end, and the stylesheet must live separately in The Plus Addons > Extra Options > Custom CSS & JS, Elementor Custom CSS, or a theme stylesheet.
The Pre Loader widget ships with thirteen ready-made animations, but you may already have a CSS loader that matches your brand, or have found one on a site such as [CSS Loaders](https://cssloaders.github.io/) or [Loading.io](https://loading.io/css/).
The **Custom Code** type in the **Pre Loader** widget takes your own markup and draws it on the loading screen.
*To check the complete feature overview documentation of The Plus Addons for Elementor Pre Loader widget, [click here](https://theplusaddons.com/docs/preloader-elementor-widget-settings-overview/).*
***Requirement - This widget is a part of The Plus Addons for Elementor Pro, make sure it's installed & activated to enjoy all its powers.***
[LIVE WIDGET LINK](https://theplusaddons.com/elementor-widget/preloader-and-page-transition/?utm_source=tpae&utm_medium=docs&utm_campaign=text)
## Before You Start
- **Edition:** **Pro** — the **Pre Loader** widget ships only in The Plus Addons for Elementor Pro. The free plugin does not contain it.- **Widget to enable:** **Pre Loader**, under **The Plus Addons > Widgets**. Search for it and turn the toggle on.- **Site-wide switch:** go to **ThePlus Addons > Extra Options > Settings**, open the **Design** tab, click the gear on the **Pre Loader** card and set **Pre Loader** to **Entire Site**, then **Save**. Until this is set, the preloader's CSS and JavaScript are never loaded on the front end and nothing appears.- **Where the settings are:** select the **Pre Loader** widget and use the **Content** tab's four sections — **Content**, **Load First**, **Page Transition** and **Extra Option** — plus the **Style** tab.- **Somewhere to put the CSS:** the widget's **Code** field takes markup only, so you need a place for the stylesheet — your theme's custom CSS, Elementor's Custom CSS, or The Plus Addons' own **Extra Options > Custom CSS & JS**.
## Add the Markup
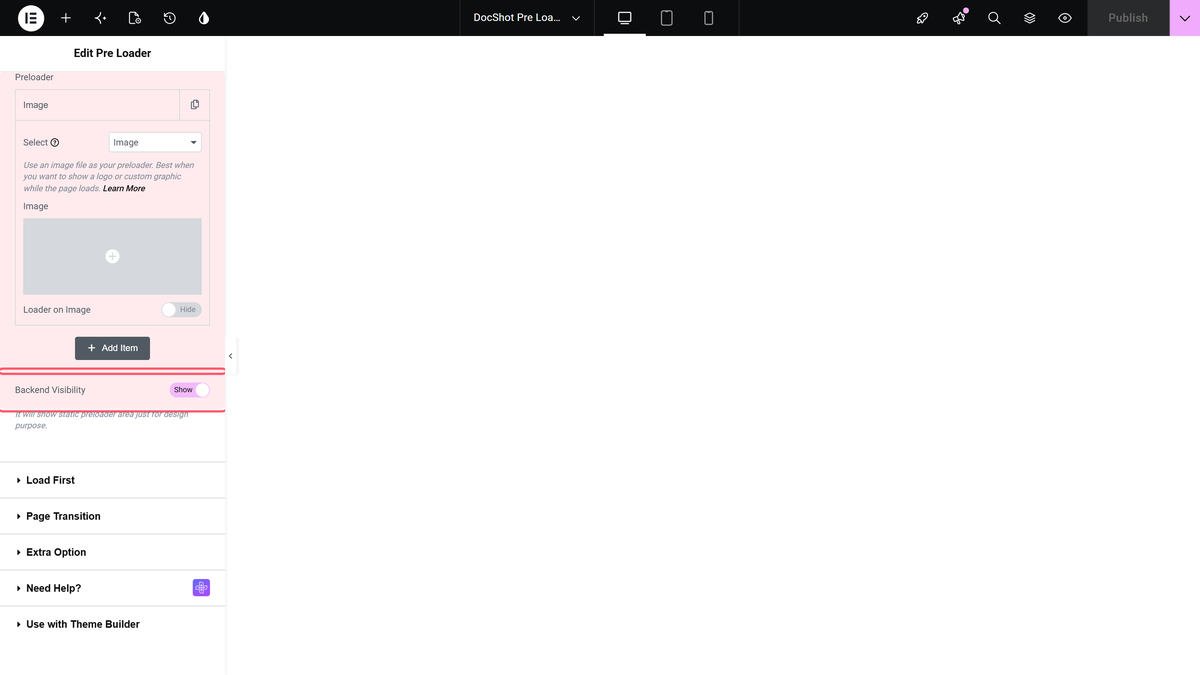
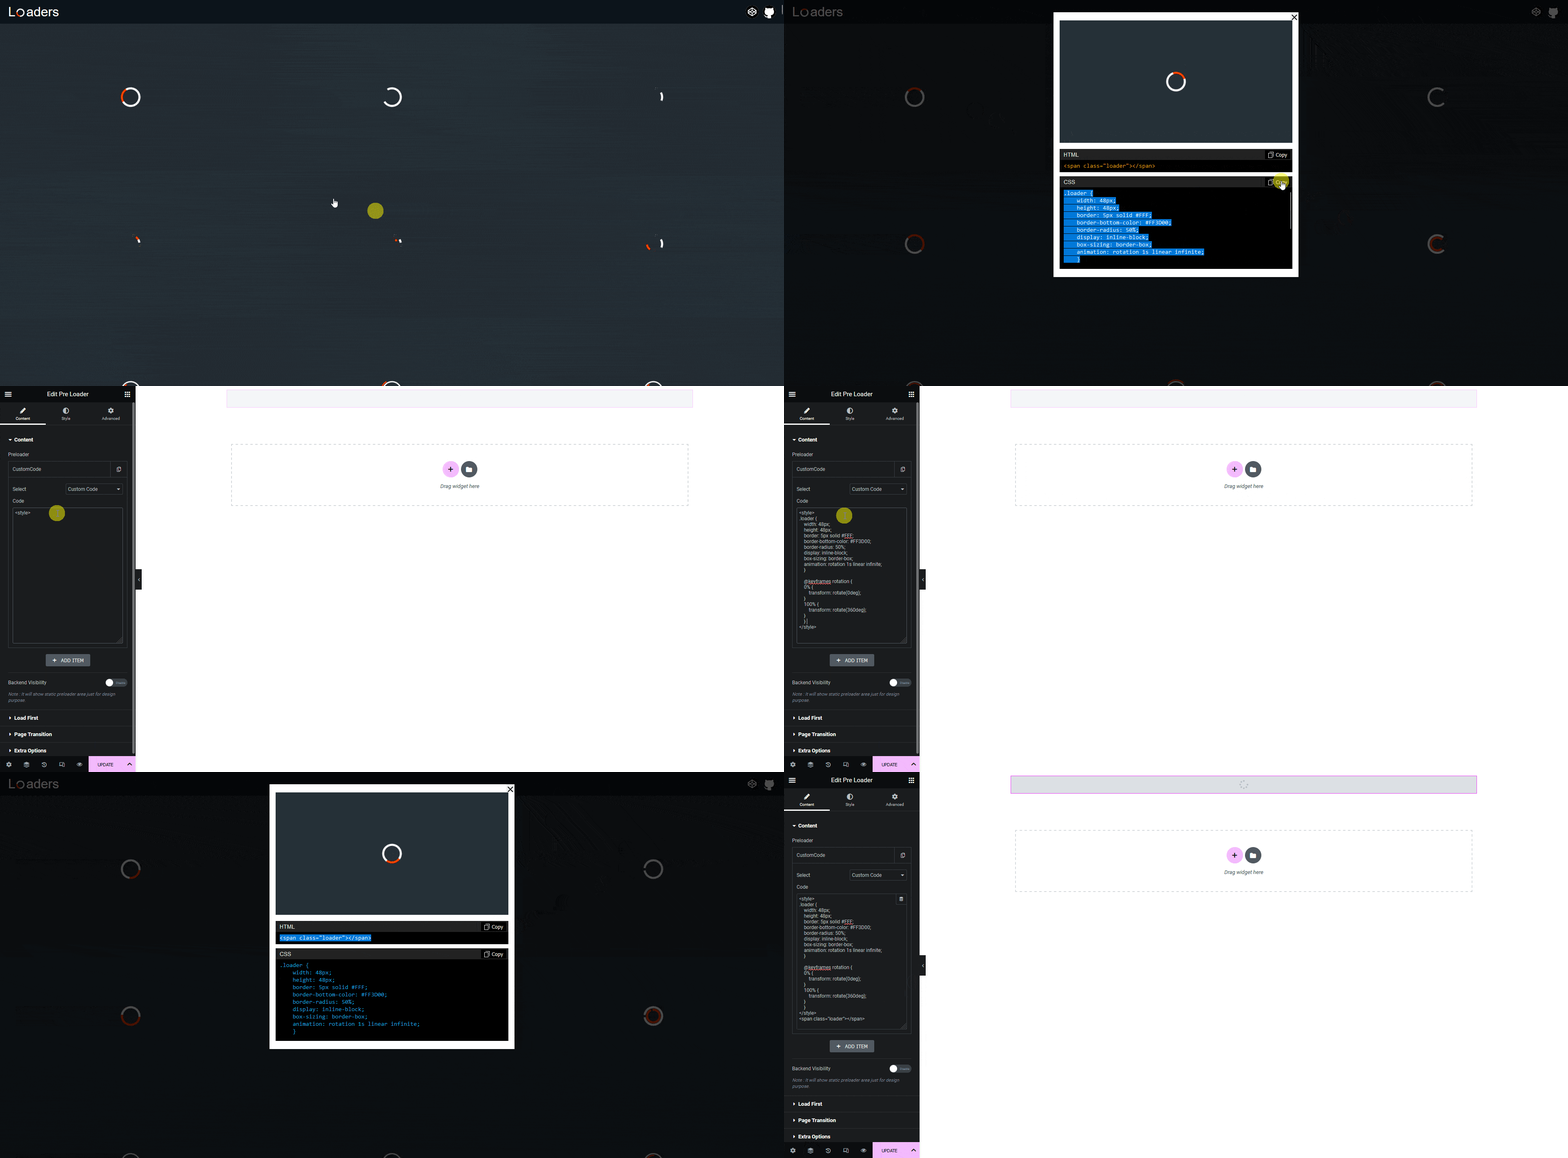
- Add the **Pre Loader** widget to the page or to a header or footer template.- On the **Content** tab, open the item in the **Preloader** list.- Set **Select** to **Custom Code**.- Paste **only the HTML** of your loader into the **Code** field, for example the markup below.- Update the page.
``
## Add the CSS Separately
> ***Do not paste a