If you’re a WordPress developer, chances are you’re familiar with Elementor.
Elementor is a drag-and-drop page builder that makes it easy to create complex, custom pages without having to write any code.
One of the great things about Elementor is that it includes a wide variety of built-in features, including the ability to password protect a page.
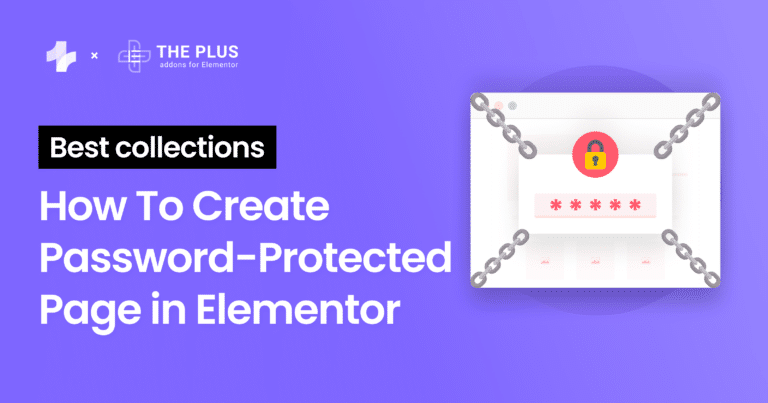
In this blog post, we’ll show you how to create a password-protected page in Elementor.
Why Should You Password Protect Elementor Page?
There are a host of reasons why you’d want to WordPress password protect page or page section in Elementor:
- You could add a password gate to provide access to exclusive content only to paying members.
- You could create client albums and present photos on a page and only give access to specific clients.
- You can set a password to showcase your portfolio, giving you control over who gets to see it.
Although the Elementor restrict content option is not available by default.
Fortunately, there is a way to enable this feature with The Plus Addons for Elementor.
Are you confused about which Elementor addon you should opt for? Check our detailed comparison of the 8 Best Elementor Addons for WordPress.
How to Create an Elementor Password-Protected Page
The Plus Addons for Elementor make it easy for website owners to easily set up a password-protected page or password-protected template in Elementor.
Here’s a step-by-step guide on how to do it:
1. Enable the Protected Content Widget in Elementor

The Protected Content page can be found through the WordPress dashboard.
It’s available with the Pro version, and you can toggle it on from the Plus Widgets tab, as shown below:

Simply toggle it on, and be sure to save your changes. Now, scroll to the page or post that you want to password-protect, and follow the instructions below.
2. Activate the Protected Content Widget
Once you’re on the page, the next step is to search for the Protected Content widget from the left sidebar in Elementor and drag it onto the page that contains the restricted content.
Here’s how it’s going to look:

From the left sidebar, you can set the type of protection you want to set, such as single password, multi-password, or limited access to specific user roles.
You can also set the password and specify the message that you want to show to unauthorized users.
There’s also the option to specify an error message in case a user enters the wrong password.
As well as having WordPress protected content, it is also possible to set the restricted content to a page template.
To do this, click the drop-down menu on the left labeled ‘Content Source’ and change ‘Content’ to ‘Page Template’:

Once you have selected ‘Page Template’, you can further customize password protected page WordPress Elementor.
A second dropdown menu will be enabled that allows you to select an entire template section, such as a hero section, tab, carousel, and many others, as shown below:

Another option you will want to consider is the cookie length. The cookie will determine how long the password-protected content can be accessed after the user enters the password before it is hidden, and the user is required to re-enter their password.
In the settings section on the left, expand the ‘Protection Type’ section and scroll to the bottom, where you will have the option to turn the cookie feature on or off and set the duration:

3. Preview Your New Password-Protected Restricted Content Page
Once you’ve set everything up, you can now preview the protected page and make sure that it’s working properly:

You can try entering the password to check if the protection is removed. Here’s how the content appears once you remove the password protection:

You also have the option of entering multiple passwords for any protected content, as you can see below:

Multiple passwords make it easier for people to access restricted content, as they can choose from several passwords instead of having to remember only one.
And, as mentioned, you can add or remove any password you want.
Once any of the specified passwords are entered, you’ll be able to unlock the content:

This is also a great way to track user engagement, especially if you’re running a targeted campaign.
For instance, here’s an example:
Did you know if your pages take more time to load, the visitor might bounce off? That’s where preloaders can come to your rescue. Check out How to add Elementor Preloader & Page Transitions in this step-by-step blog.
You can place a discount coupon behind a protected page and track how many users actually enter the password to get the coupon.
You can obviously customize and style the page however you want. Here’s how it looks in this example:


Password-Protect Pages Easily with The Plus Addons for Elementor
That was our quick guide on creating an Elementor password protected page.
The Plus Addons for Elementor unlock a host of additional features for your Elementor-powered site, letting you add social media feeds, custom banners, advanced typography, and a lot more.
Instead of purchasing several addons to add new functionality, The Plus Addons for Elementor pack more than 120 Elementor widgets and extensions into one package, giving you a host of different options to design and customize the site just how you see fit.
Further Read: Did you know unused Elementor widgets can add more load to your website? Check How To Disable & Hide Unused Elementor Widgets and speed up your site.
FAQs about Creating Elementor Password Protected Page
What is a password-protected page?
A password-protected page is a web page that requires a password to access. It is commonly used to protect sensitive information or restrict access to certain content.
What’s the purpose of password-protecting a page in Elementor?
Password-protecting a page in Elementor adds a layer of privacy and control. It restricts access to specific content, making it accessible only to those who enter the correct password. This is useful for sharing sensitive information or providing exclusive content to a select audience.
Does a password-protected Elementor page affect its SEO or search visibility?
Yes, a password-protected Elementor page can impact its SEO and search visibility. Search engines won’t be able to access the content, potentially affecting indexing and ranking. Consider this when deciding whether to use password protection, as it might limit organic search visibility.
How to customize password protected page in WordPress Elementor?
You can customize password-protected pages in WordPress using Elementor using the “Protected Content” widget by The Plus Addons for Elementor. This widget allows you to design personalized password forms, messages, and styling, providing a seamless user experience while keeping your content secure.
Can I add a logo to my password-protected page in Elementor?
Yes, you can add a logo to your password-protected page in Elementor by using the Elementor Pro header template or by adding a custom HTML element with the logo code.
How do I remove password protection from a page in WordPress?
To remove password protection from a page in WordPress, you can edit the page and change the visibility settings to “Public”.
Can I use Elementor to create a password-protected membership site?
Yes, you can use Elementor to create a password-protected membership site by using a plugin such as Ultimate Member or MemberPress.
How do I ensure the security of my password-protected page in Elementor?
To ensure the security of your password-protected page in Elementor, you should use a strong password, limit access to the password, and regularly update the password. Additionally, you should use security plugins such as Wordfence or Sucuri to protect your website from malicious attacks.